Hi guys, been awhile since I've updated my thesis blog. A lot of things happened and I didn't have enough time to set weekly updates last quarter, but fortunately I'm good to continue my blog updates starting this week! :)
So after figuring out the photogrammetry pipeline, I've continued to build upon my basic material setup in Unreal Engine 4. Started from a basic material setup, I've decided to go to a procedural layered material approach.
1. Material Functions
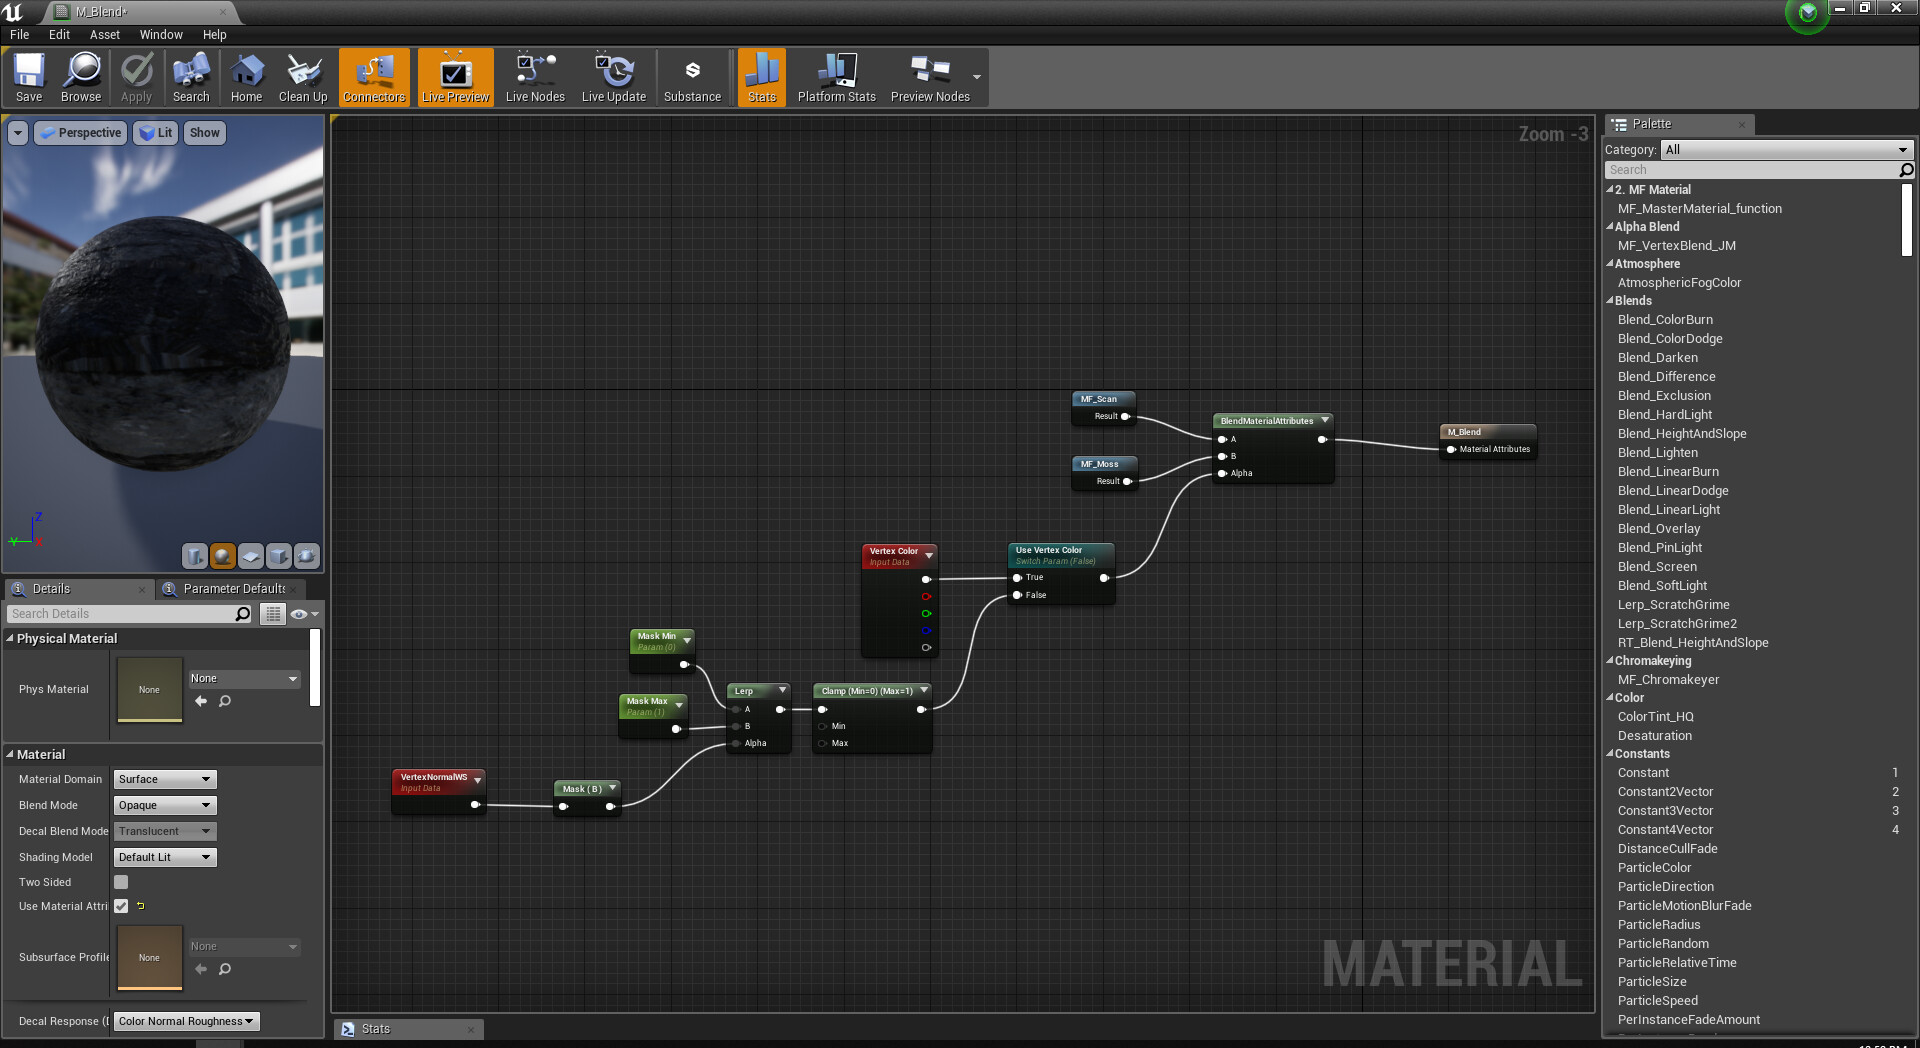
Based on the previous master material, I've decided to build a layered material system to create additional details like moss and grunges. Coming from a traditional VFX pipeline standpoint, it makes more sense for me to try recreate materials as how I used to work with Maya. Fortunately, UE4 has a similar material approach, which is called Material Function.
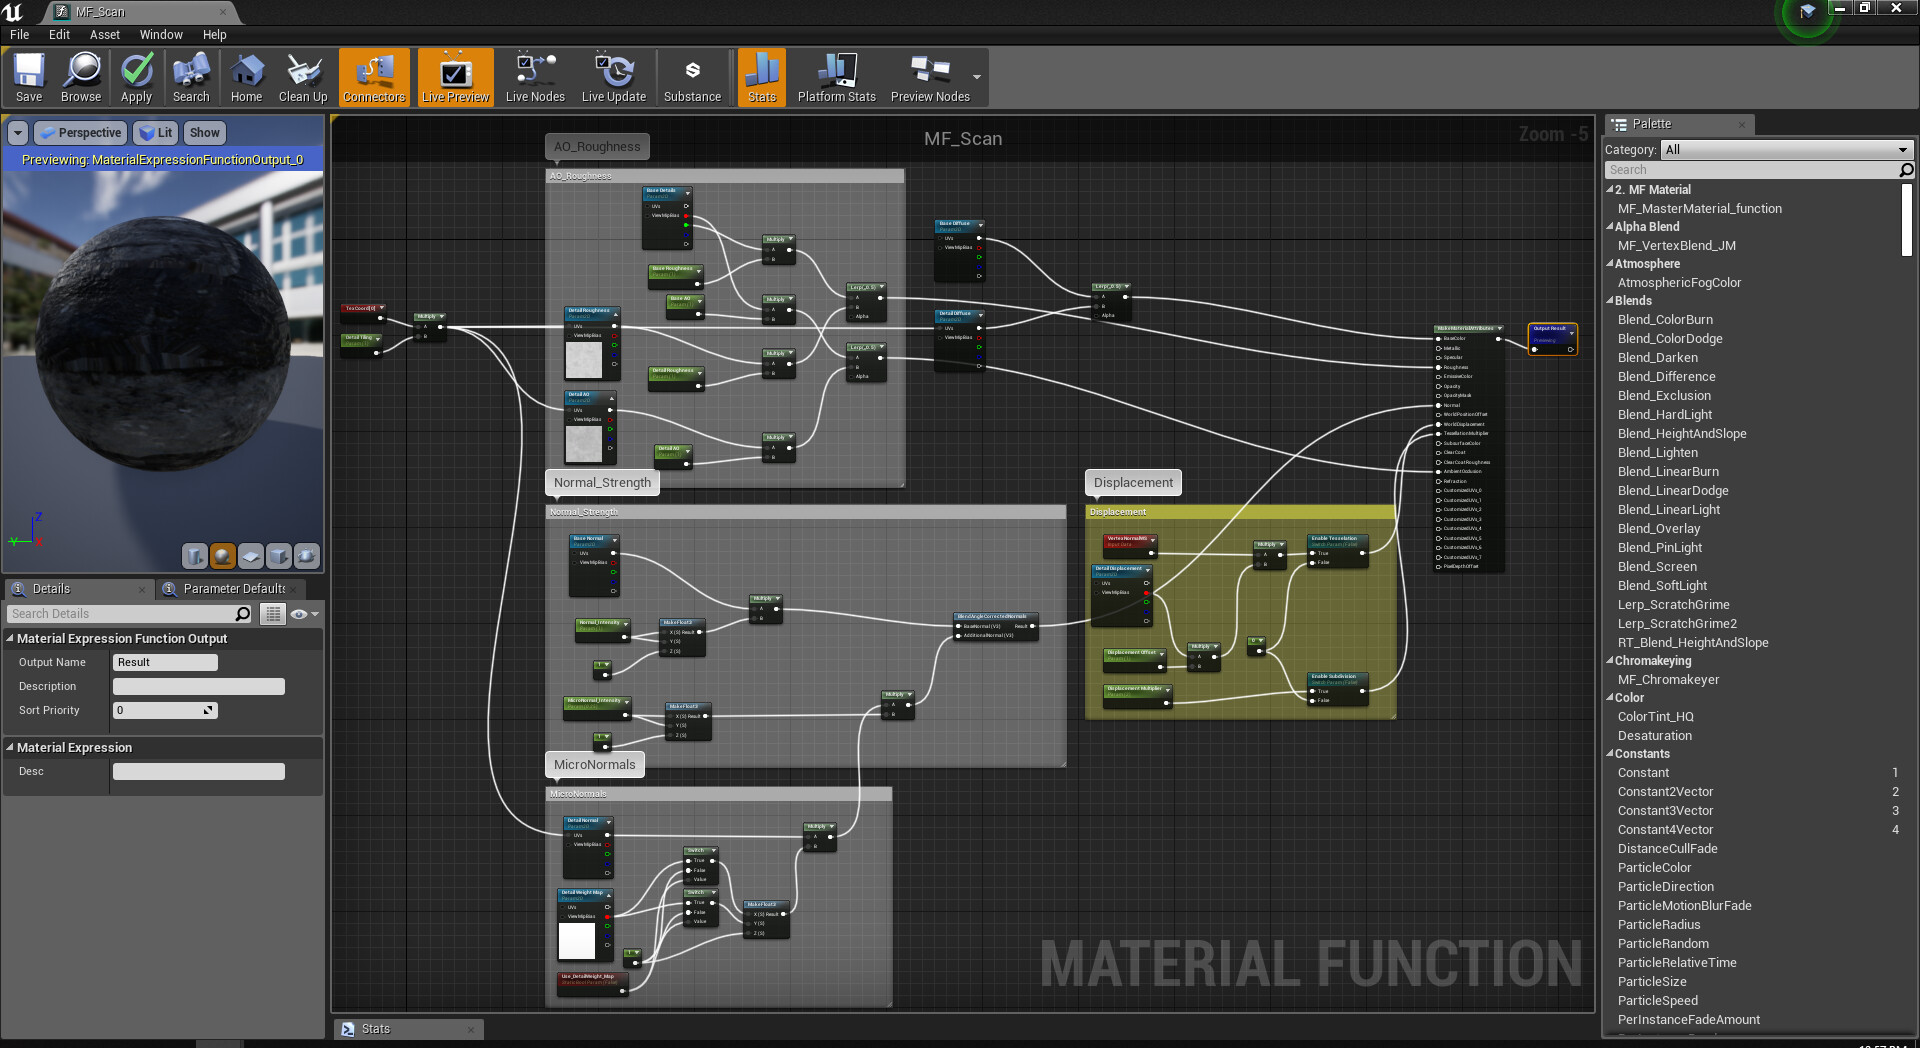
The base material function contains a similar setup as my previous master material, which contains the basic structure for the scanned assets.
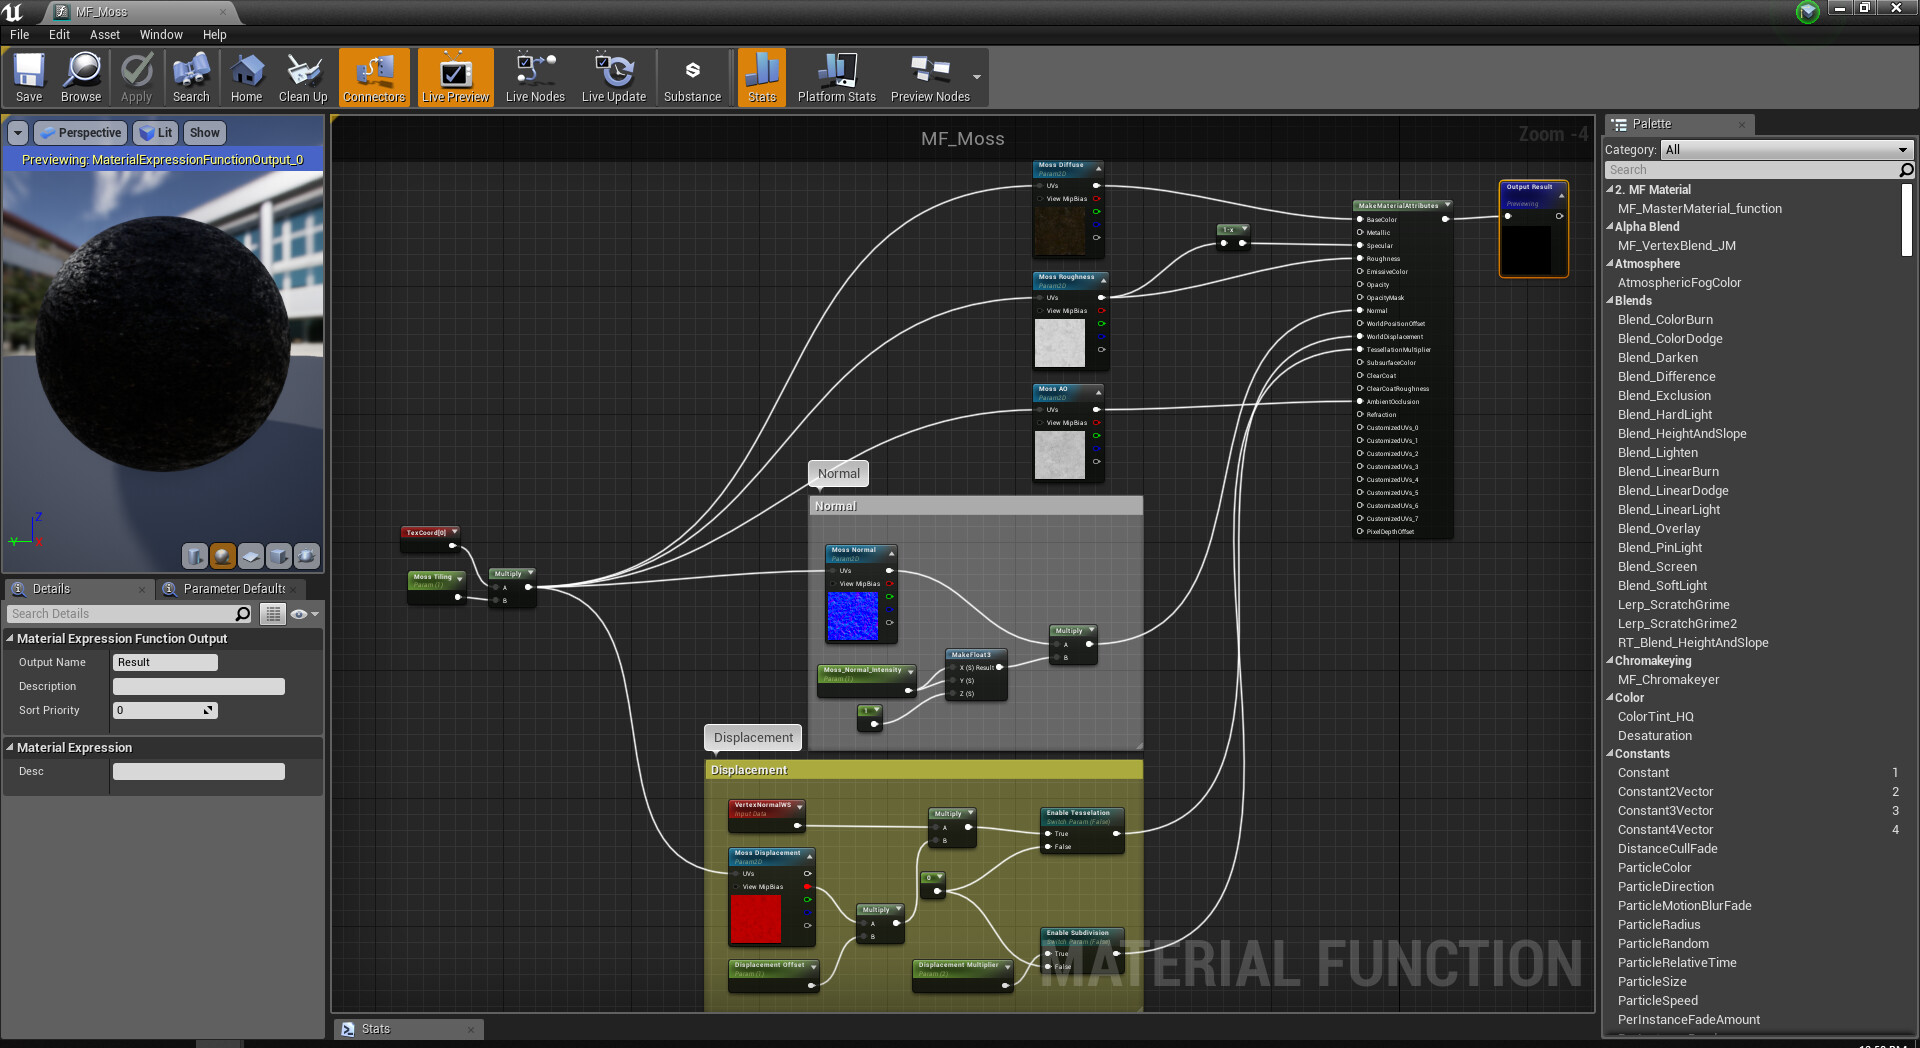
The second material function works as layered details, for instance a moss layer.
With the material setup done, it's time to explore another retopolozing trick that I've learned during my internship with Turn 10.
2. Re-topo Tips and Tricks
A good silhouette is extremely important in real-time, and having multiple highly detailed statues doesn't help either. Thus, I've decided to generate the low poly assets using open sourced software like Instant Meshes.

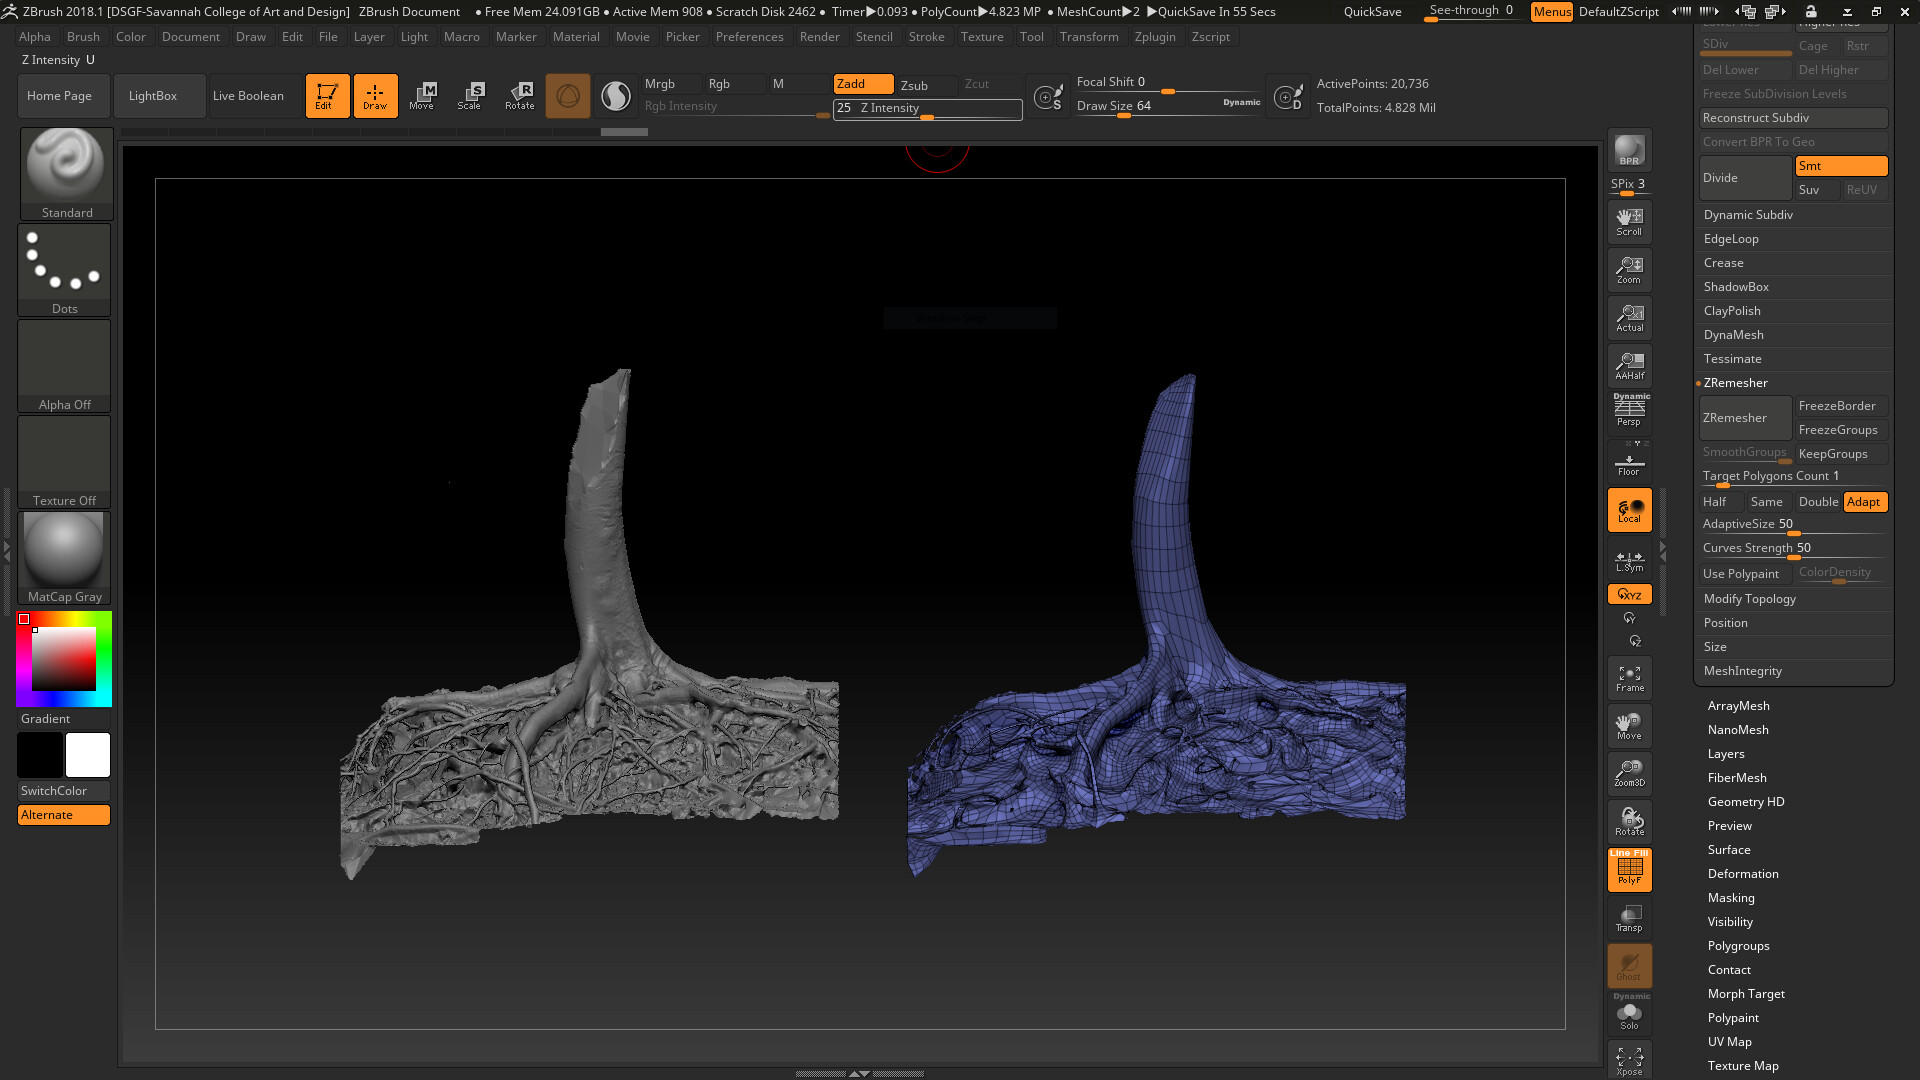
However, if you are comfortable working in Zbrush, I would still recommend using Zremesher instead. The latest algorithm for Zremesher made it easier to retopo fairly quick. In addition, you can create multiple guides similar to how Instant Meshes work. The main difference, Zbrush is more interactive compared to Instant Meshes. Which might be a suitable option to some artists.
3. Look Development in Unreal
Now that we have established the general pipeline for look development (materials and retopology), it's time to import all the assets into the scene. I used a custom color checker mesh as a main guideline for look dev purposes. Below is a sneak peek of all the photoscanned assets I'll be using for my thesis project, in my look dev scene rig inside UE4.
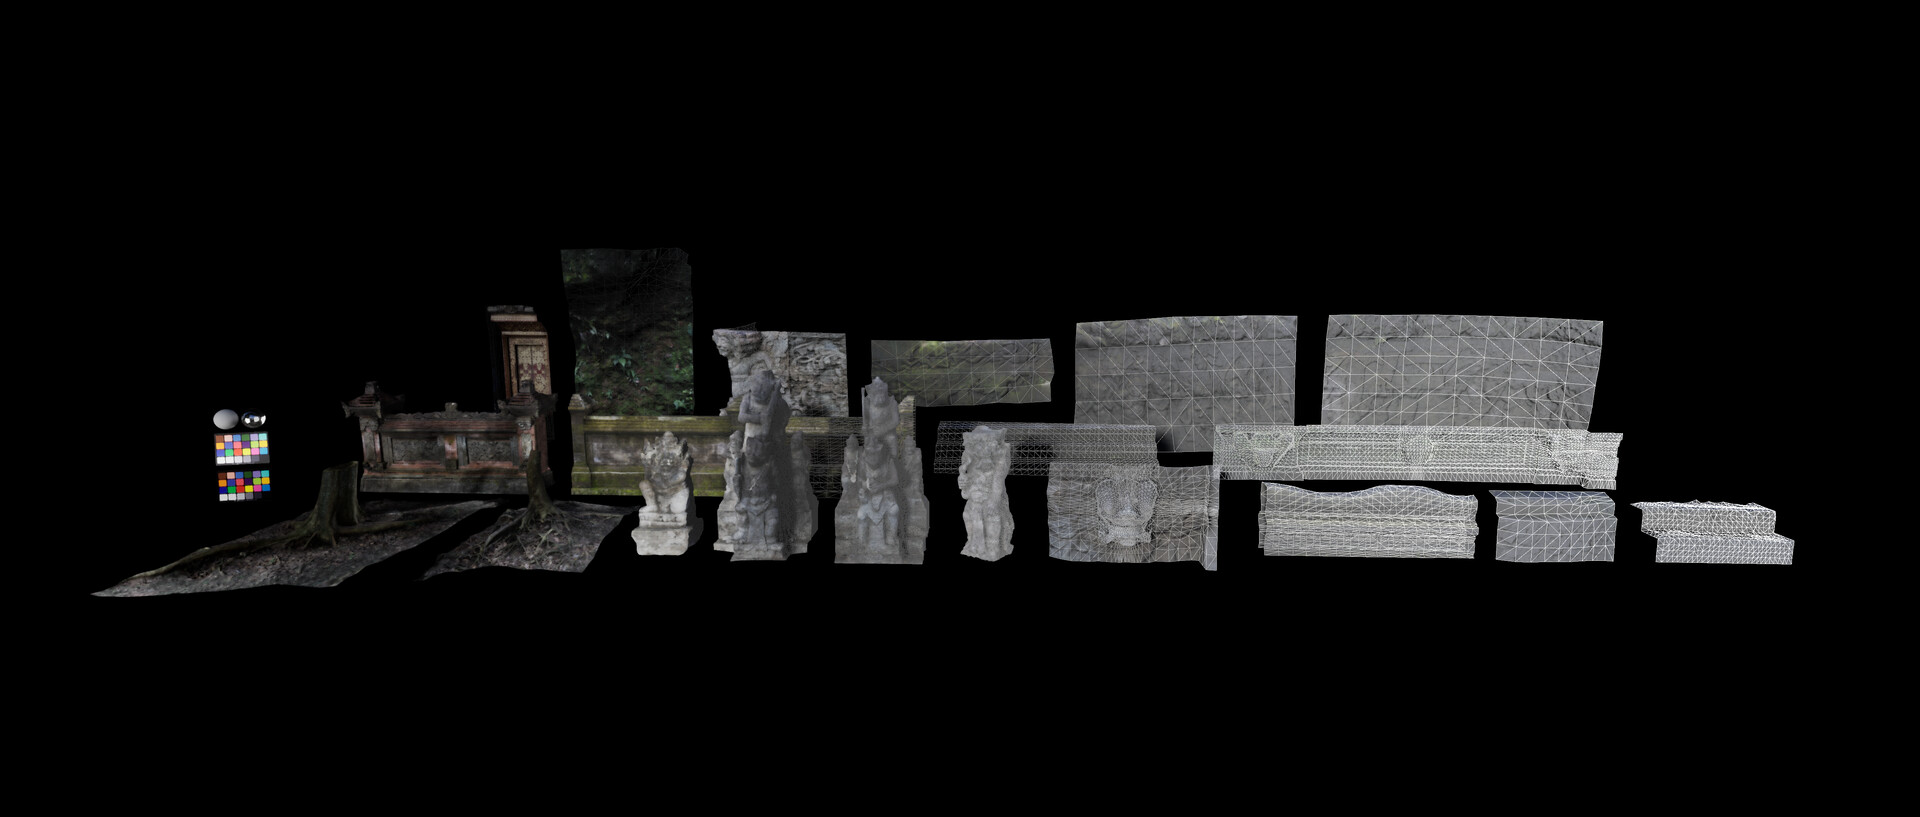
Note: The photoscanned assets are intentionally made to be higher res. This is again to the limitation of UE4 in terms of raytracing computation at the time. While there's a new release of raytracing supports for 4.22, I have not yet tried importing this project into the latest build.
Well, I guess this is enough update for this week. This time I'll really be updating my blog weekly with the world building comes next. See you next time! :)