Hey guys, welcome back to my thesis blog!
This week I'll be showing the another update on the environment that I've been continue refining for the past week. I've been working on adding an entrance scene, additional moss details, color grading using LUT and cinematic cameras into the scene.
1. Creating the Entrance Scene
The main purpose of landmark is to represent a clear destination point to the viewer. In a game environment, landmarks help guiding players on where to go, while in film landmarks are often used as a part of visual cues showing what is going to happen next. Since this project is focuses more on a cinematic environment storytelling, having a sub-environment like an entrance is much needed.
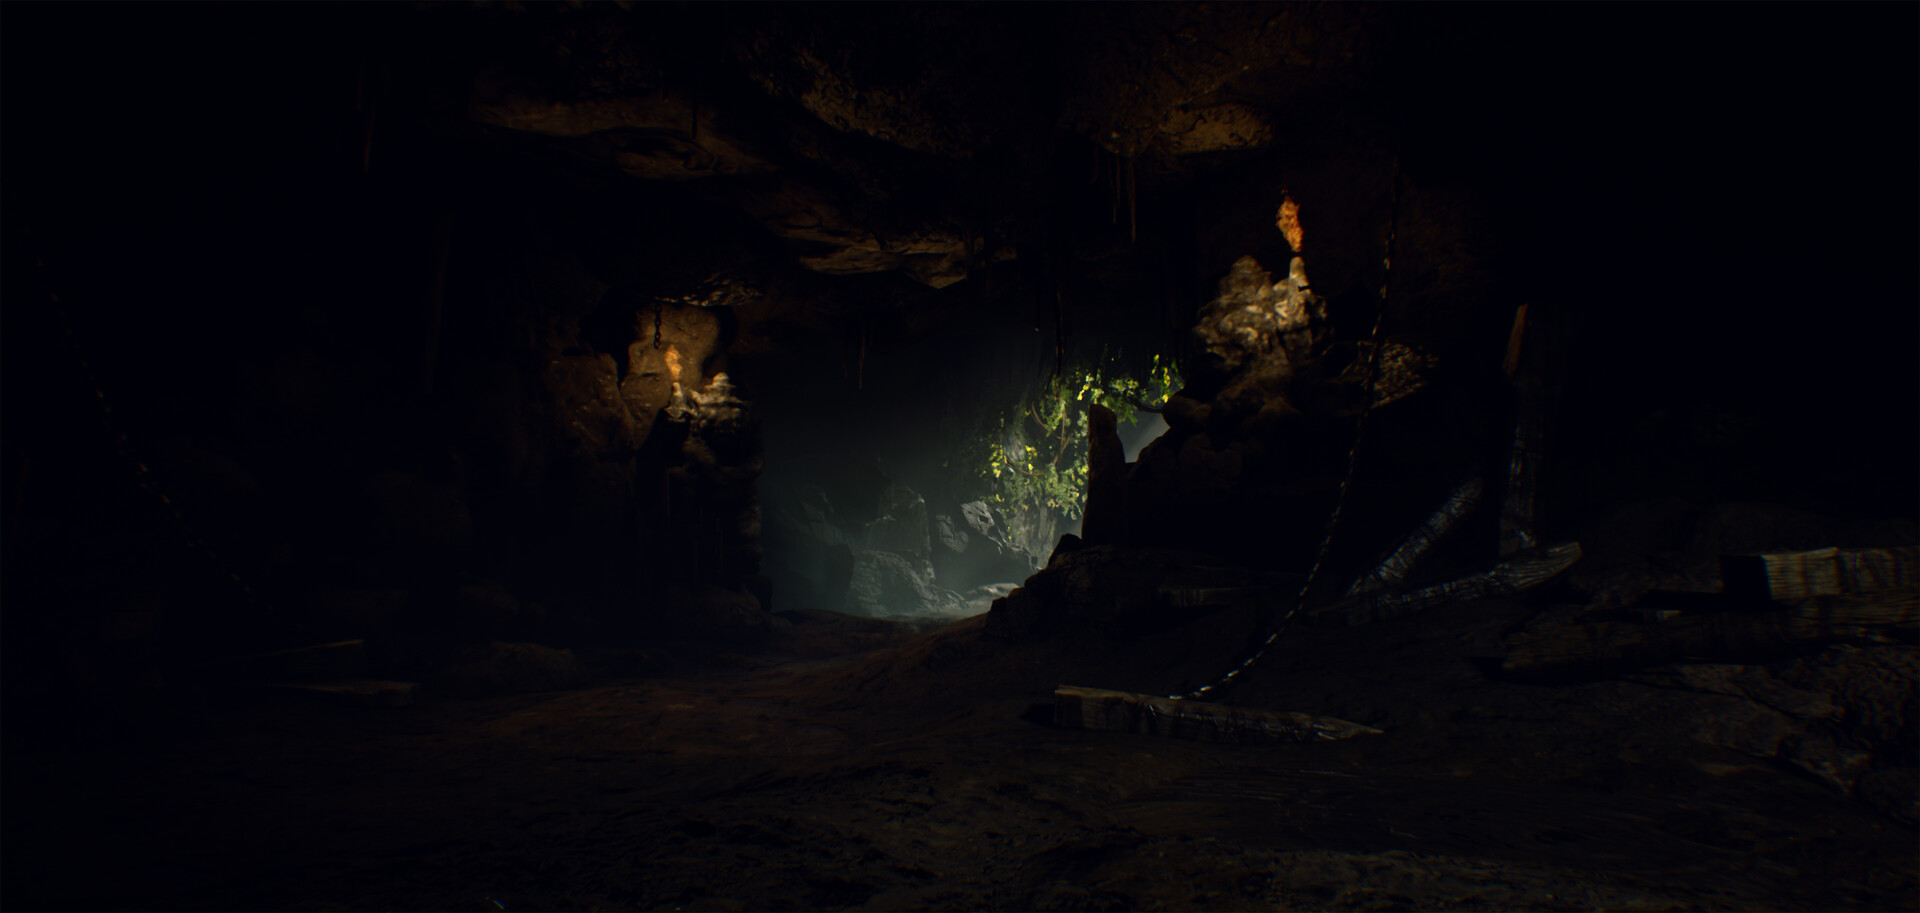
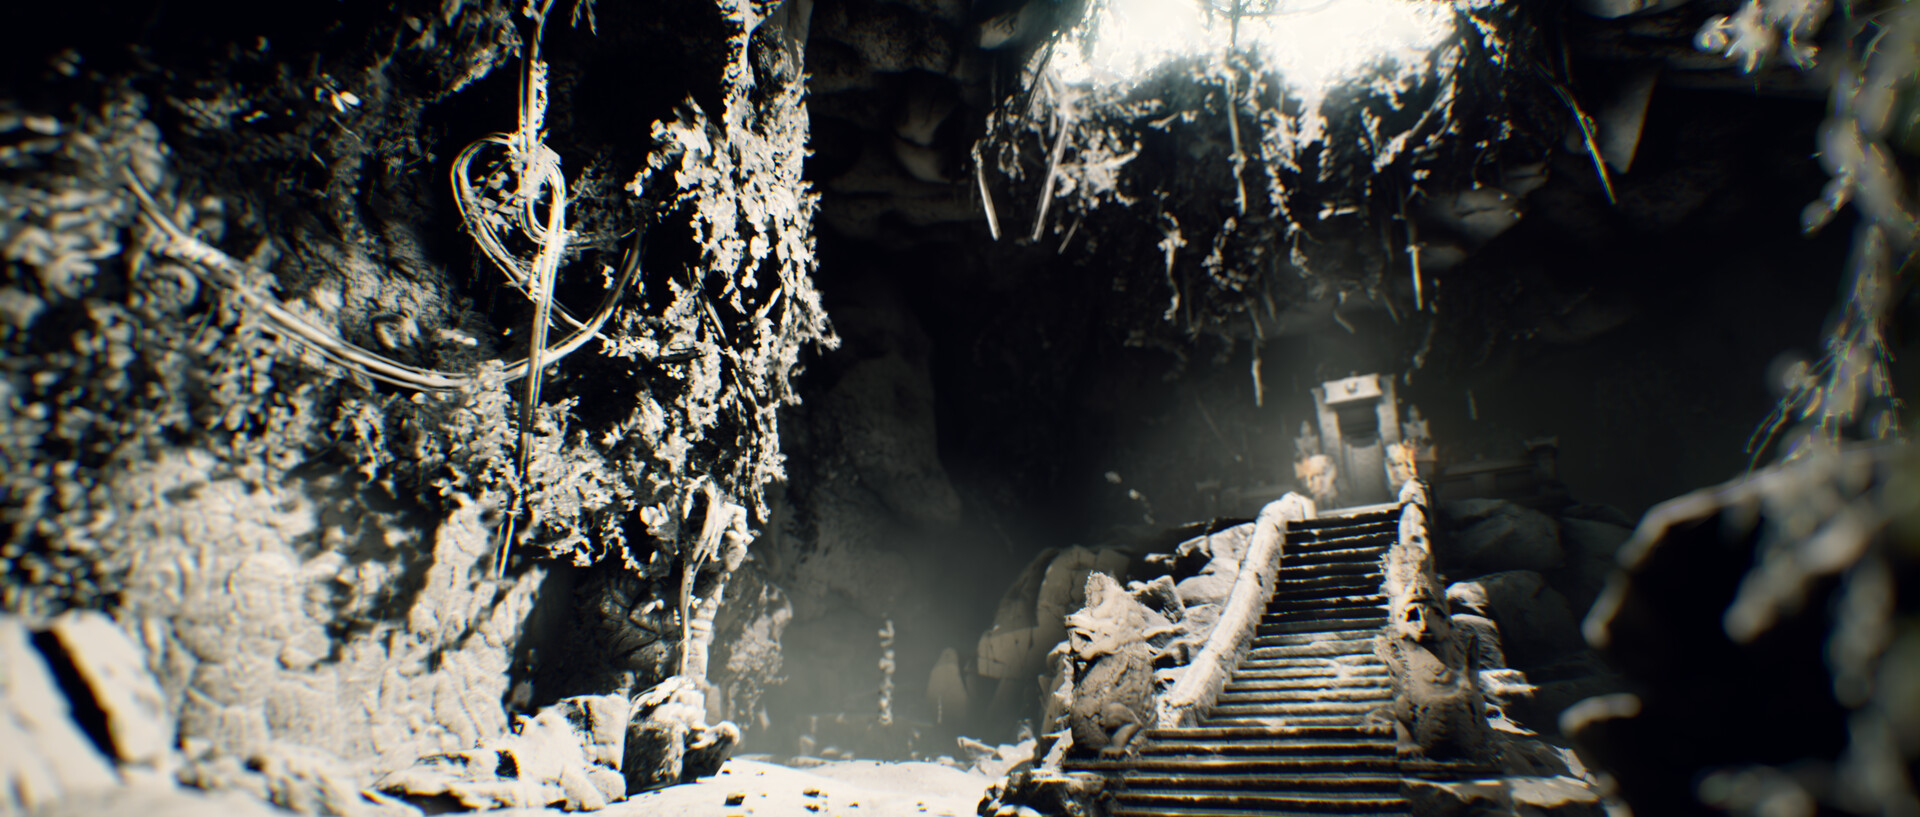
For this entrance scene, I focused on introducing what's this environment is about. I've added some wooden planks and metallic chain (from the Soul Cave environment pack) along with torch fire to show a possibility of live inhabits the place. In addition, I've also created brighter pathway in the background to show that there's more to the environment than just this entrance.
The scene is intentionally dark, to emphasize the existence of a new environment in the back. I placed a cool fill light to give a sense of an outer world behind the camera. Which if we combine with the torch lights, we can create a nice color dynamic within the scene. Here's a breakdown images of a detailed lighting and scene depth passes for the entrance scene.

2. Adding Moss Detail
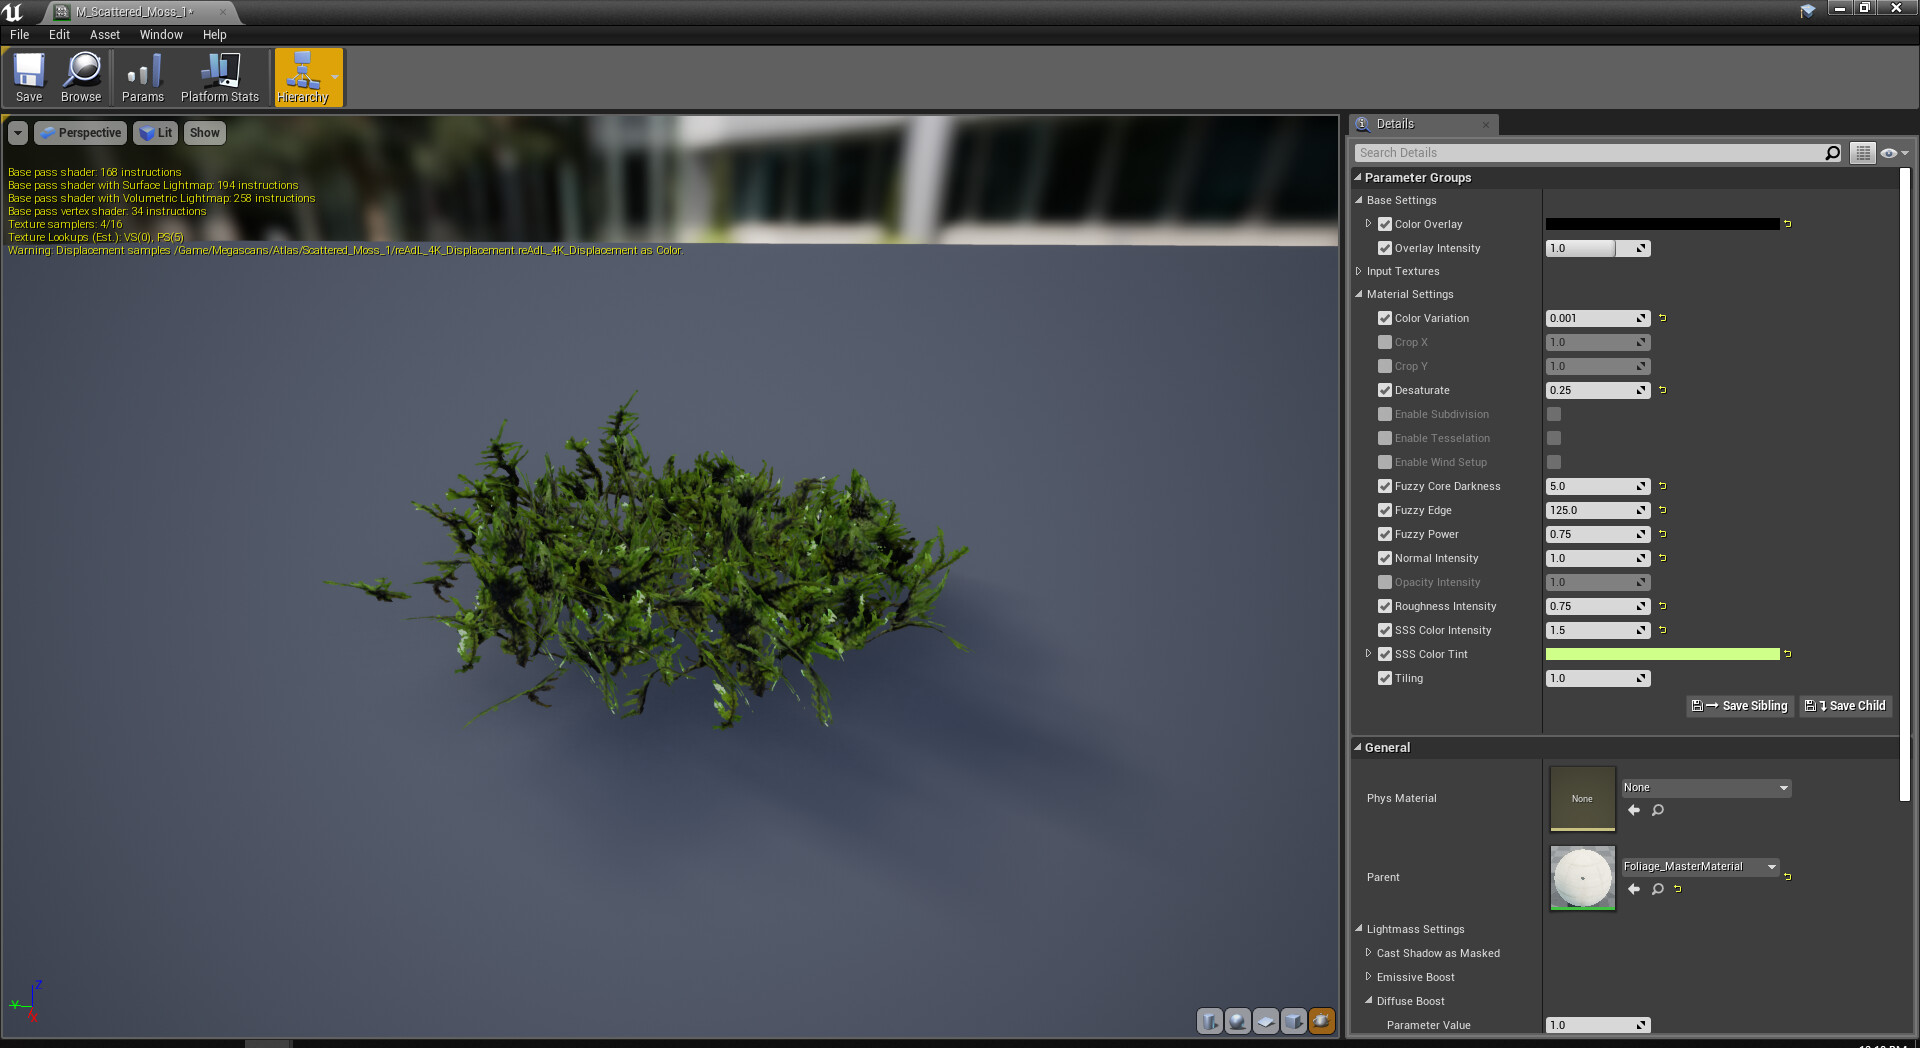
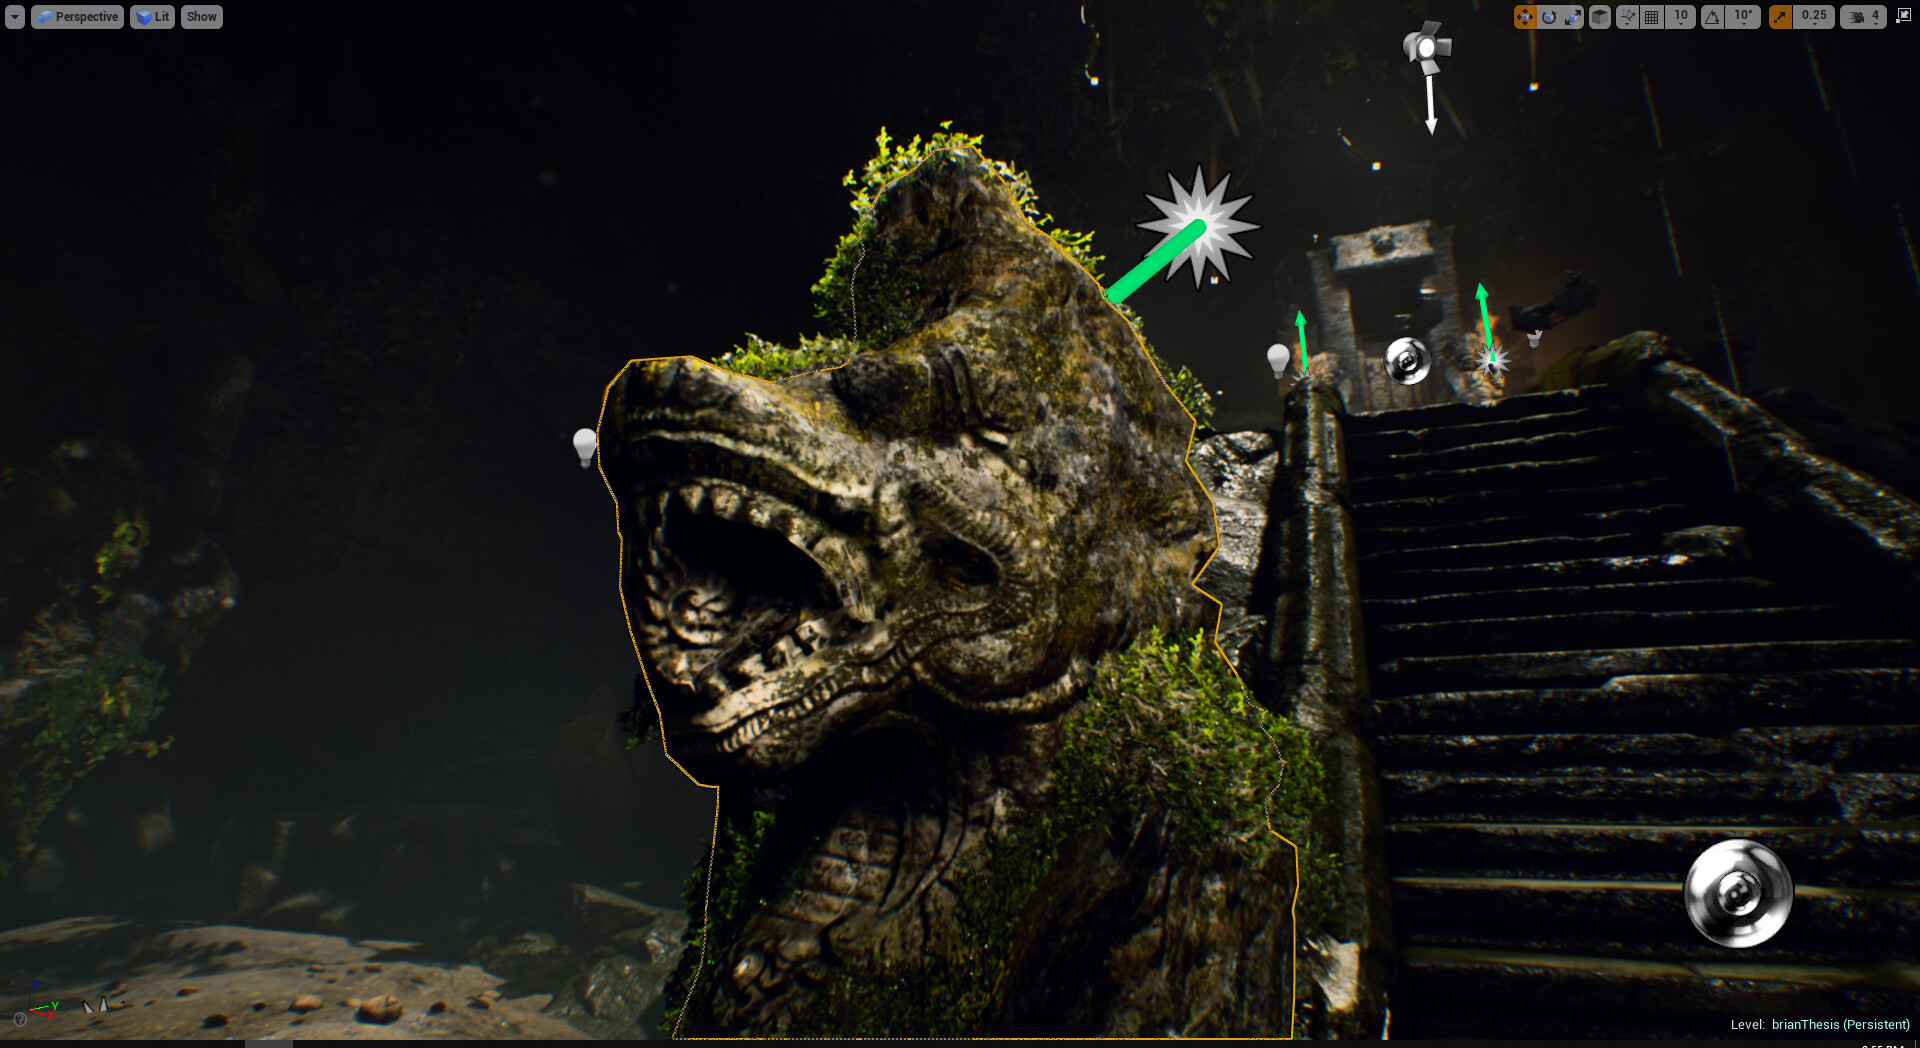
The next thing I did was adding moss detail on some foreground assets, mostly the statues. The moss were created from Quixel's moss atlas, imported to Zbrush to create a quick base mesh for each plant cards.

3. Color Grading and LUT
Color lookup tables (also known as LUTs, is a file that changes all the colors of your image to different ones, usually to apply some sort of filter effect or stylized look. In Unreal, a LUT can be used to achieve color correction using a Post Process Volume. In this case, a LUT is used to create a more natural look for the environment. Here's a quick look of how a LUT affects an environment.
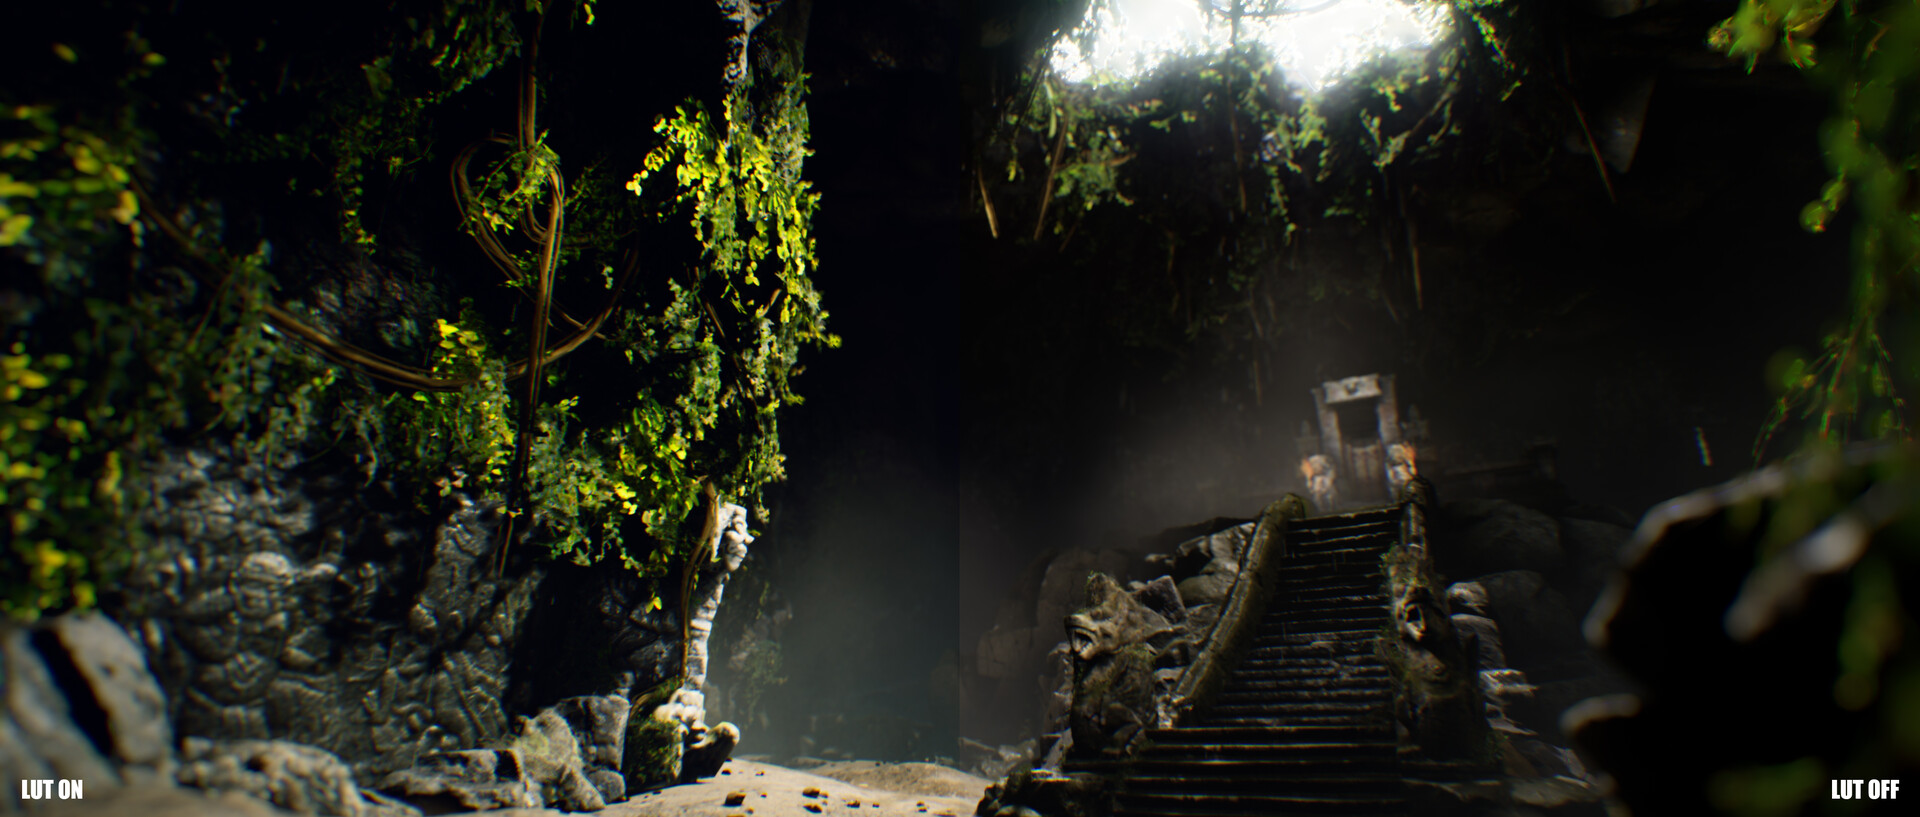
The main reason to use a LUT is it provides instantaneous results as simple as a click. I'm not going to show how to create a LUT, as it is a fairly common trick to be used in the industry. You can check Epic Games Documentation if you really want to learn how to create one. Here's another closer look on how a LUT affects a scene.
with LUT
without LUT

As you can see, the difference is quite subtle but it changes the narrative of the scene a lot. The one with LUT shows a more calming yet mystic natural space. To be fair, you can create this effect by adjusting each of the post process volume's parameters but it will take a lot longer time to generate a similar result.
4. Cinecam
Last but not least, I've added multiple cinematic cameras to the scene. Each focusing on telling a different story of the environment. Starting with an entrance scene, hinting about the main temple area. Which then continues following the environment by showing each detailed parts of it.
For all the sequence, I've manually key framed the movement through the sequencer. This is how my sequencer looks like.
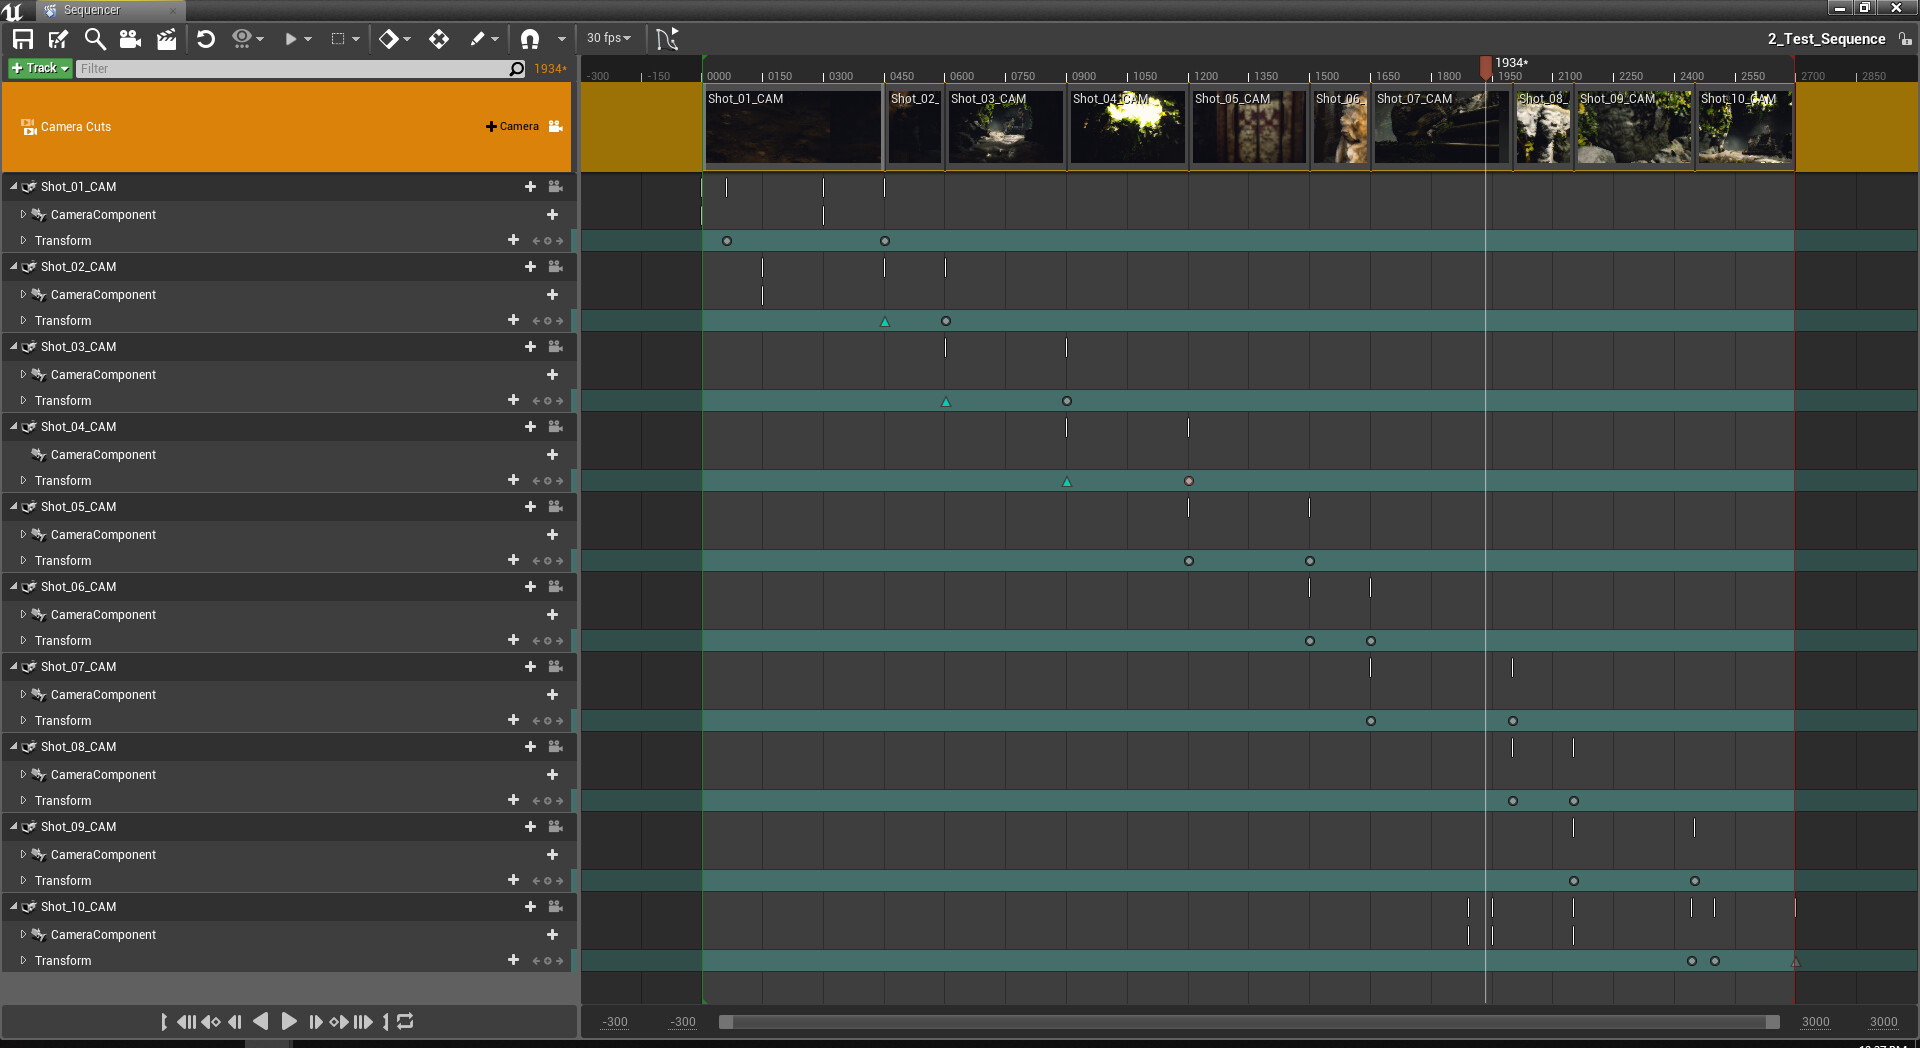
Here's the how the sequence looks in motion.
I guess this is it for this week's update, I'll continue polishing the environment for the coming week. 'Till next time!