Hi guys, welcome back to my thesis blog update! This week, I'll be showing a step-by-step progress of my real-time environment starting from the block out phase to the basic lighting pass.

To make it easier, I've decided to build the environment based on one of the concept art I made before. This way I can focus on creating a detailed environment especially within the allocated time I have to complete my thesis. The concept art not only helped me in terms of lay-outing the environment, but also create the main lighting setup for the environment.
1. Preparation in Unreal Engine 4
To start it out, I used the common box-modeling method that often uses image planes. Thus, I started with importing the concept art as a texture map and applied it as a UE4 material. This helped me speed up the blocking out phase of the environment.

The material itself isn't complicated, I just created an unlit material with a tiled texture control. This way, I can control the texture size on the fly without the need of going back to Photoshop or other image editing software of your choice.
2. Blocking out the Environment
Now that I have the concept art imported, it's time to start building out the environment based on the view. The basic idea here is to create a modular building piece that I can just substitute with a detailed asset later.
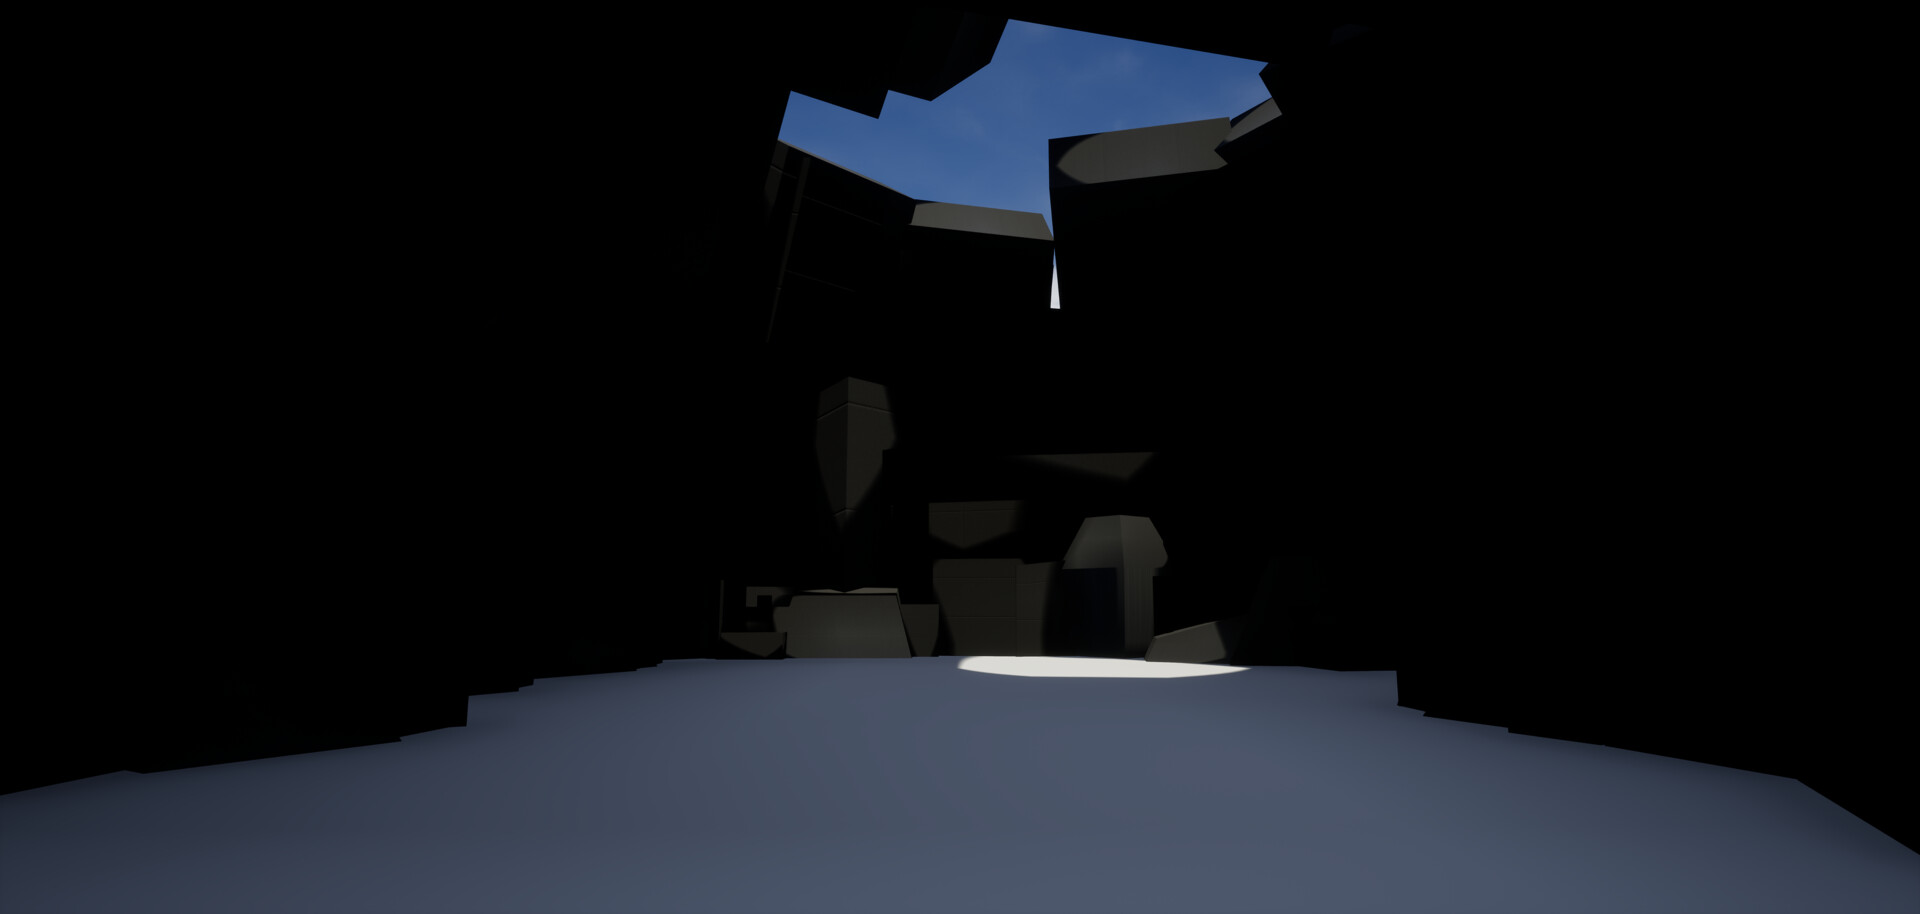


At this point, I was still eager to model every assets that I need to create. Later I realized that it was a bad idea, there is a reason why people started to kitbash assets in production.
3. What went wrong?
One thing I noticed was, the proxy geo I used to build my environment did not completely represent my sculpted assets. This is mostly due to the fact that I was rushing the modeling phase because of the time constrain of my thesis project. Thus, I imported the whole block out cave to Zbrush as as base proxy.
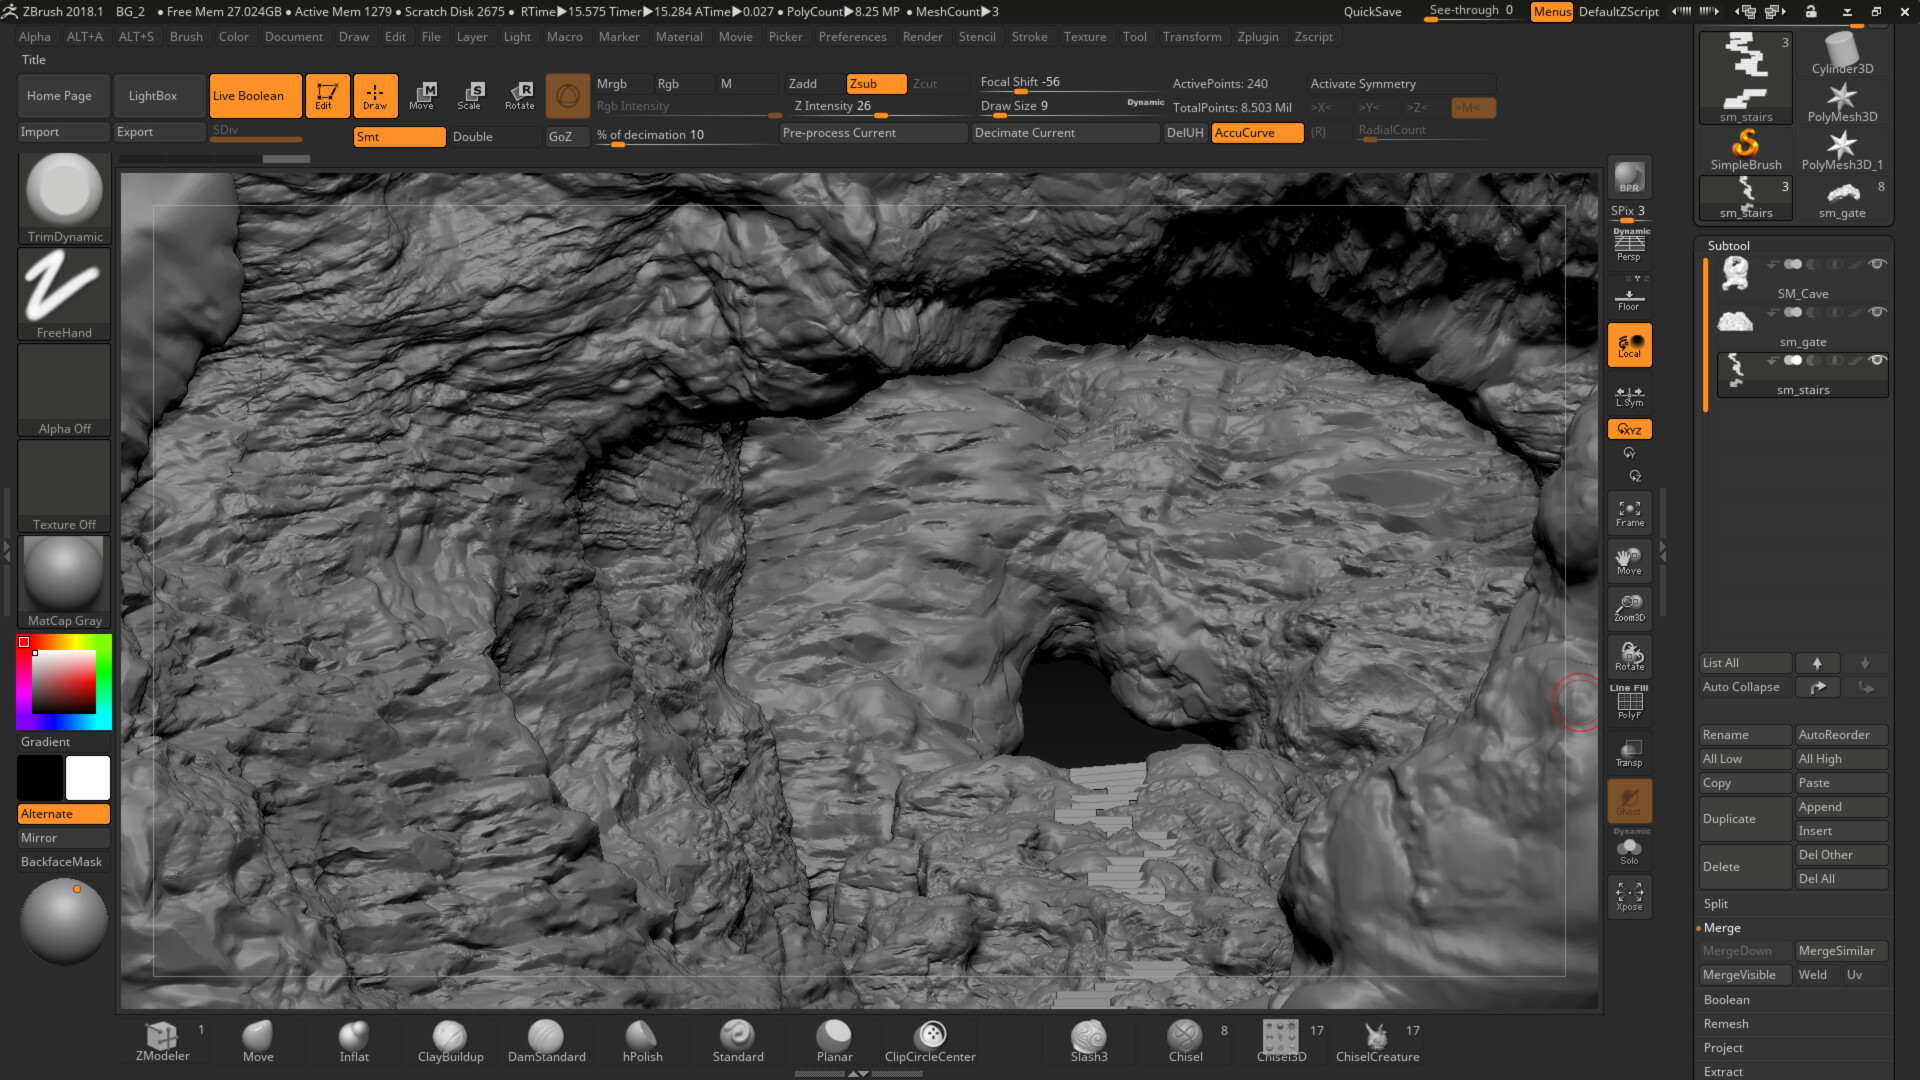
At that point, I was too tired to try fixing my sculpted assets so I decided to sculpt everything in Zbrush. I created the whole cave in Zbrush with the help of JRO's Rock Brushes and decimated them before importing it to Unreal. My plan was to retopo and break the environment into a few pieces and bake the details unto planes later.
4. What's the Next Plan?
Now that I have a sculpted cave, I can just import the decimated version to Unreal. Since I used the block out assets as a base mesh, I won't need to adjust the location again later. The problem with this method is I can't bake any lights while using the mesh.
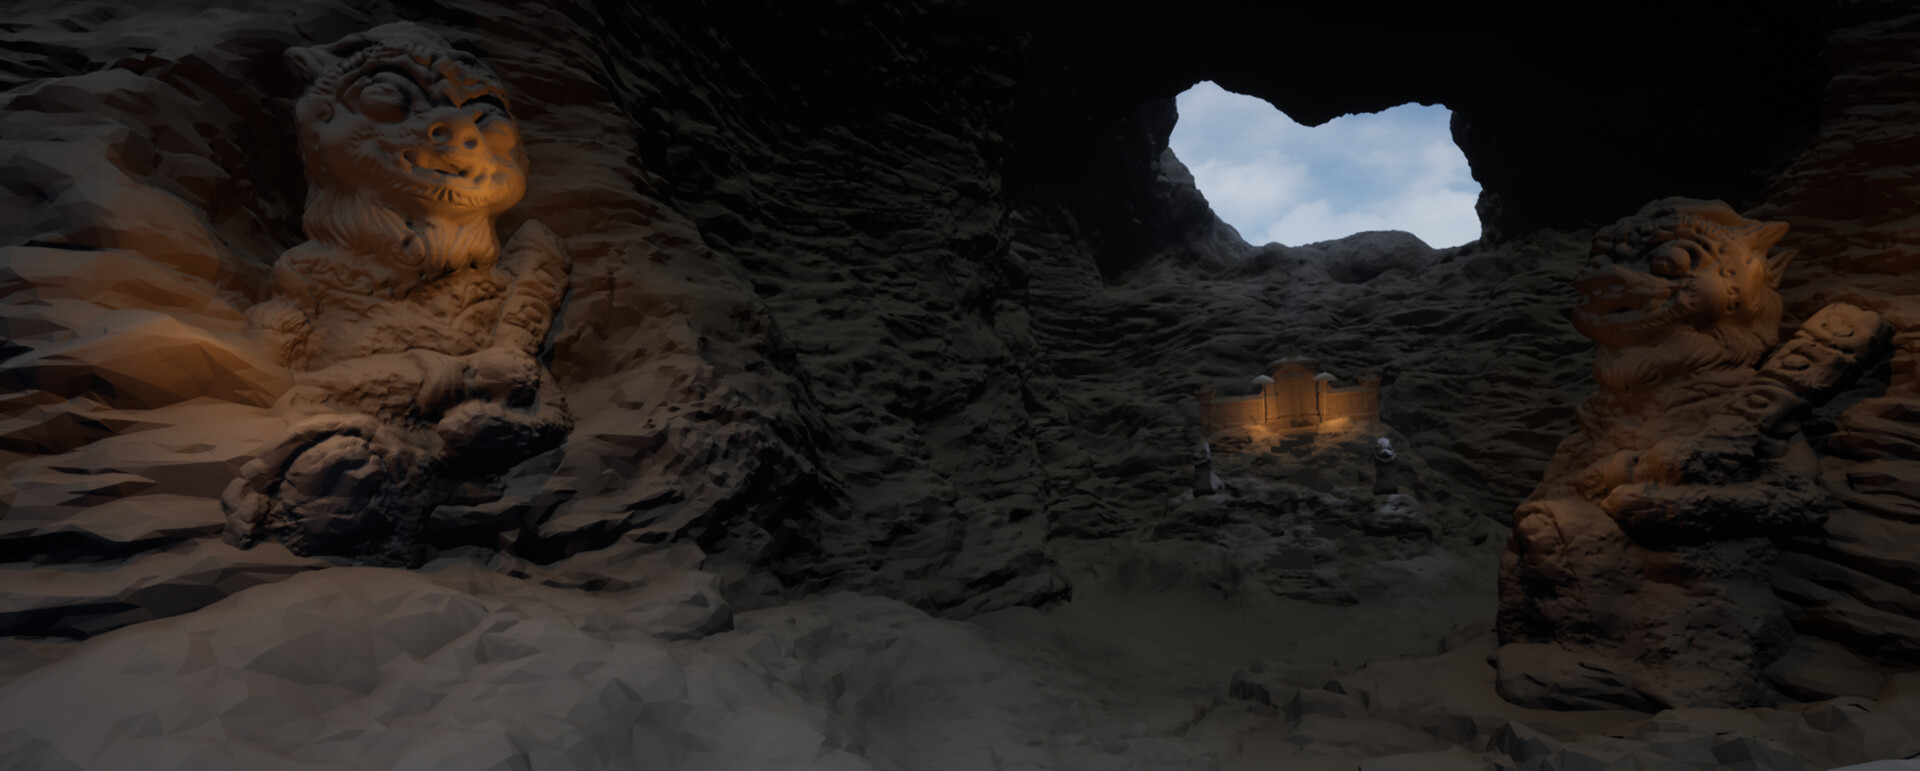
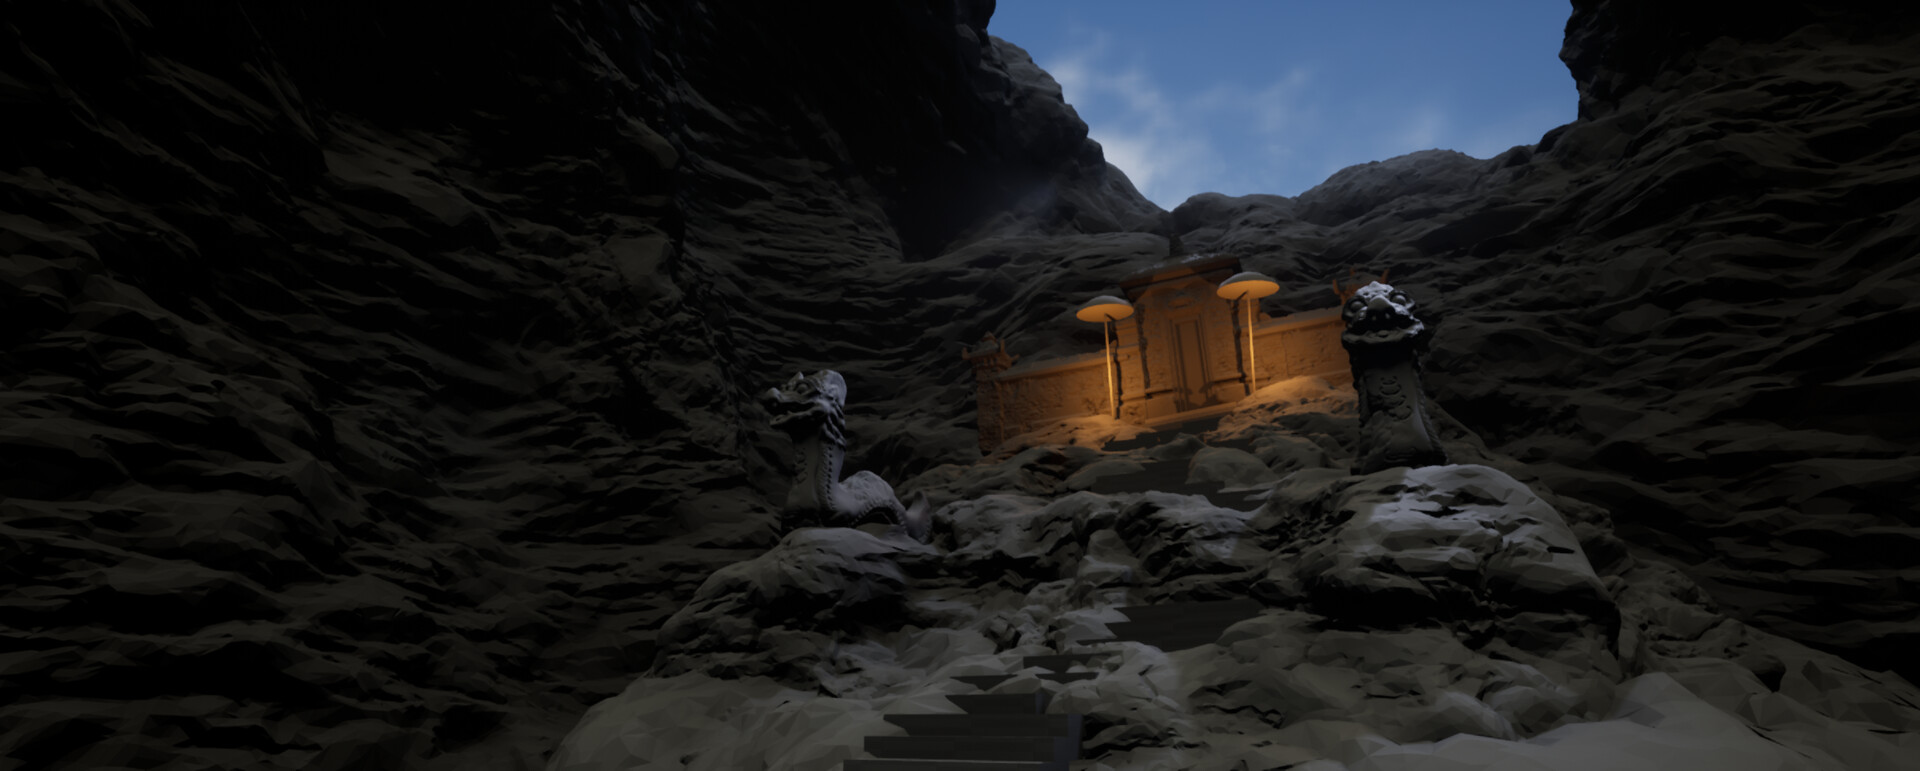
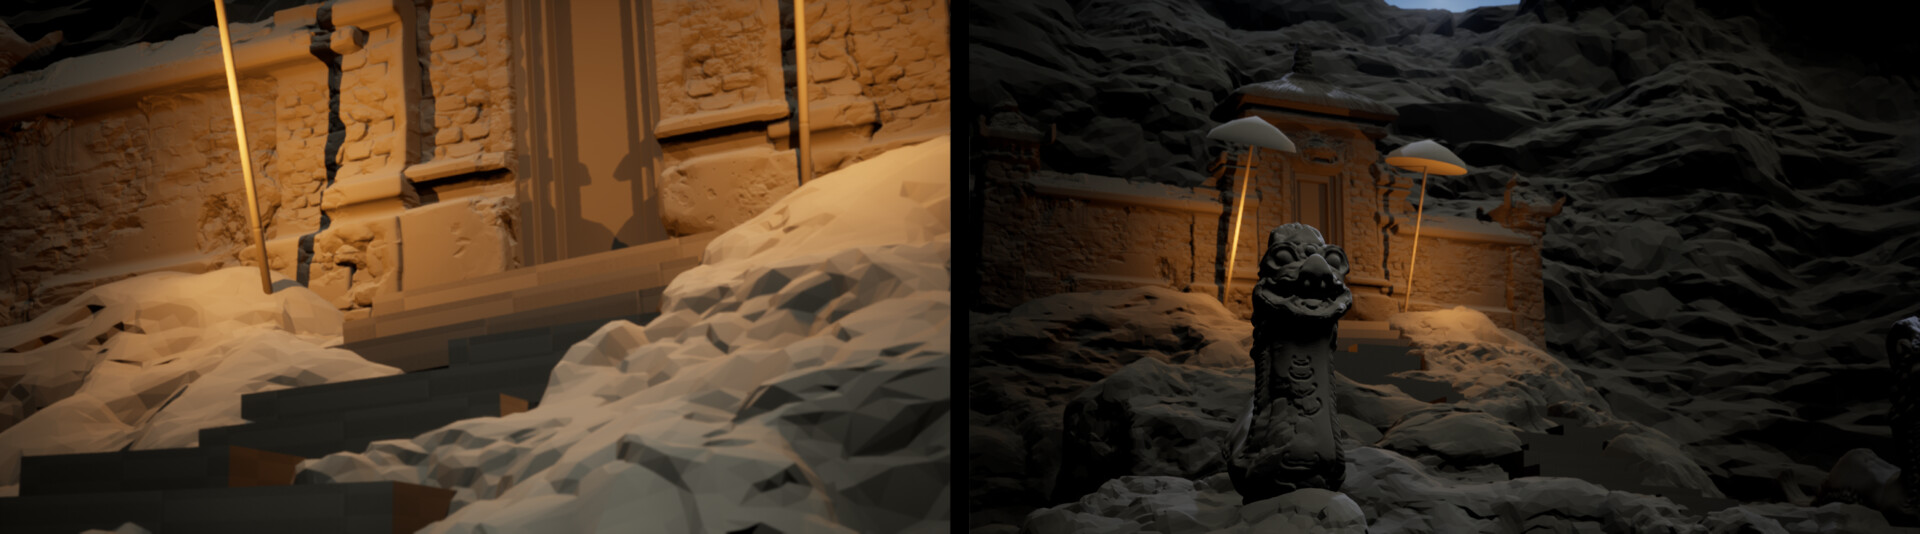
Fortunately it's not much of a problem for Unreal. So I created a few dynamic lights to showcase the environment. At this stage, all assets are sculpted in Zbrush. All the trouble that I have from creating all the assets manually is not worth the time it took the detail them all. Which is why I decided to use photogrammetry and Quixel assets for my final environment.

The new trend in using photogrammetry for film and games comes up at the perfect time for me. It allows me to use highly detailed assets without the need to create them one by one. Thus, helping me to focus on look dev-ing the environment and the lighting.
I guess that's it for this week, I'll be updating the blog with the scanned assets for the environment. 'Till next time!