Hey guys, I'm currently developing my thesis project, an Environment Look Development project based on Balinese culture. I originated from Bali, so I took the chance over the break to do some photogrammetry for the project. While I do learn the basic workflow during my internship at Turn 10 Studios, this is my first time dealing with it from scratch by my own. In addition, not many students in SCAD are currently proficient at developing a photogrammetry based assets. So it's a challenge for me to figure out the pipeline for my thesis. Let's get started!
1. Scanning the Object
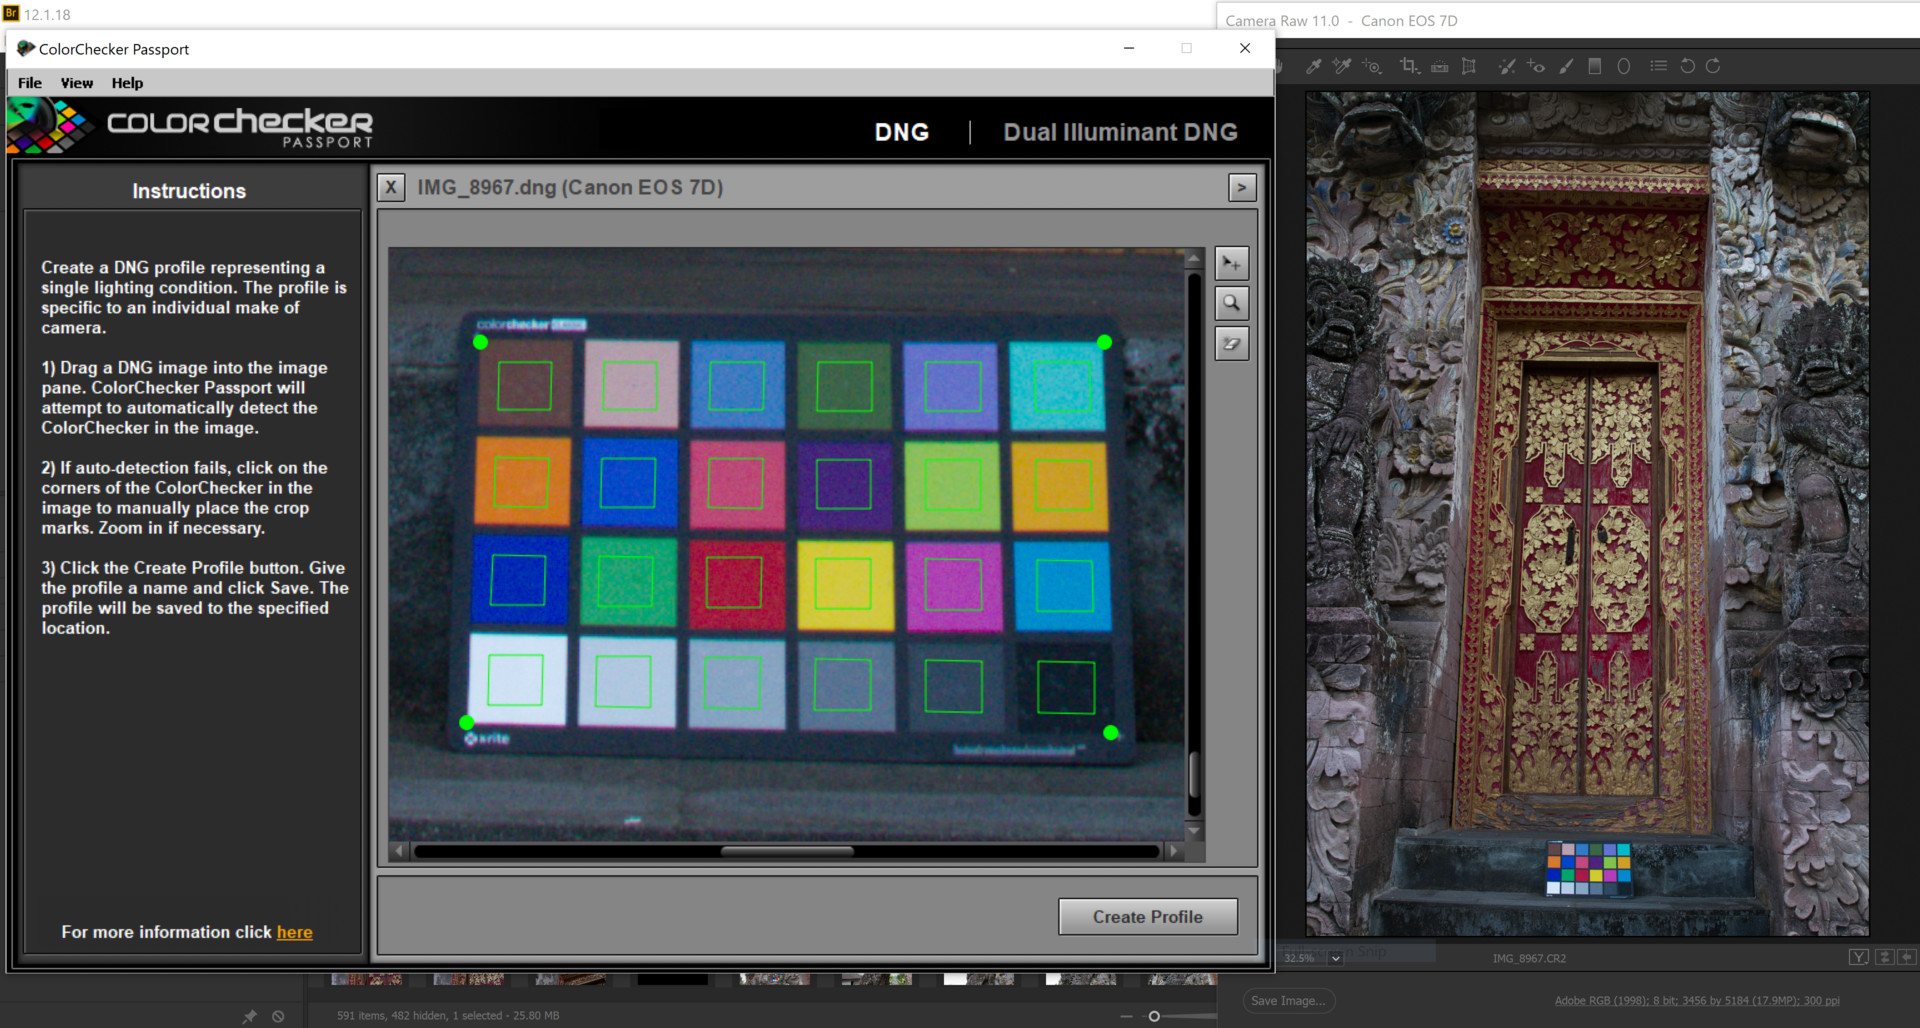
Before we start we doing aligning images, it's best to start the work in creating a Color Profile. X-rite provides a free color checker software that allows us to extract the profile data using DNG images. One of the biggest practice is to always bring a color checker with you when working on a photogrammetry project.
Now that we have the color profile data, we can batch apply them using Adobe Bridge. Just open one image through the Camera RAW plugin and copy the attributes to the rest of the shot. This will allow us to generate a same color correction without the need to do it manually one by one.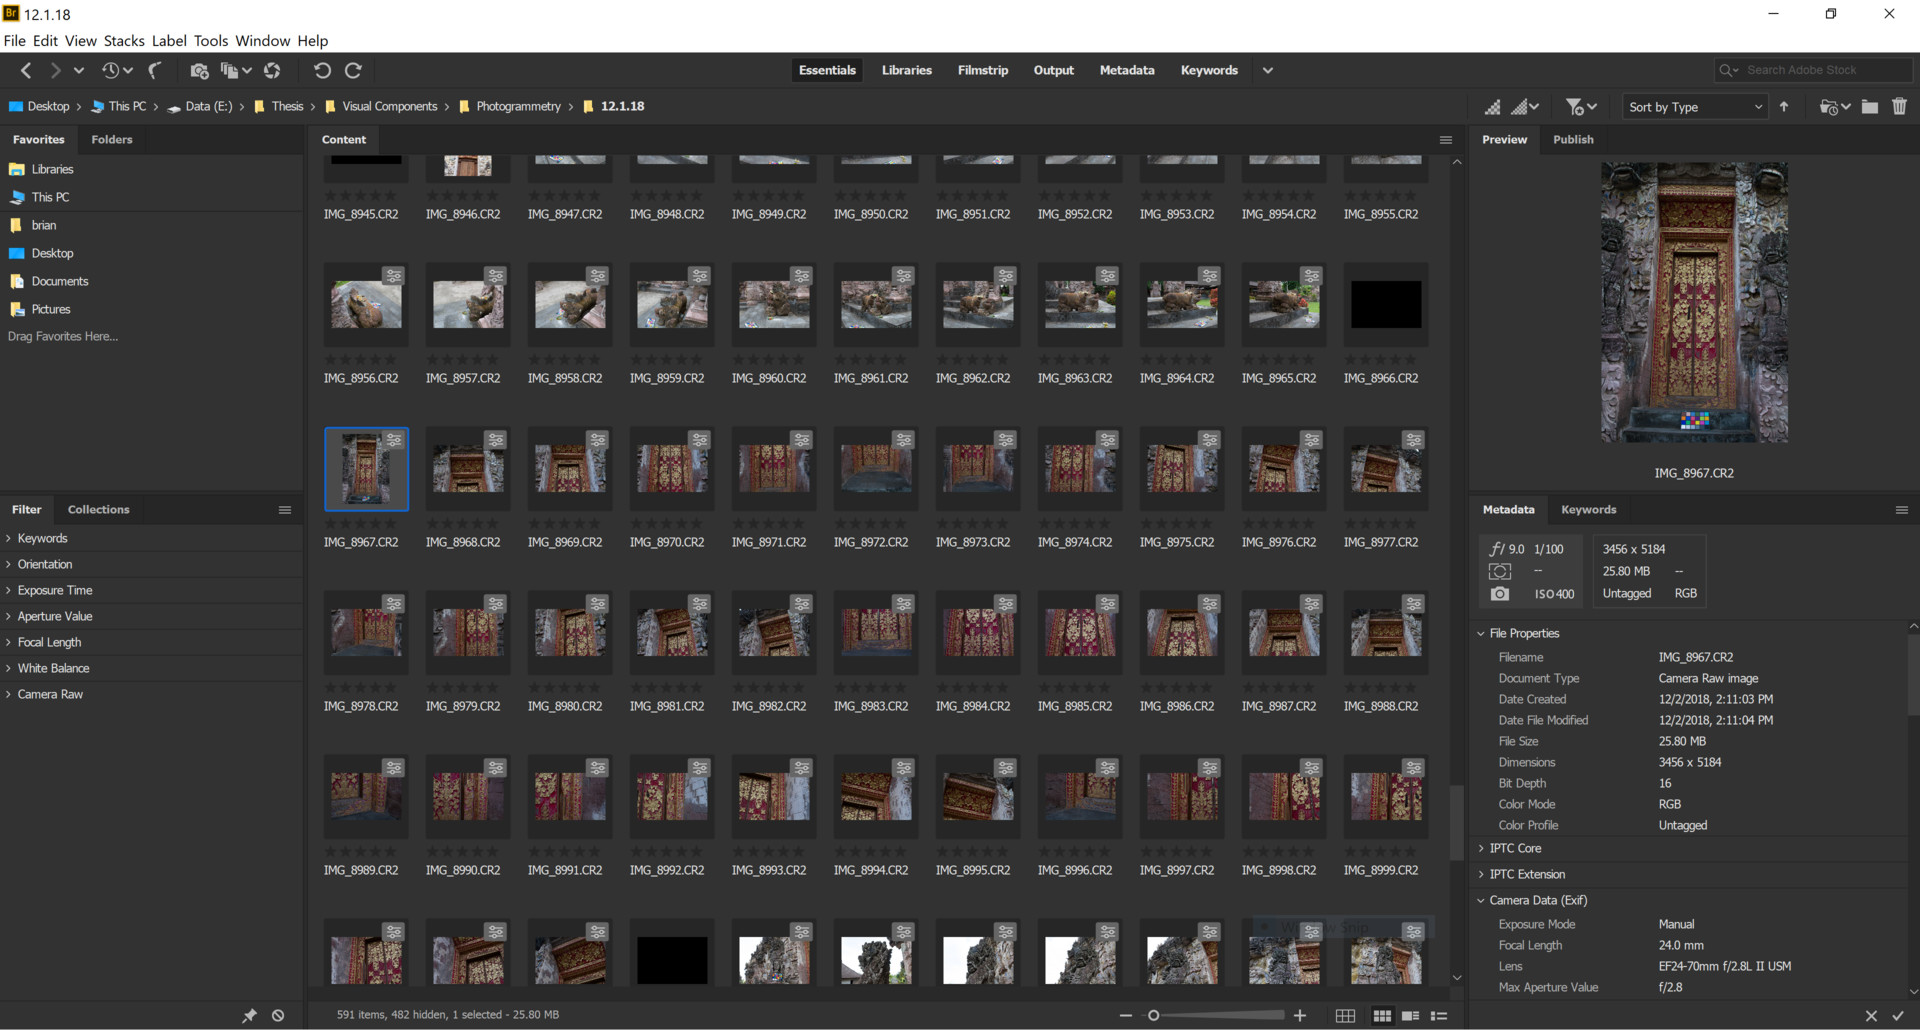
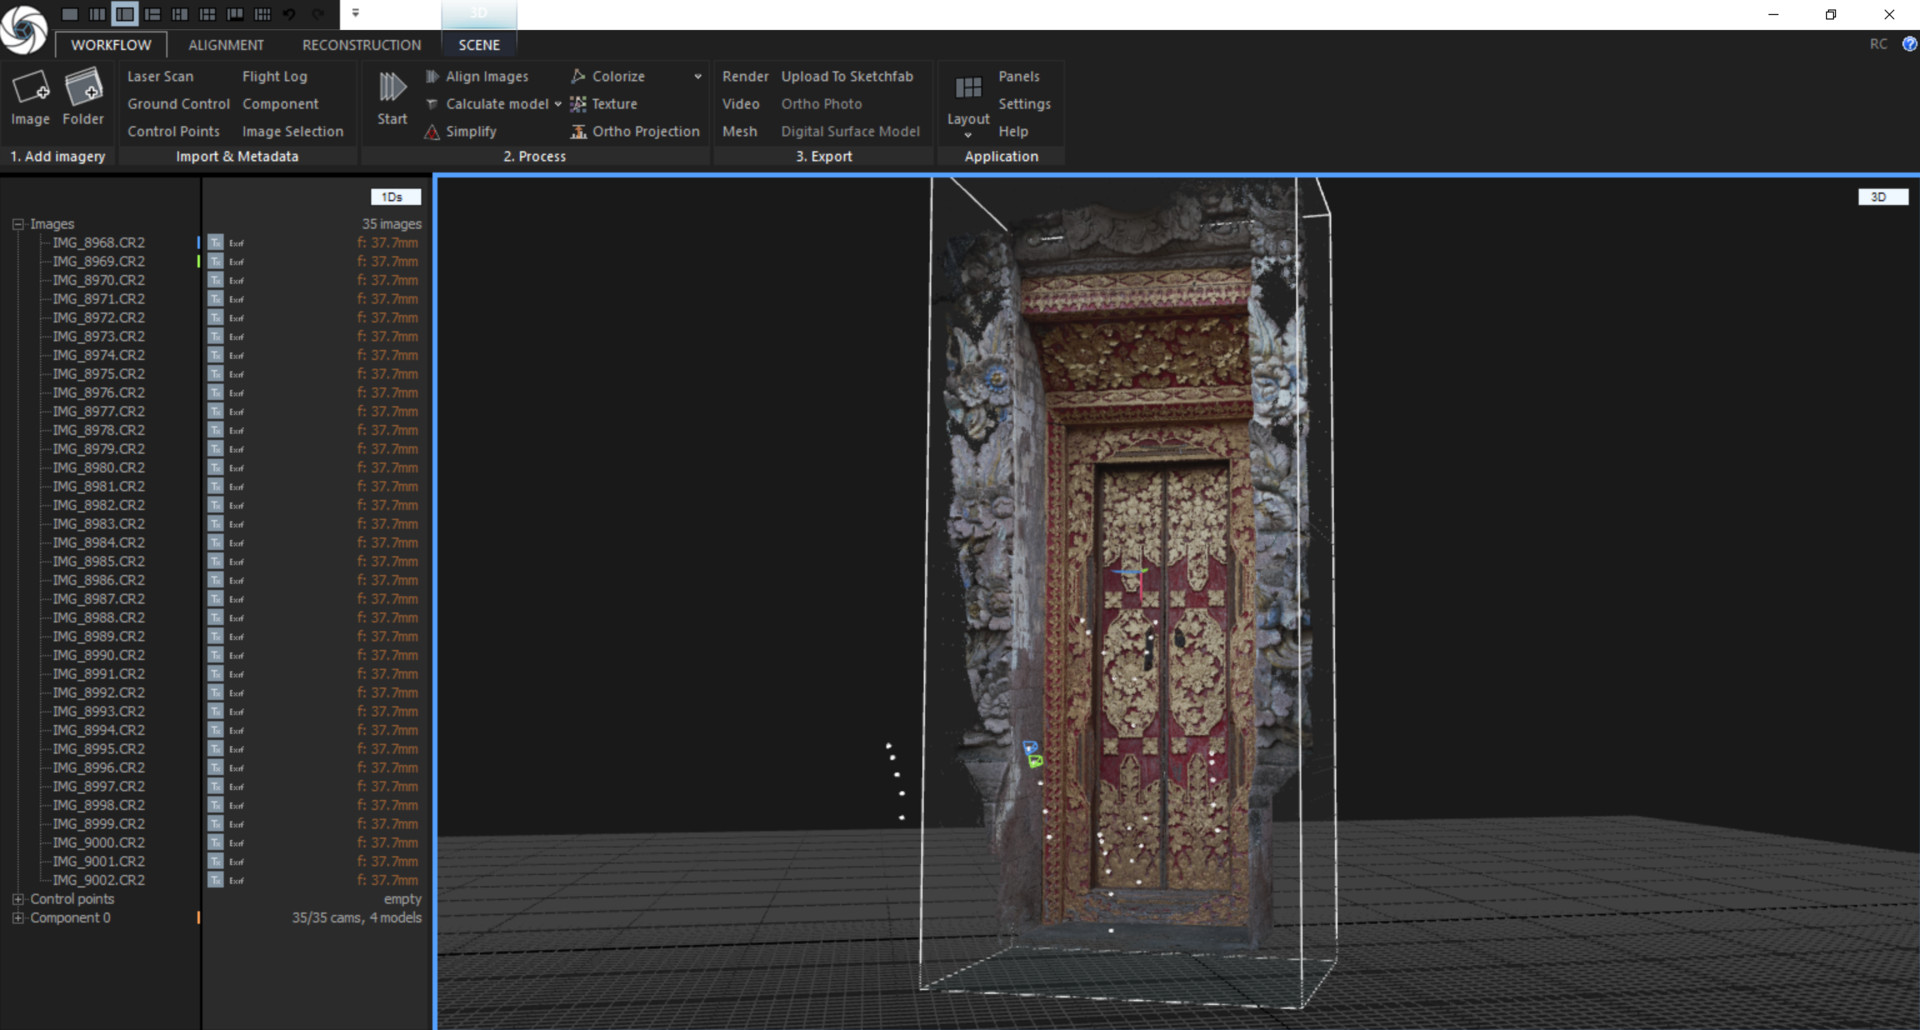
Finally, we can start working on making it into 3D. I choose Reality Capture as it provides a faster iteration along with less noise mesh compared to Agisoft Photoscan. And working on a laptop gives Reality Capture more advantage and flexibility over Agisoft.
Another benefit in using Reality Capture over Agisoft is the fact that the UI is so much easier to navigate. A nice dark themed UI, along with in program tutorials made me love Reality Capture right away. It took me around 1 hour from aligning the images to exporting the highpoly mesh from the software.
Not to talk bad about Agisoft, but it will definitely took me a lot longer if I were to use it over Reality Capture. In the end speed triumphs everything in production.
2. Retopologizing the Scans
After all the scanning work done in Reality Capture, it's time to retopo the mesh. Working with such a high poly mesh is a nightmare, especially if you're using Quad Draw like me. Fortunately, I found this cool trick by FlippedNormals about GPU Cache in Maya.

Importing the scanned data itself took me around 10 mins (speed up for GIF). Even after the mesh was imported, navigating in Maya is really a hard thing to do. But for this trick to work, we still need to import the mesh before we begin anything.
Now that we have the mesh imported, it's time to export it out as a GPU Cache. You can go to the Cache Tab and select GPU Cache to export the selected mesh as an alembic cache.
All you need to do now is re-import the cache back in to Maya and start retopologizing it. As you can see, the cache didn't give you any poly count while still preserving the high poly from the scanned asset. This way Maya will be a lot friendlier to navigate and use.
3. Baking and Re-texturing the Scanned Asset
Once I'm done with retopo, all I did was import it to Substance Painter to bake the textures. I prefer doing this over re-importing it back to Reality Capture as I'll still need to do another texture pass on top of the scanned data. Mainly for the parts that I couldn't scan well enough. Diffuse map is baked from the Vertex Color on the High poly mesh, Roughness/Specular map is extracted from the Diffuse G Channel in Nuke, the rest are baked directly in Substance.
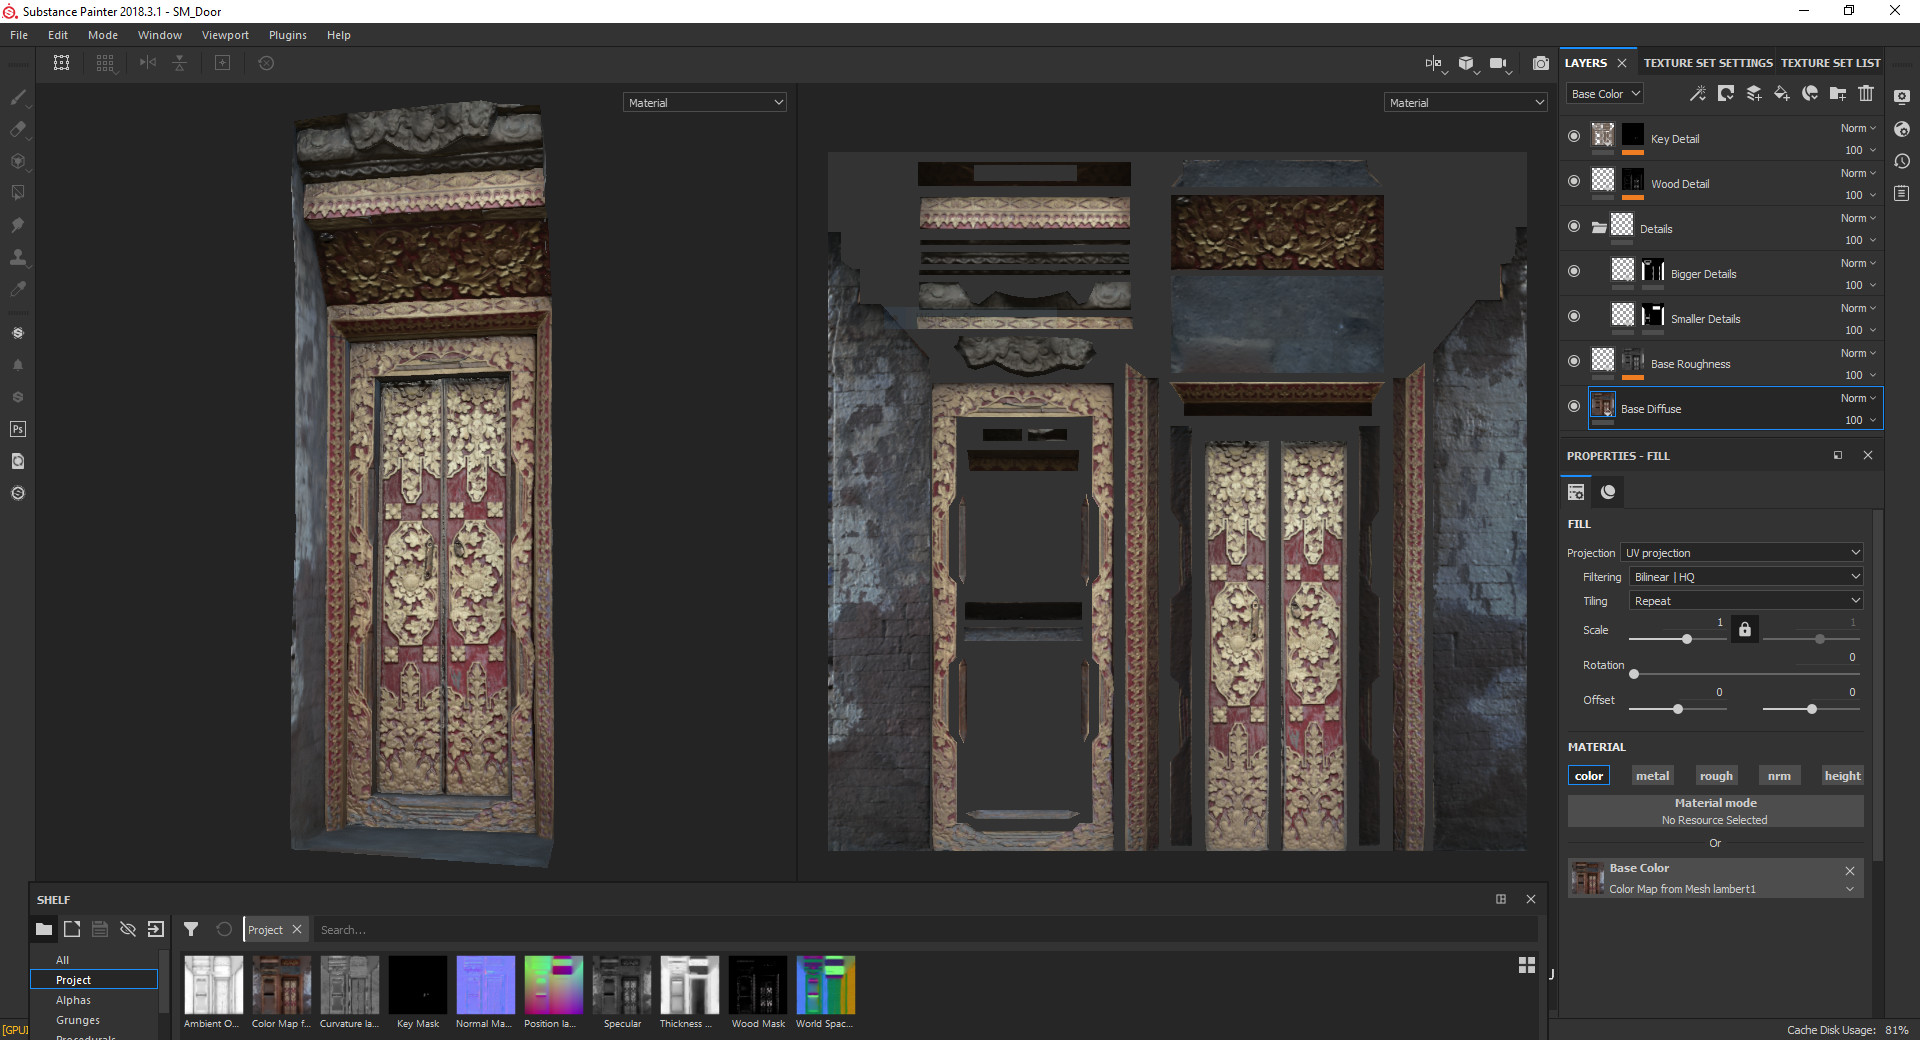
Here's a screenshot in how I work with layering the materials. I have also created a Metallic mask in Photoshop to make sure I get more control in shading the mesh later. Once satisfied, I just exported them using the Packed UE4 Preset from Painter. This is one of my main reason to go straight to Substance for texturing, as we know, Substance Painter supports Unreal Engine 4 even though it uses a different shading model than what we used in offline render engines.
4. Look Development in Unreal Engine 4
Setting up the material in Unreal is quite tricky. The default Material doesn't give us much freedom in creating an good 'render'. So, I've created a Master Material that allows me to at least customize the intensity of each maps, along with adding a texture variation. The next thing I'll do is make an overlay setup for grunges to give it more details.
Here's a screenshot of how the material tree looks like:
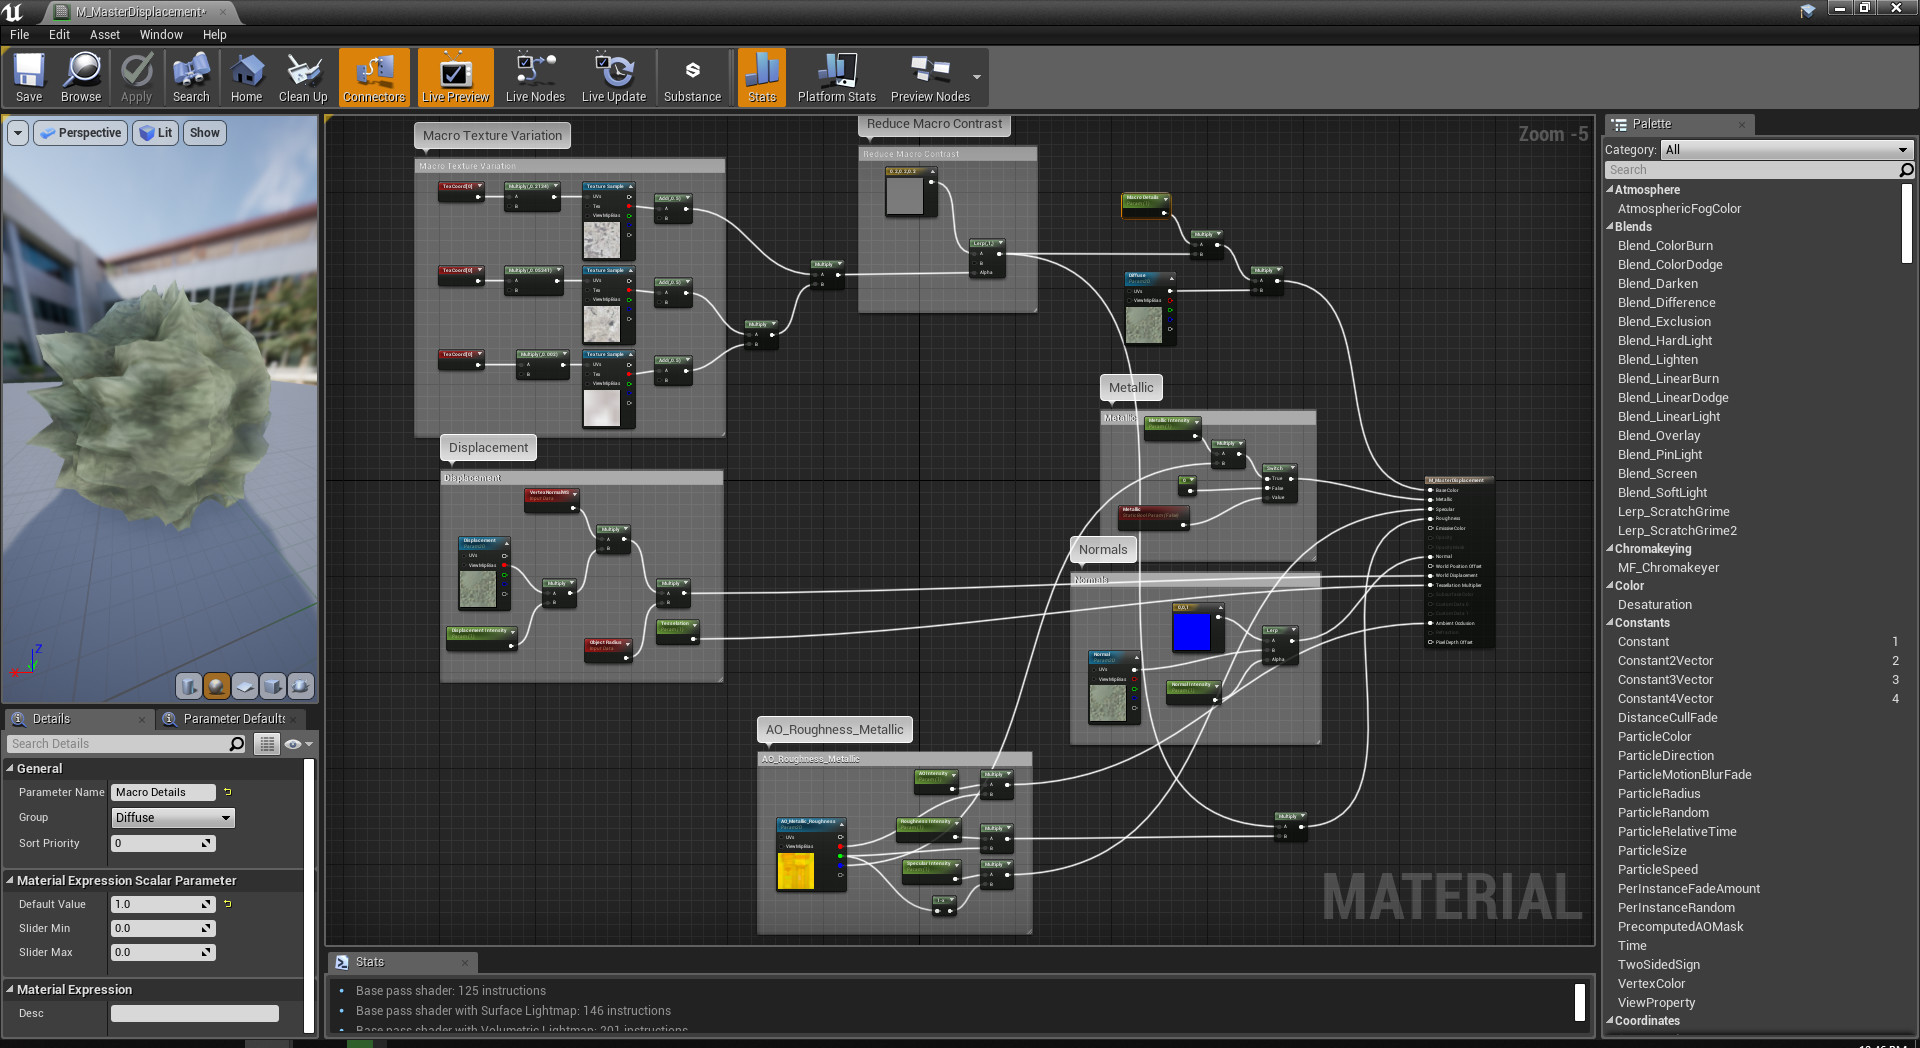
This setup helps me create Material Instances quickly with adjustable attributes for look development purposes. In this setup, I've added a tiny amount of displacement 0.005 to be exact, just to give a small touch in depth. Enough with the blog post, here's the final render straight from Unreal Engine 4:
Thanks for reading my blog, I'll be updating them weekly for my thesis project. 'Till next time!