Hey guys, welcome back to my real-time car commercial blog! At week 8, we finally get to work fully on compositing. The past week I've been setting up a new lighting rig inside Unreal Engine 4, getting a nicer rim light and a more defined reflections on the car itself. In addition, I've also attached several lights for the tail and head of the car. Here's a little preview of how the lighting rig look like in engine:
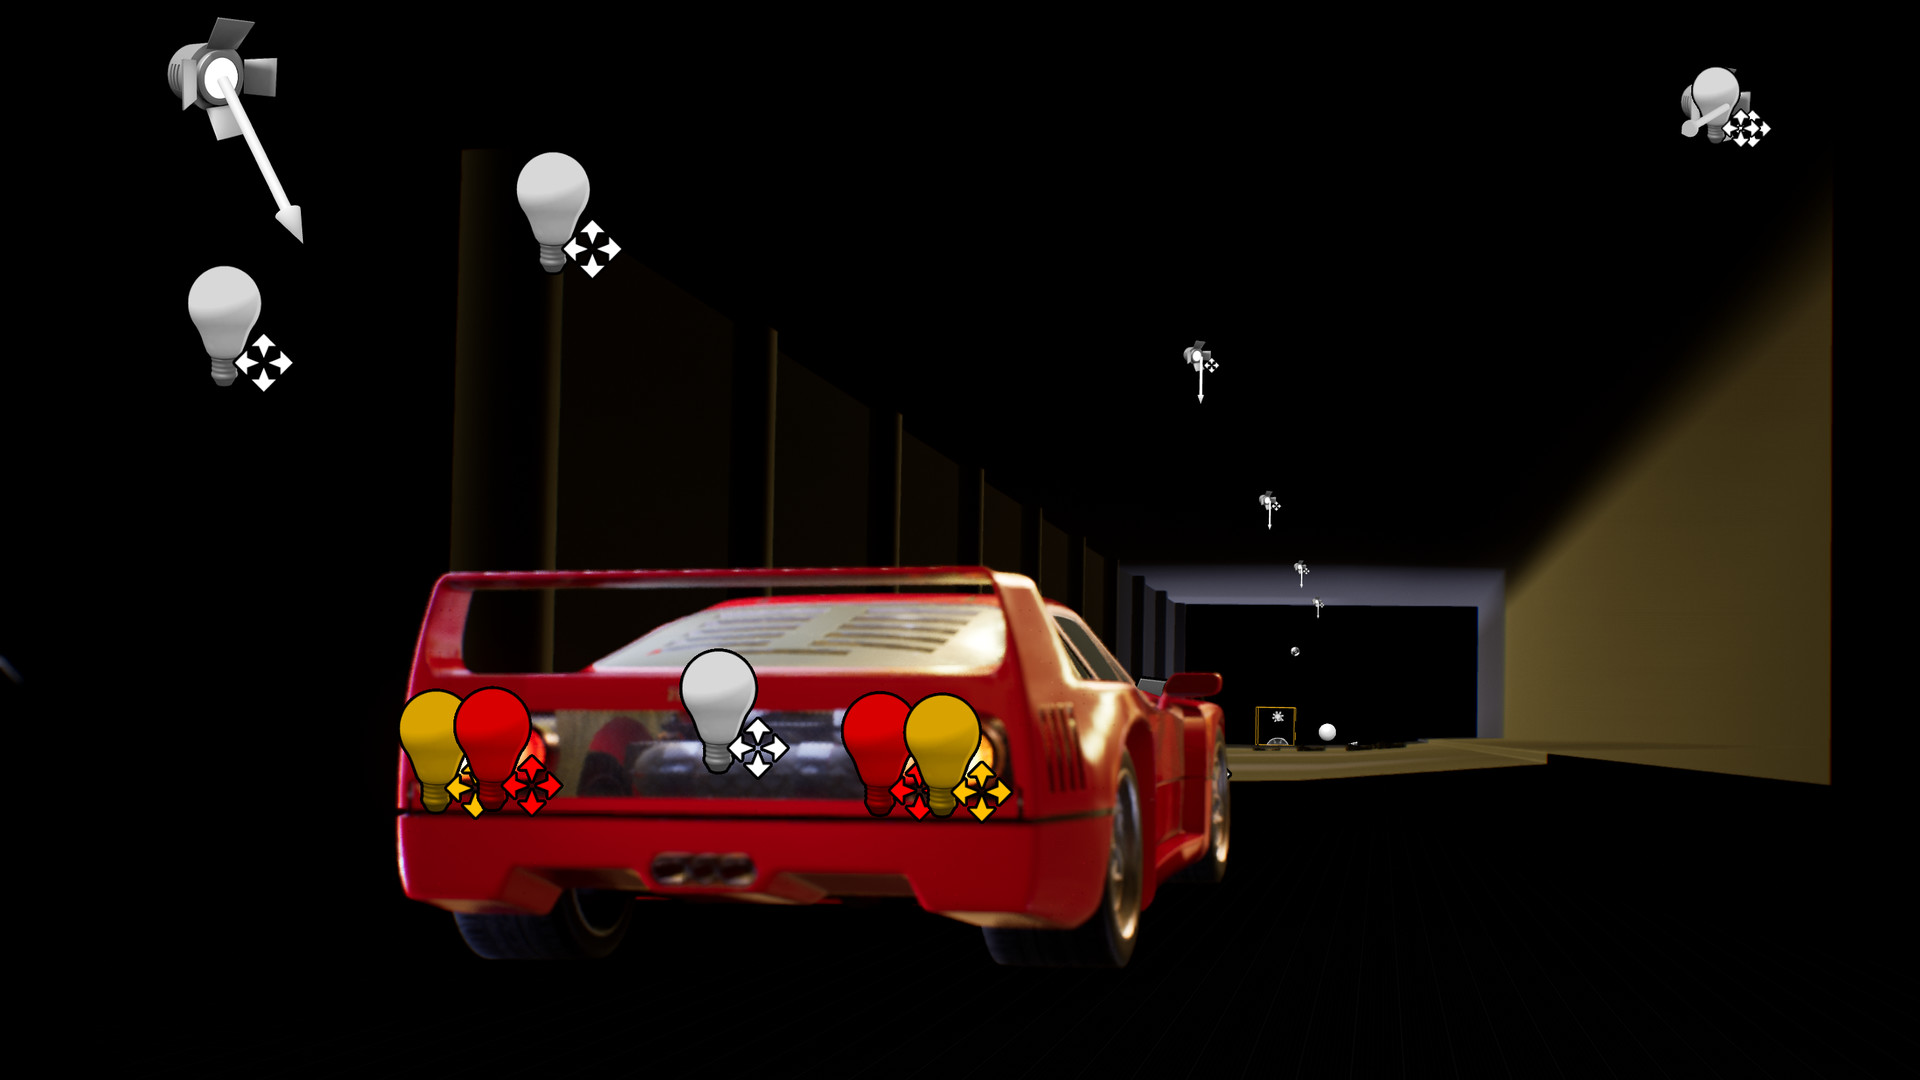
Now that we have a proper lighting, it is easier to integrate the car into the back plate. I've set a transitioning lighting using 2 beauty pass with different HDRI attached, making it it feels like the car is moving into the tunnel. Here's the how the first shot look like integrated in Nuke:
Car FX was handled by a talented tech artist Taizyd, you should check on his blog on how he developed the Shader FX! The glitch FX was inspired by Disney's Wreck it Ralph, using shaders to move the mesh around. The transitioning HDRI was driven by a custom depth pass that we exported out from Unreal. Here's how it looks like from Nuke:
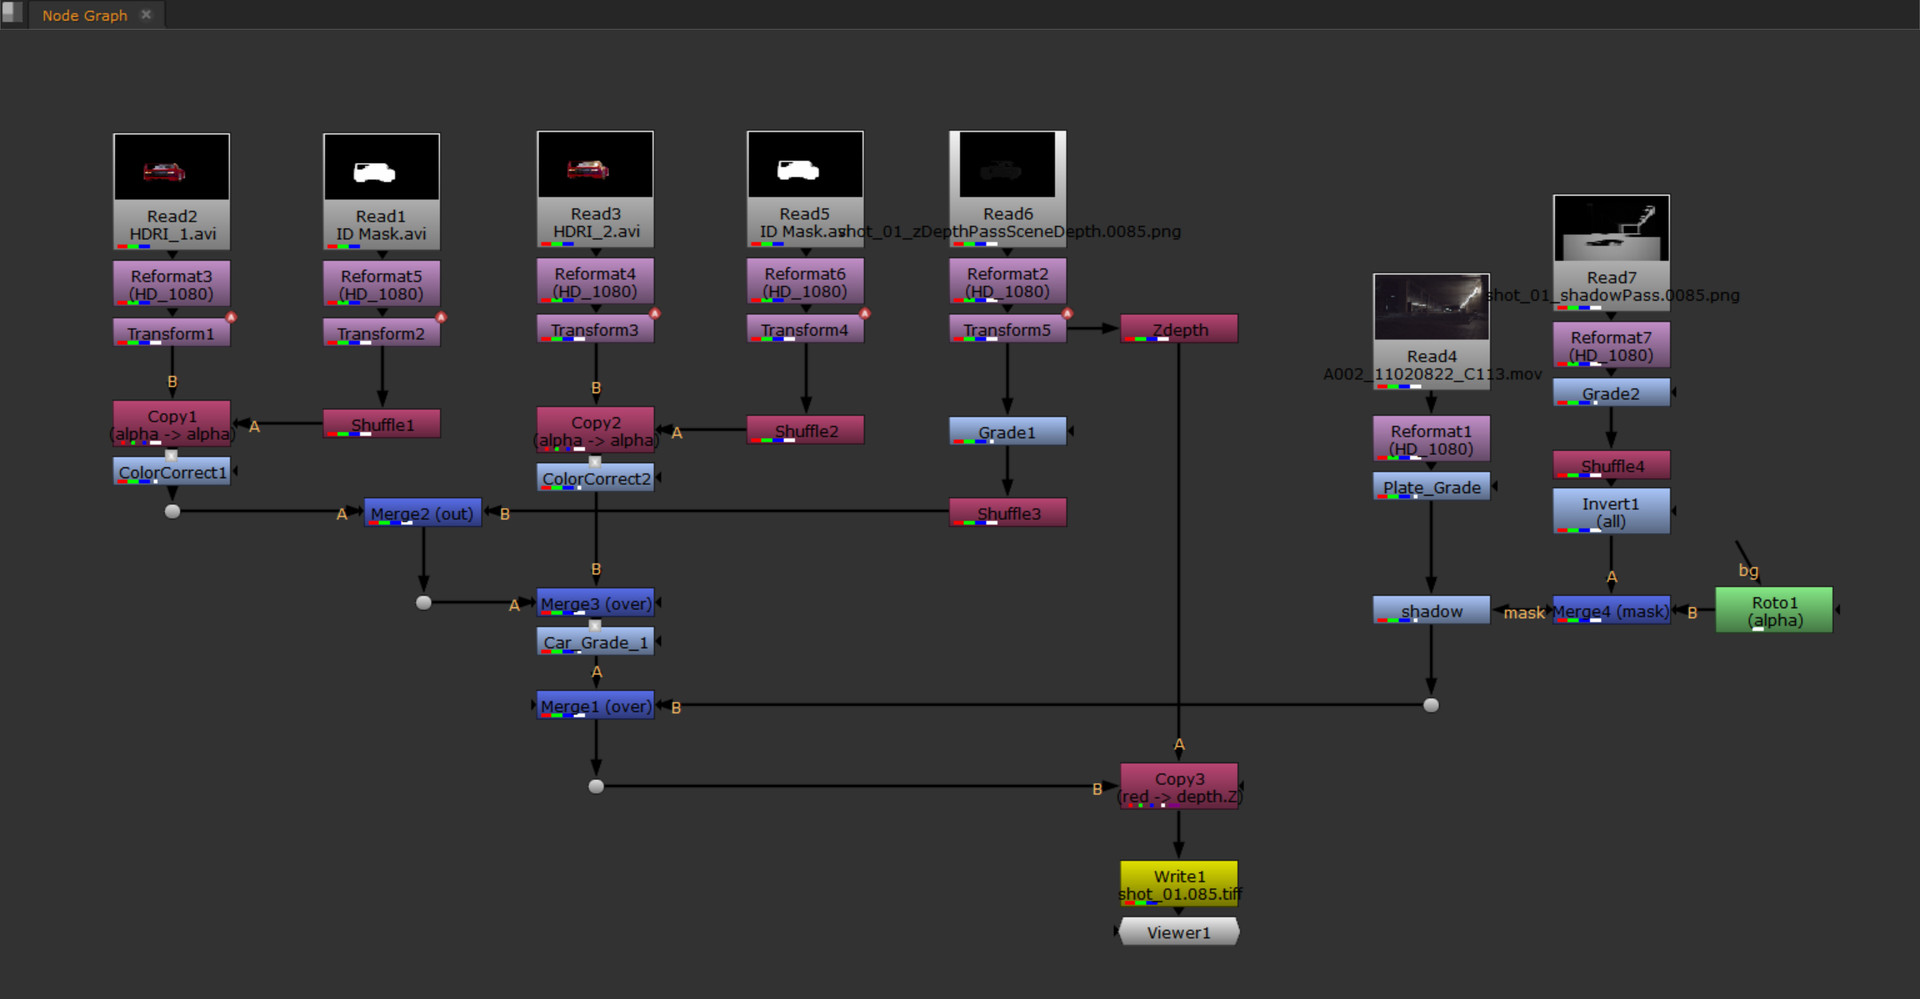
The transform nodes were used due to a miss match in unreal's aspect ratio to nuke's. Thanks to the glitching FX, moving the translation value of the CG object wasn't a huge problem. The hardest part of the compositing comes from matching the value of the CG and live action back plate. While we do not need to count on the render time, we've spent most of our time trying to figure out how to render out a specific passes like what we have in AOVs from offline renderers.
In addition movable or dynamic objects can't use any static or baked lighting, at least in Unreal Engine 4. So we are very limited in terms of render quality, having no access to raytracing at all. The only way we can fake them was hacking through the engine to export the render passes. Another problem arises in shot 2, a panning shot where the big FX happens:
With a really low light information in the plate, it becomes a very challenging task to integrate a real-time cg object into the plate. I've tried brightening up the back plate to no avail. When I tried pushing the light value brighter, the plate will look so grainy and doesn't feel right. Thus, I've decided to maintain the dimmed back plate for the shot. We planned on getting an additional FX that our tech artist have made earlier in the project. It's a light streak FX that were inspired by The Speed of Light demo by Epic Games in SIGGRAPH 2018.
Well then, that's it for the update this week! We'll be wrapping up the project next week, so stay tune with our experimental real-time integration project!