Hey guys, welcome back to my thesis blog!
This week I'll be showing the updated environment that I built with the scanned assets from Quixel and my own. Using the previously decimated cave as the base, I then start rebuilding the environment using scanned assets instead.
1. Creating the Entrance Cave
Quixel Megascans helped me tremendously for the project. I created a basic grey material with 100% roughness value in addition to each of the scanned assets' detailed texture maps. I then imported a look-dev set with a chrome ball, a grey ball, and 2 different macbeth charts. The first Macbeth chart behaves normally to light, while the other one is an Unlit version to show that the color checker texture used is correct.

Here's a quick preview of the initial cave entrance look from Unreal. I added depth of field, vignette and a cinematic color tint in Nuke for a quick compositing pass. Other than that, everything is created in real-time from Unreal Engine 4.
2. Creating the Inner Cave, Main Temple Area
With the entrance part done, I then started to focus on the inner cave area. This environment sub-level focuses on the main Balinese temple which still uses the grey material setup for the most part. Some of the rock textures are introduced as more assets are being textured and shaded.
Same like the entrance area, the sequence was exported to Nuke for a quick compositing. Camera lens blur (depth of field), vignette along with a cinematic color tint were done in Nuke.
3. Material Test
The next step on the project is to apply materials on the environment. Using my previous material setup, I can introduce a new lighting mood, showing a mystic Balinese cave. Focusing on a single light source to showcase detailed bits of the environment helps a lot in creating a mystic feel for the environment.
In addition, I played a lot with custom height fog and volumetric fog that was first introduced in UE 4.16. I'm liking the direction of the project at this point, focusing more on the look and lighting instead of asset creation. Color checker is also being used here to judge my lights value.
4. Introducing Foliage to the Environment
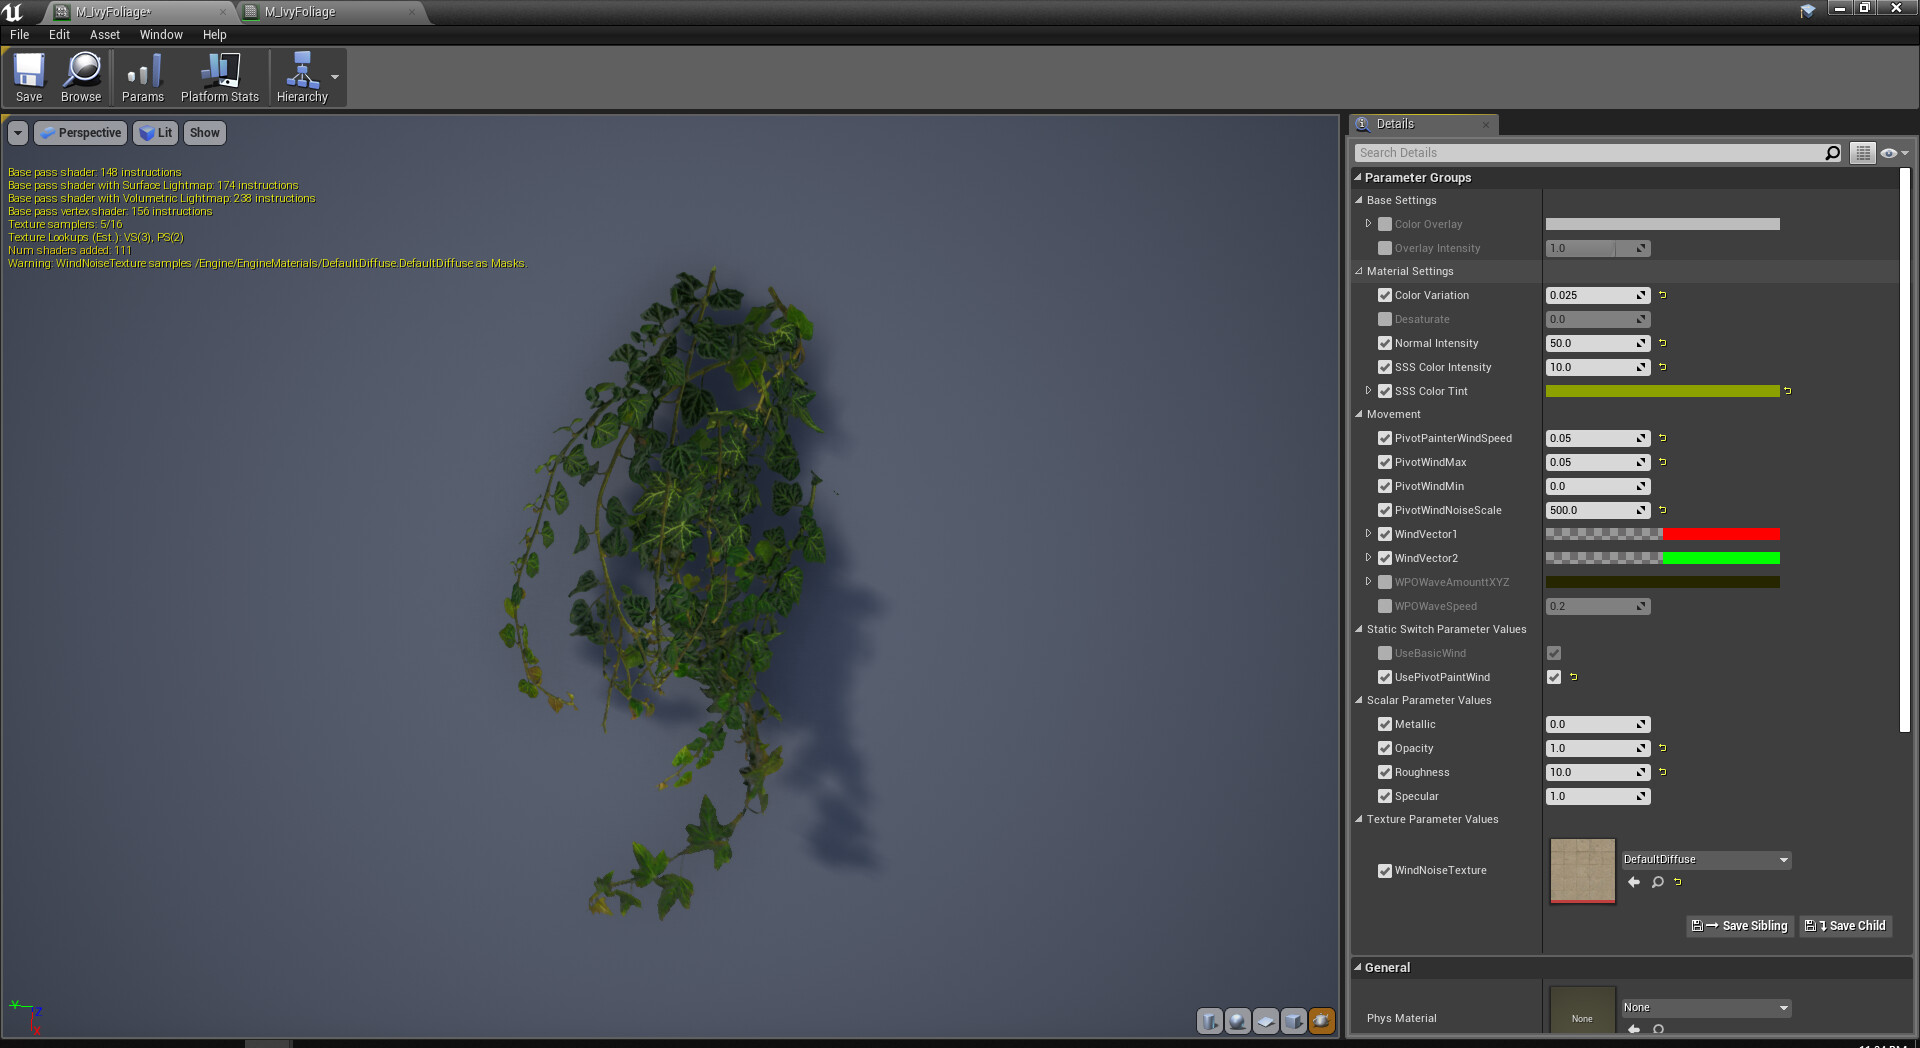
One thing that's clearly missing from the environment is foliage. The environment at the moment feels too bland, especially without any color except the color checker. Thus, I started adding vines using the popular Ivy Foliage Pack. For the project, I pushed the SSS value to 10.0 since I wanted the vines to be backlit, introducing an interesting color to the environment.
Additionally, I've also downloaded a few vine atlas from Quixel, adding different shape to populate the scene. I used the original Quixel foliage master material as a base, giving me enough control to how I want it to look like in the environment.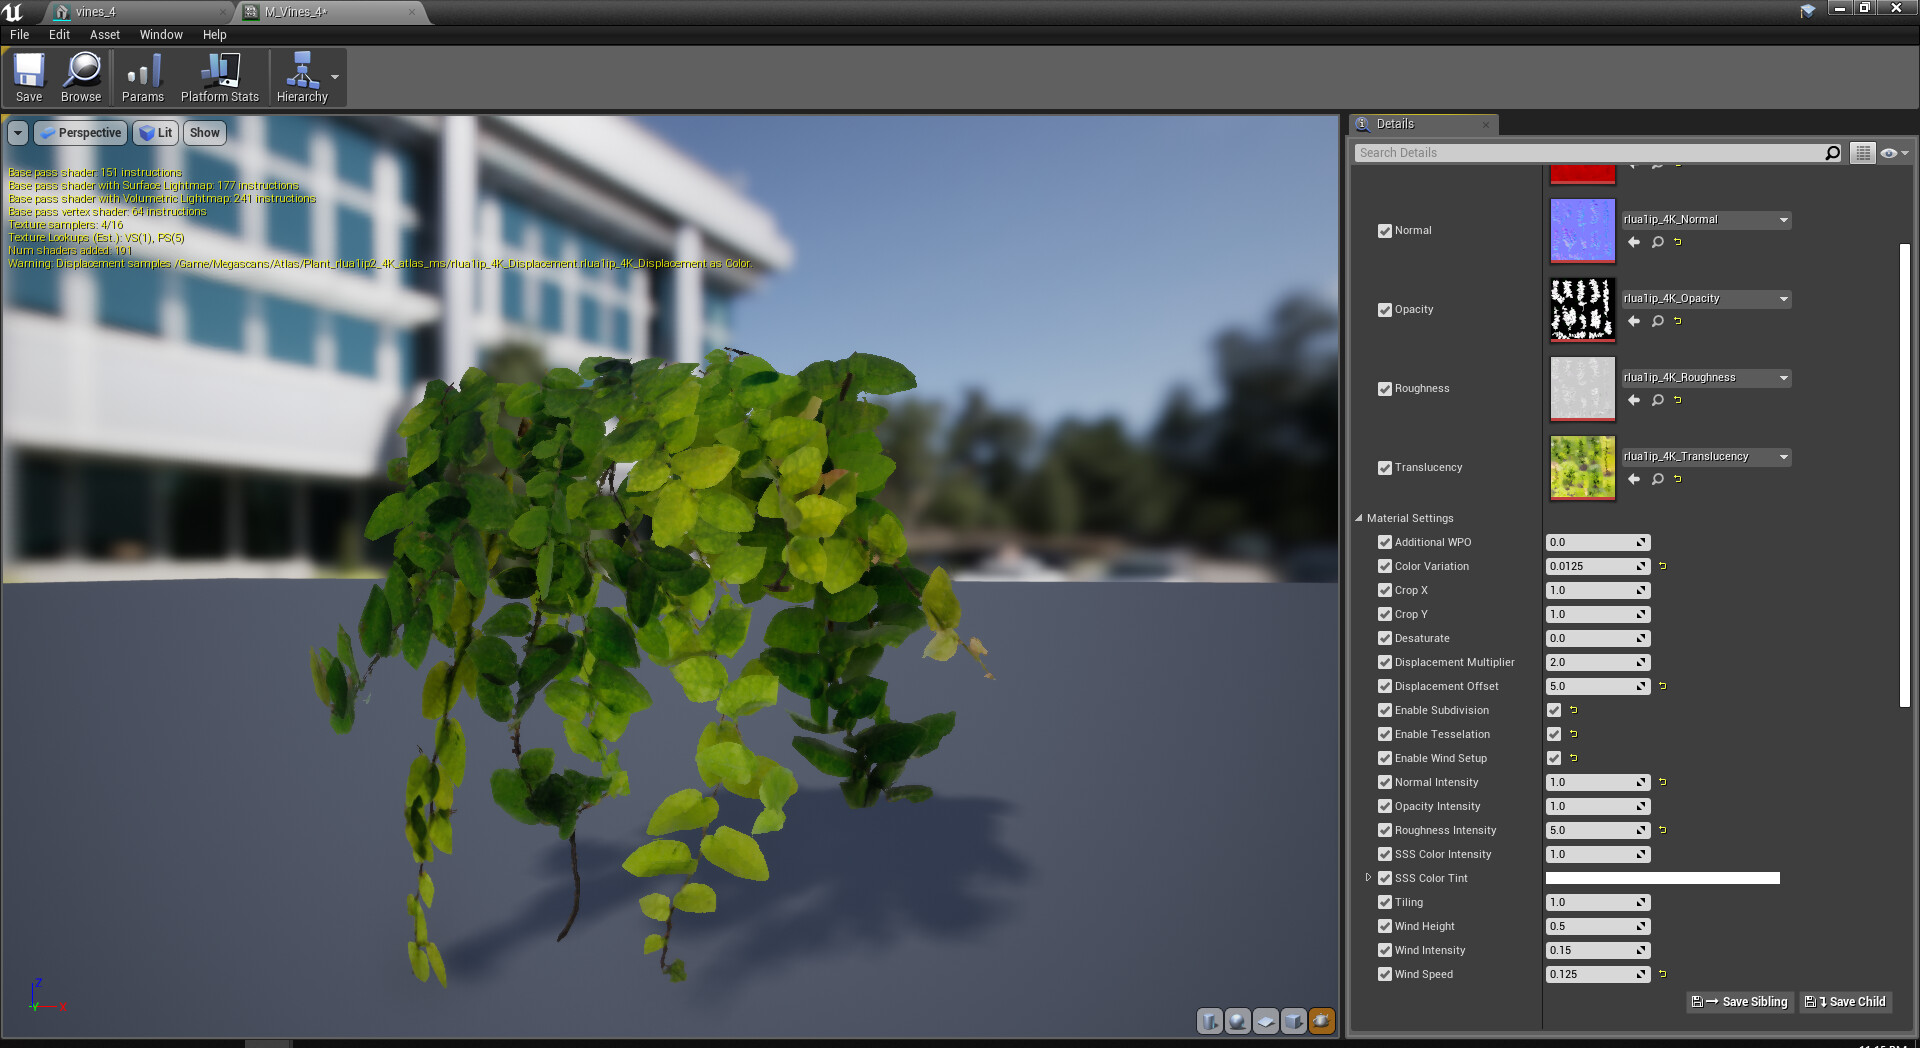
My original plan with the vines was to use UE4's foliage brush to populate the cave easily. Unfortunately, it doesn't work the way I wanted to. Thus, I had to manually placed all the vines to the cave. However, this actually helps me control the overall look of the scene without being overly reliant to the foliage brush.
One thing I learned the most from this thesis project is to never be over-reliant on yourself in terms of asset creation. I don't think I'll be able to achieve this level of quality within a few weeks of work if I were to create everything from scratch. Yes, the photogrammetry helps a lot. But using other people's asset (the ivy pack, landscape material, JRO Zbrush tools, etc) also speeds up my work.
I guess, this is it for this week's update. I'll be focusing on lighting for the next week, so 'till next time!