Hey guys, welcome back to my thesis blog!
As I said last week, I'm going to focus on showing how I lit the environment. At the moment, the environment is way too dark, making it hard to see what's going on. So, the first thing to do is collecting the lighting references.
1. Lighting References and Mood board
Since I know I wanted to have a single light source, I began to look for references that shows how similar light situation works in photography. In general, I always refer back to photography as my go to lighting references. My general rule of lighting is :
"Something that's 100% physically correct doesn't necessarily translate into realistic images,
it is more important to create something that looks real even when it's not physically correct."

I stumble upon this rule when I first started to do lighting a year ago. I found it super easy to just copy or use a preset value for either lighting nor shading, but it never 100% translates into photo-realistic images. Thus, I began to try using my eyes more. Based on the references I gathered, I know that I will need a few controlled-shape god rays, along with high-contrast exposure.
I learned photography back during my undergrad years. Knowing how light works in real world helps tremendously in terms of CG lighting. A good exposure control is needed to make something look photo-real.
2. Adding the God rays
I've tried creating multiple lights that contributes to the volumetric fog, but it never look sharp enough as I wanted. Thus, I searched for tutorials that shows how to create fake god rays in Unreal.
I created a simple cylinder that has the top part scaled smaller in Maya and import it to Unreal.

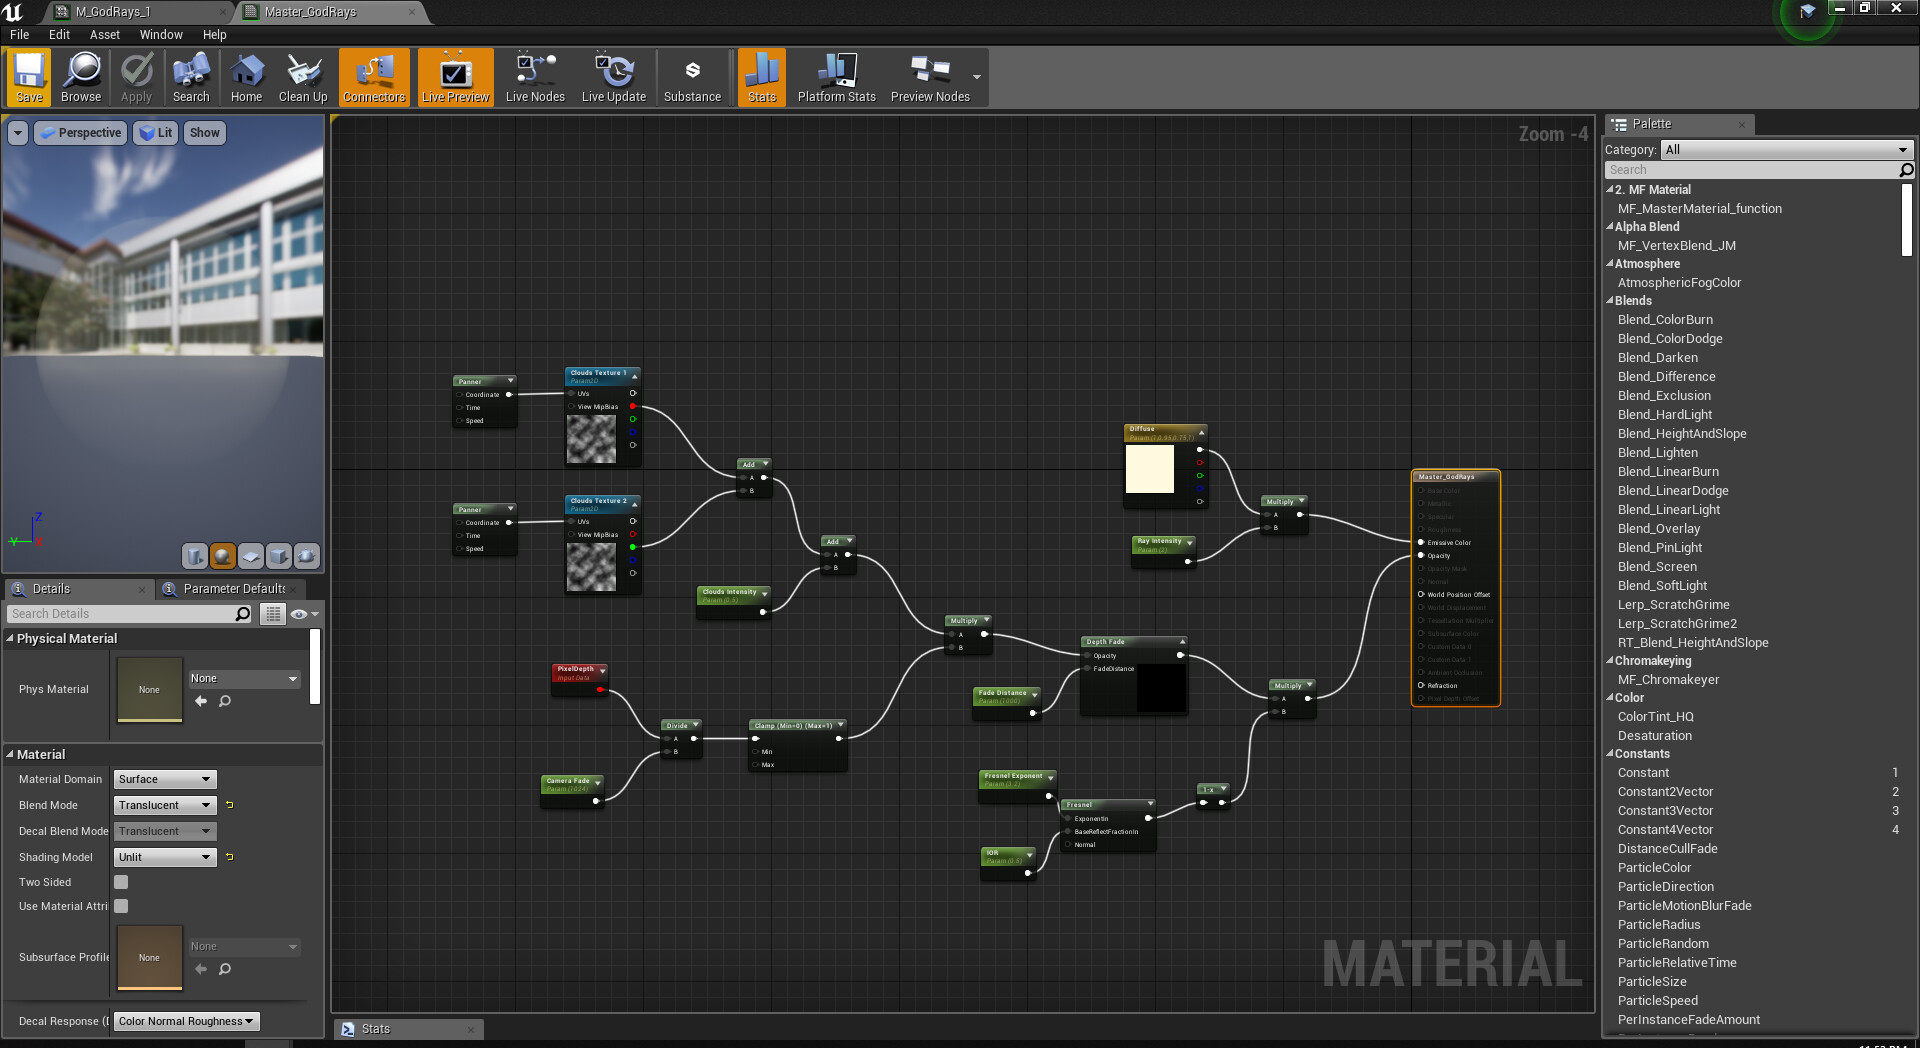
Next, I just need to create the material that drives the fake rays. The setup itself is pretty simple, a translucent material with emission that's being driven using multiple noise opacity masks.
All that's left now is to import it to the scene!
3. Importing the God Rays into the Environment
For the final scene, I've created 3 different god ray materials, each with different noise value. This allows me to control the shape of the rays while arranging them in the environment. Here's the updated sequence with the new rays added into.
Additionally, I've also created another camera showing another view on the cave environment. I tried to play with high exposure and a little camera abberation from the engine.
I guess this is it for this week's update, I'll continue polishing the environment for the coming week. 'Till next time!