Hi all, another week continuing my personal project on remaking FFIX. This time I'll show you how I used the modular assets from last week to create the environment. First thing first is to figure out why use PCG, what is PCG, how does works.
The WHY - Honestly I just wanted to learn about this new tool that are available to everyone now. I haven't had the time to properly learn any new tricks since I've been too occupied at work.
The WHAT - A quick summary is, a scatter system on steroids. No longer do you need to create your own blueprints for any spline based assets (yes, we do still use BP but it's not as "complicated" as it was before). It provides artists flexibility in how the assets are used. On top of that, PCG is pretty light weight for optimizations.
The HOW - PCG uses scattered points and point density to populate or generate assets. Epic did a pretty in-depth video on this.
Anyhow, this is one of the main reason I try to dissect the concept art into modular pieces last week. I'll post the same image as a reference so you guys can follow along.
From this image, we can see that this inner part of Burmecia Castle is actually consist of modular assets. While I can easily create this by manually assembling the environment, I thought it would be a good practice to build this using PCG. So for this project, I'm using a basic spline based PCG setup.
For the ceiling, I had some issues early on trying to call the correct geo. I tried using a noise density to shuffle through the geo options but it won't give me the correct result. Until I found this video on YouTube:
Essentially, you can create an instance parameter in the PCG graph and point it to the static meshes you want to use in an array. Here's some step by step images in how to create it:
And here's a progression build on the PCG environment. I had to use Vimeo as Artstation isn't letting me upload the video directly for some reason...
Now that we have a good base, I'm feeling that it's feeling too modular/repetitive. I was thinking of doing a RBD setup in Houdini, but I happen to saw this video from Quixel that seems to be just what I need:
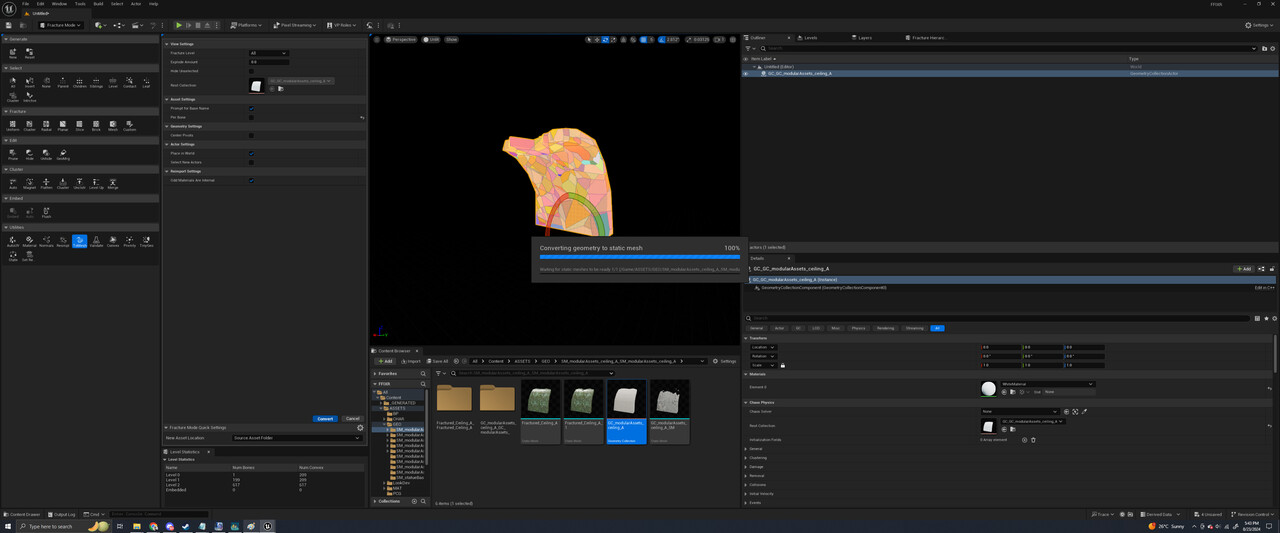
I didn't realize UE updated with this tool until I watched the video. It's pretty straight forward, but first thing first, you'd want switch to fracture tab.

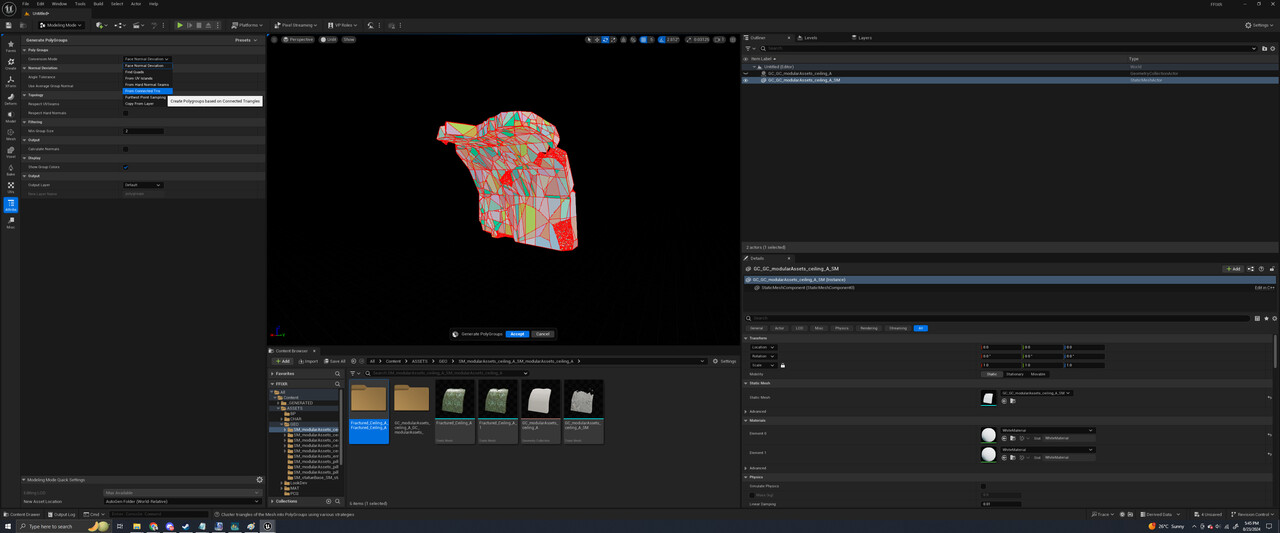
 Now the most fun part, just paint the parts and hit separate. This will generate a static mesh based on the part of the GC mesh earlier while maintaining the UVs, and will automatically give you a secondary material slots for you to use.
The way I do it, is to save out multiple alternatives of mesh based on what is hidden and visible. That way a single GC can be used to generate a lot of variances without feeling similar.
Once we have them, time to update the PCG, I added a bunch of static mesh arrays and voila, the envi is now updated. This would've taken me much longer if not for the PCG setup. Here's how it looks like with a basic lighting test and added in the baked normal maps into the meshes.


