Hey everyone, welcome back to the next update on my blog!
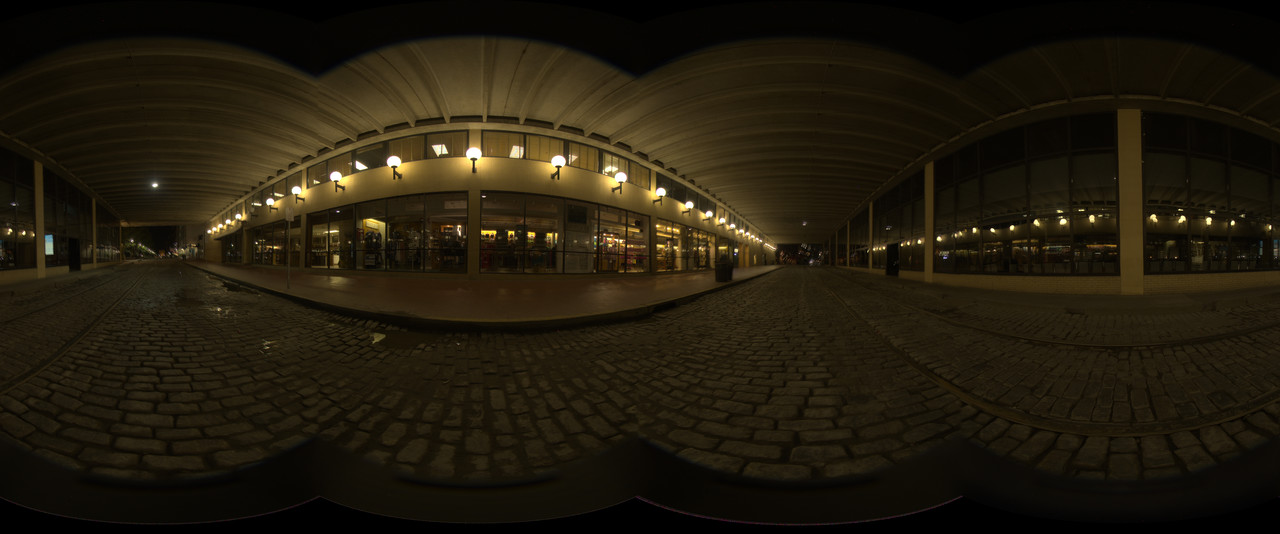
Continuing where we left last week, we finally shoot a real HDRi using a fish eye lens borrowed from my professor. We went to River Street at 3am to give us more time for preparing the camera. We shot 4 sequence with -/+4 EV for each HDR, stitched them together using equirectangular projection in PTGui. Here's one of the HDRIs we took.
Now that I have the HDR plates to work on, it's time to polish my Ferrari F40 materials. I've unwrapped the car model and assigned a total of 59 Material IDs. Since I know I'll be working back and forth with Substance and UE4, I decided to do my lookdev directly inside Substance Painter for convenience purposes.
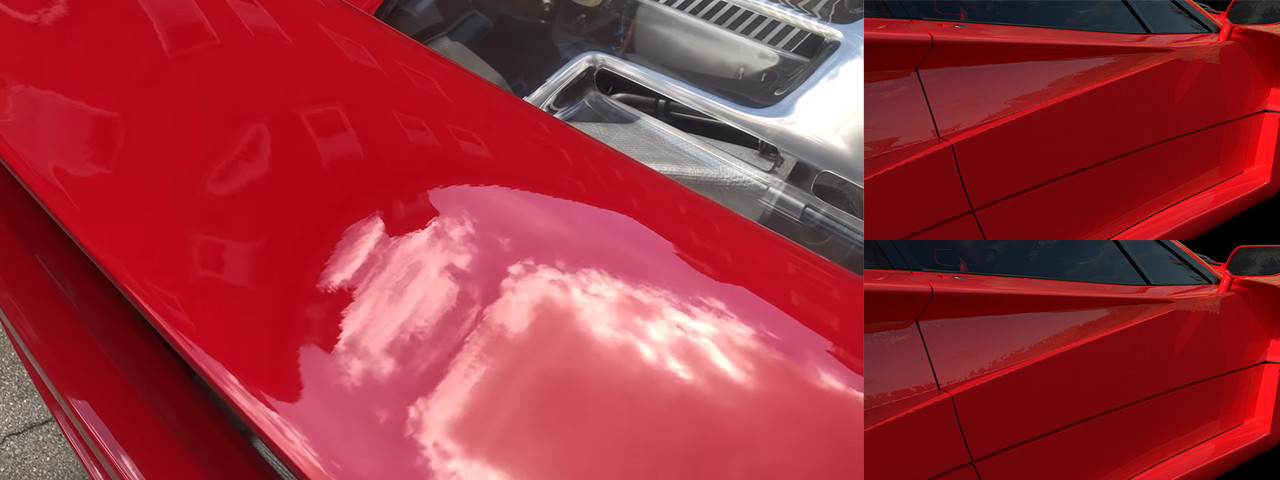
Look developing a car isn't as easy as it looks. Based on my experience interning for Turn 10, the amount of reference really dictates how good the car will look in real time. Thus, most of the time I spent working closely with my reference, trying to get the similar reflections or bounce light values. And as I mentioned last week, still images just don't do justice in terms of reflections, and video references have different lighting situations. Thus, it's not a simple task to match the lighting scenario within painter.
One of the hardest problem to overcome was the car paint surface detail on the F40. They don't have flakes, instead they have some additional normal details to create that wavy reflections. I tried emulating the same effect using 2 procedural normal noise in Substance Painter for my first shader pass. The Iray render doesn't show much since it's a limited engine, but it shows me that the method is working. I'll probably move to Substance Designer to generate a procedural texture for my final Car Paint Material.
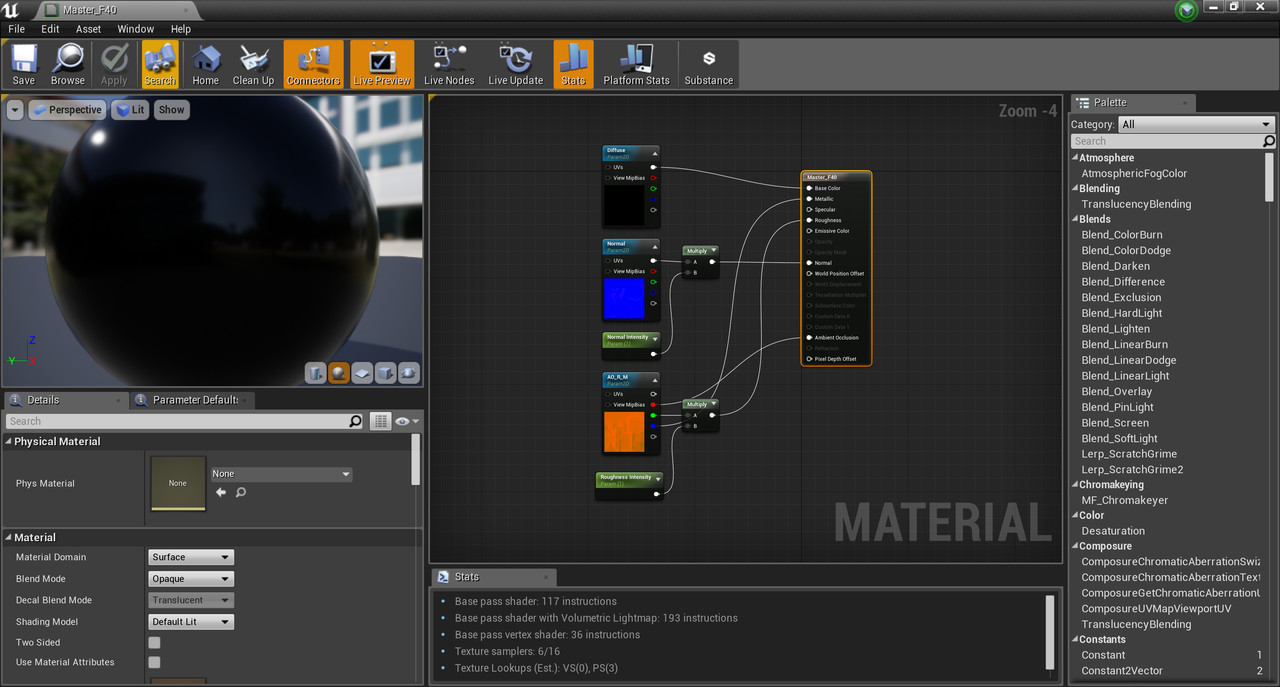
Last but not least, I worked on assigning materials in UE4. I created a master material for the non transparent objects using a simple setup. I put a bunch of texture parameters and multiply them with another parameter so I can adjust them on the fly later.
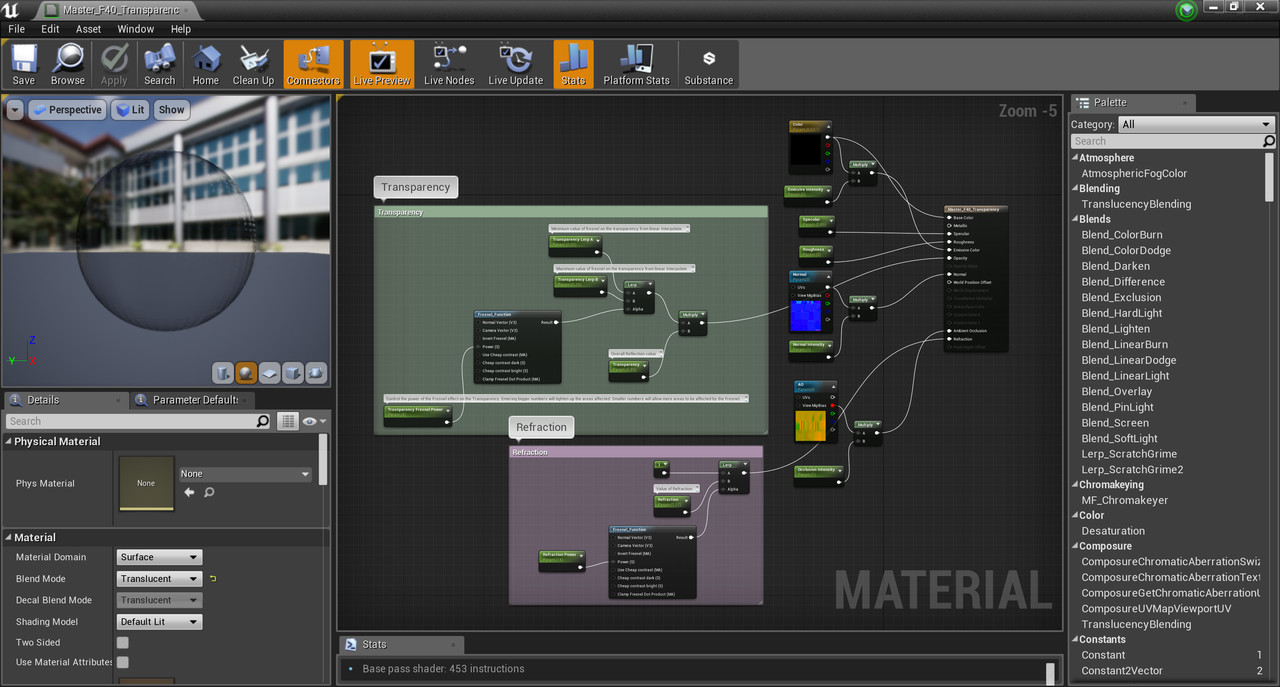
For translucent objects, I used The M_Glass material from the automotive pack as a base. I deleted the Base Color nodes and replaced them with a vector parameter, multiplied them with an emission function, added another 2 texture parameters for normals and AO. This setup was used for creating the head and tail lights material for the car. The downside of this set up currently is, UE4 sees the object as a see through material when seen up close. But for the early pass, this setup works.
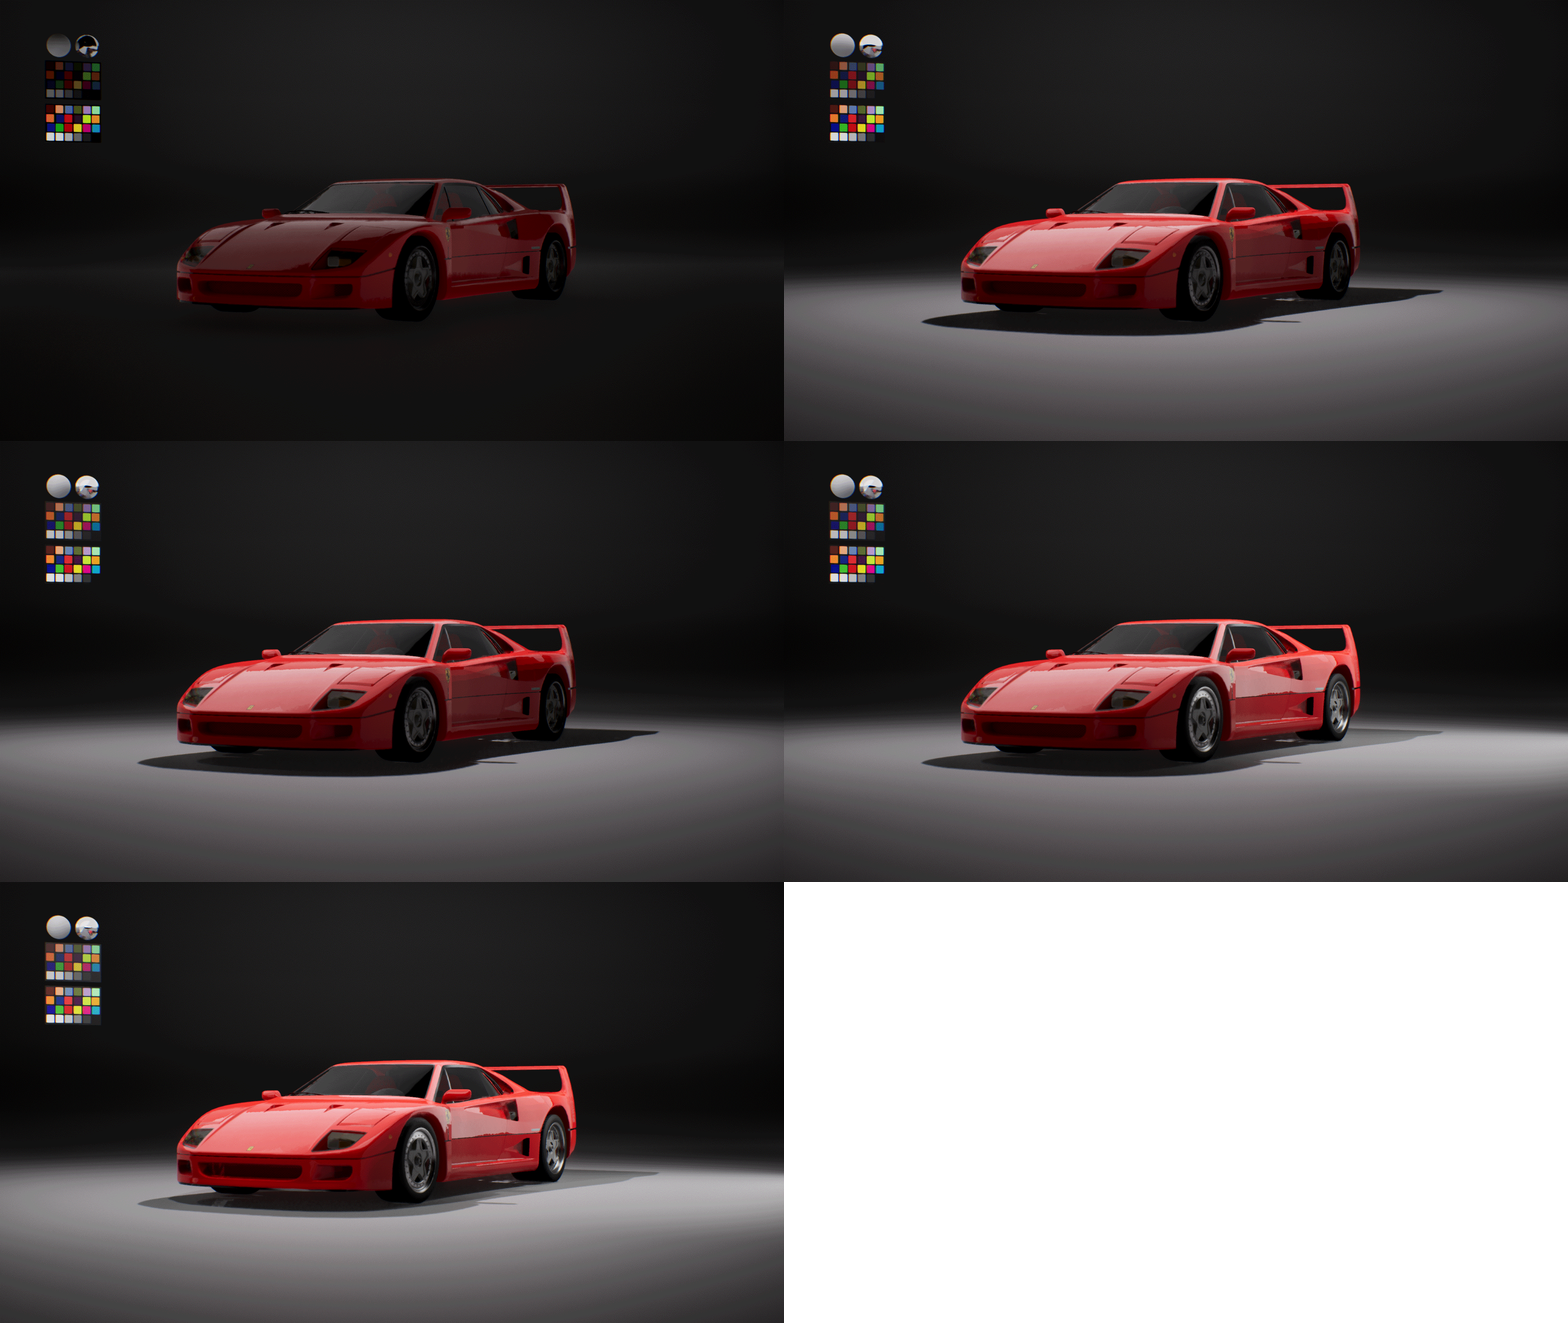
In addition, I also created a studio lighting setup. I tried to emulate on how people photographs real car in real world, by using several rectangular lights in UE4. I have 1 huge softbox on the top of the car, 2 fill lights from each sides, and another one from behind the camera to give a softer gradation on the body.
Here's the final turntable using a studio lighting setup I created rendered in real time using Unreal Engine 4.
