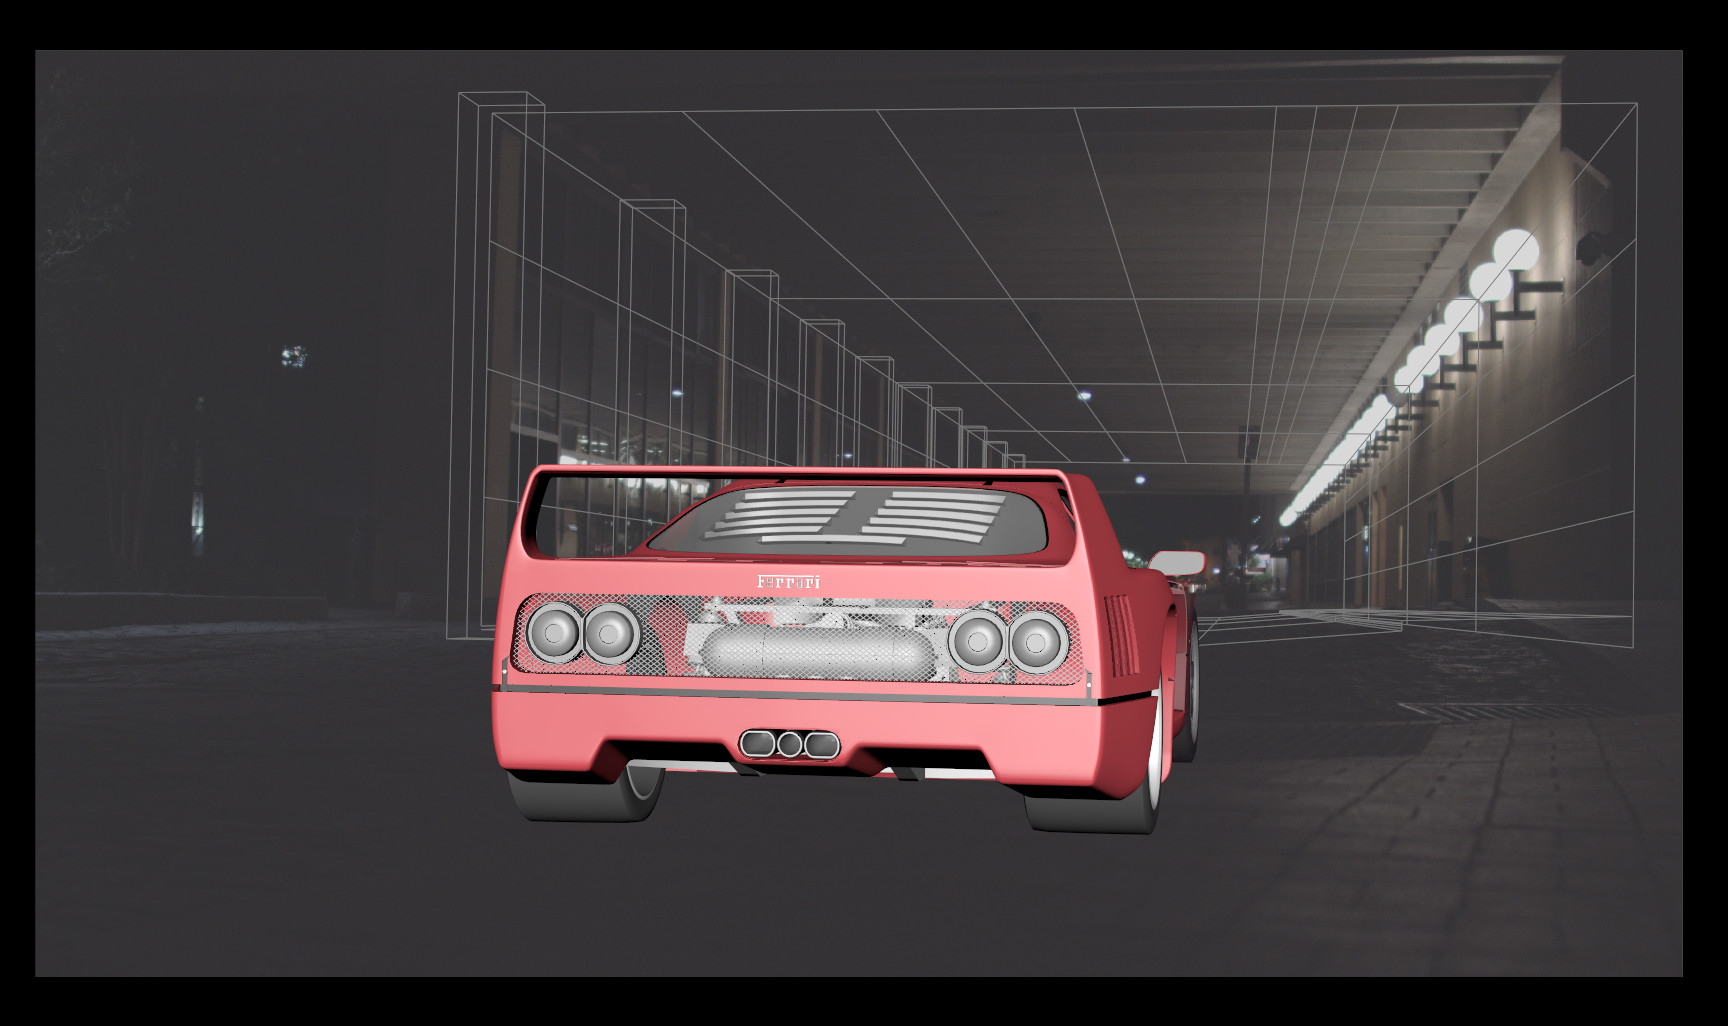
Hi guys, welcome back to my weekly blog updates for the real-time car commercial project! As usual, the past week has been full of troubleshooting and development. We've been stuck with a camera miss-match between Maya - Unreal Engine 4 - Nuke. For some reason, the camera that has been used to match the track in Maya and assembled in Unreal doesn't match the plate in Nuke. Thus, I went back and try to re-track it in Maya.
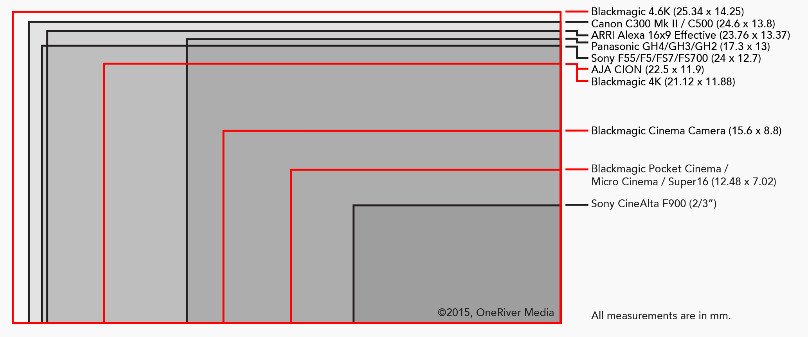
I found that there's a slight miss-calculation with the crop factor of the Blackmagic since the 22.00 x 11.88 mm lens has an aspect ratio of 1.85, while the rendered out back plate has an aspect ratio of 1.78. After another research, I found out that the official sensor size for the Ursa Mini is 25.34 x 14.25 mm, which rounds up to 1.78 (16:9).
Thus, we exported that out from Maya and hope that it works in Unreal and Nuke. And guess what? Nope, that doesn't change anything. It still doesn't match the camera in Nuke. At this point, we decided to just go with the previously working camera but ended up cropping the edges to make it look correct.

With the integration done by my team mate, Haley (check her blog updates to learn more about her compositing nodes), I went ahead and start doing a rough color grading pass. I tried making it look more cinematic with the orange and teal color palette, using a simple grade and color correct node in Nuke.
In addition, I tried another way using a LUT in Premiere Pro. In this grading version, the warm tones maintained their value so it makes it look less dull than the one in Nuke. I think moving forward, I'll stick with doing post production in Premiere Pro or After Effects as it's easier to control.
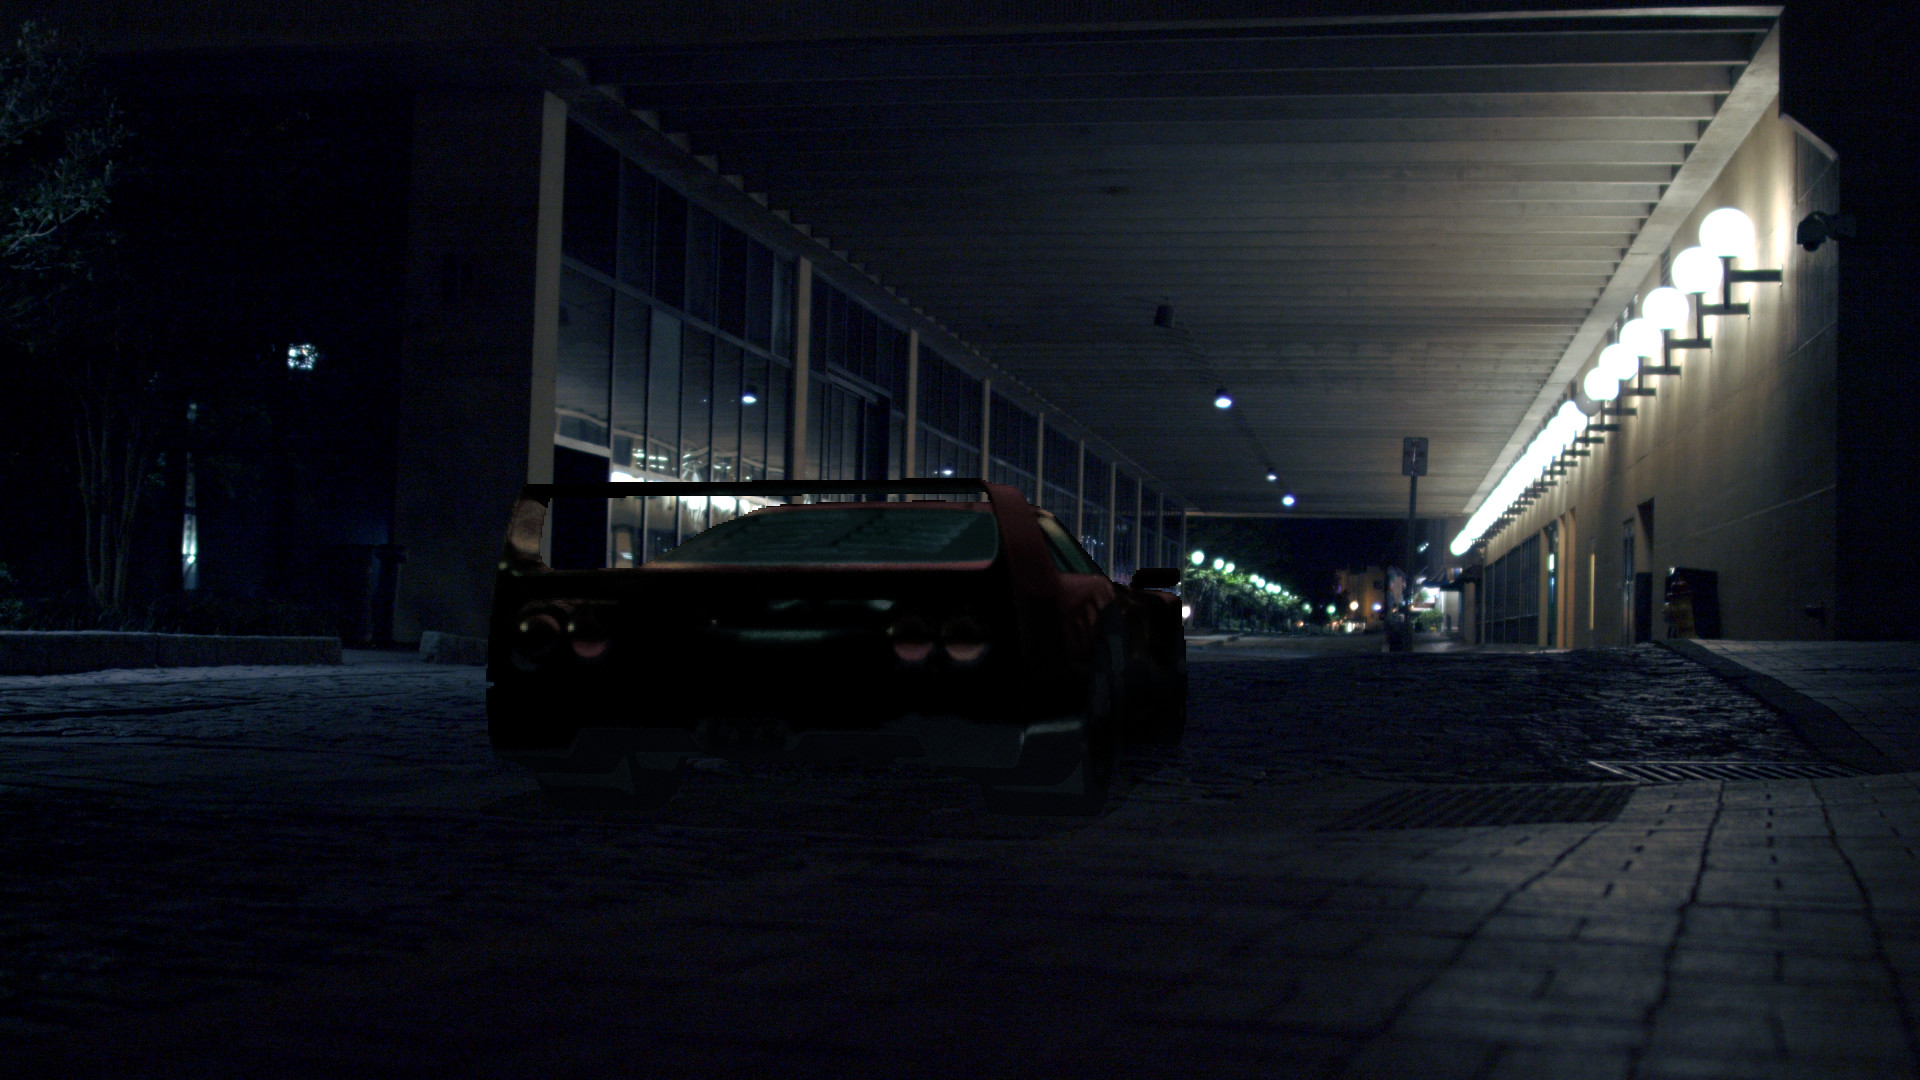
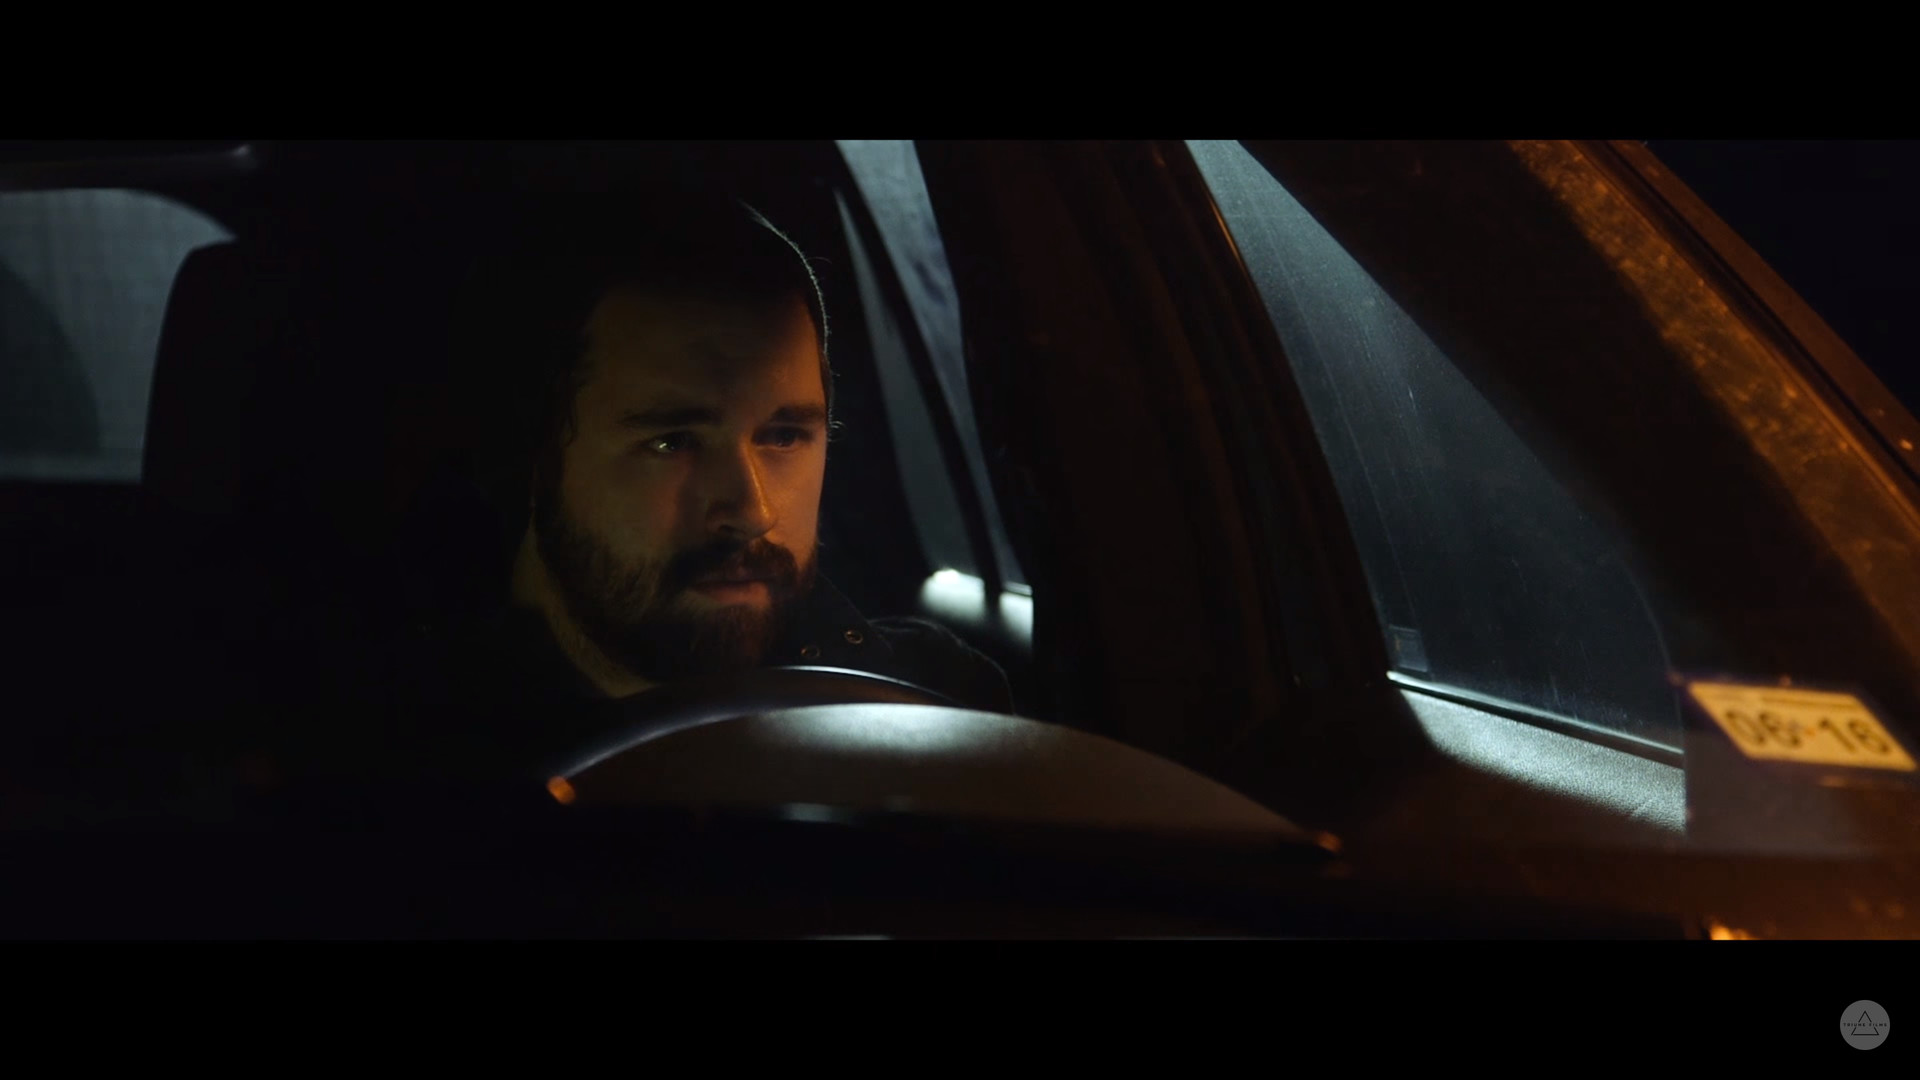
Another problem I noticed from this pass is the lack of lighting information that Unreal can render out as an image sequence. The car looks so dull especially after applying the color grading to the plate. The next big thing to do on my list is to rework on the lighting, giving the car more depth and overall contrast. I found this tutorial online talking about how to light a night scene.
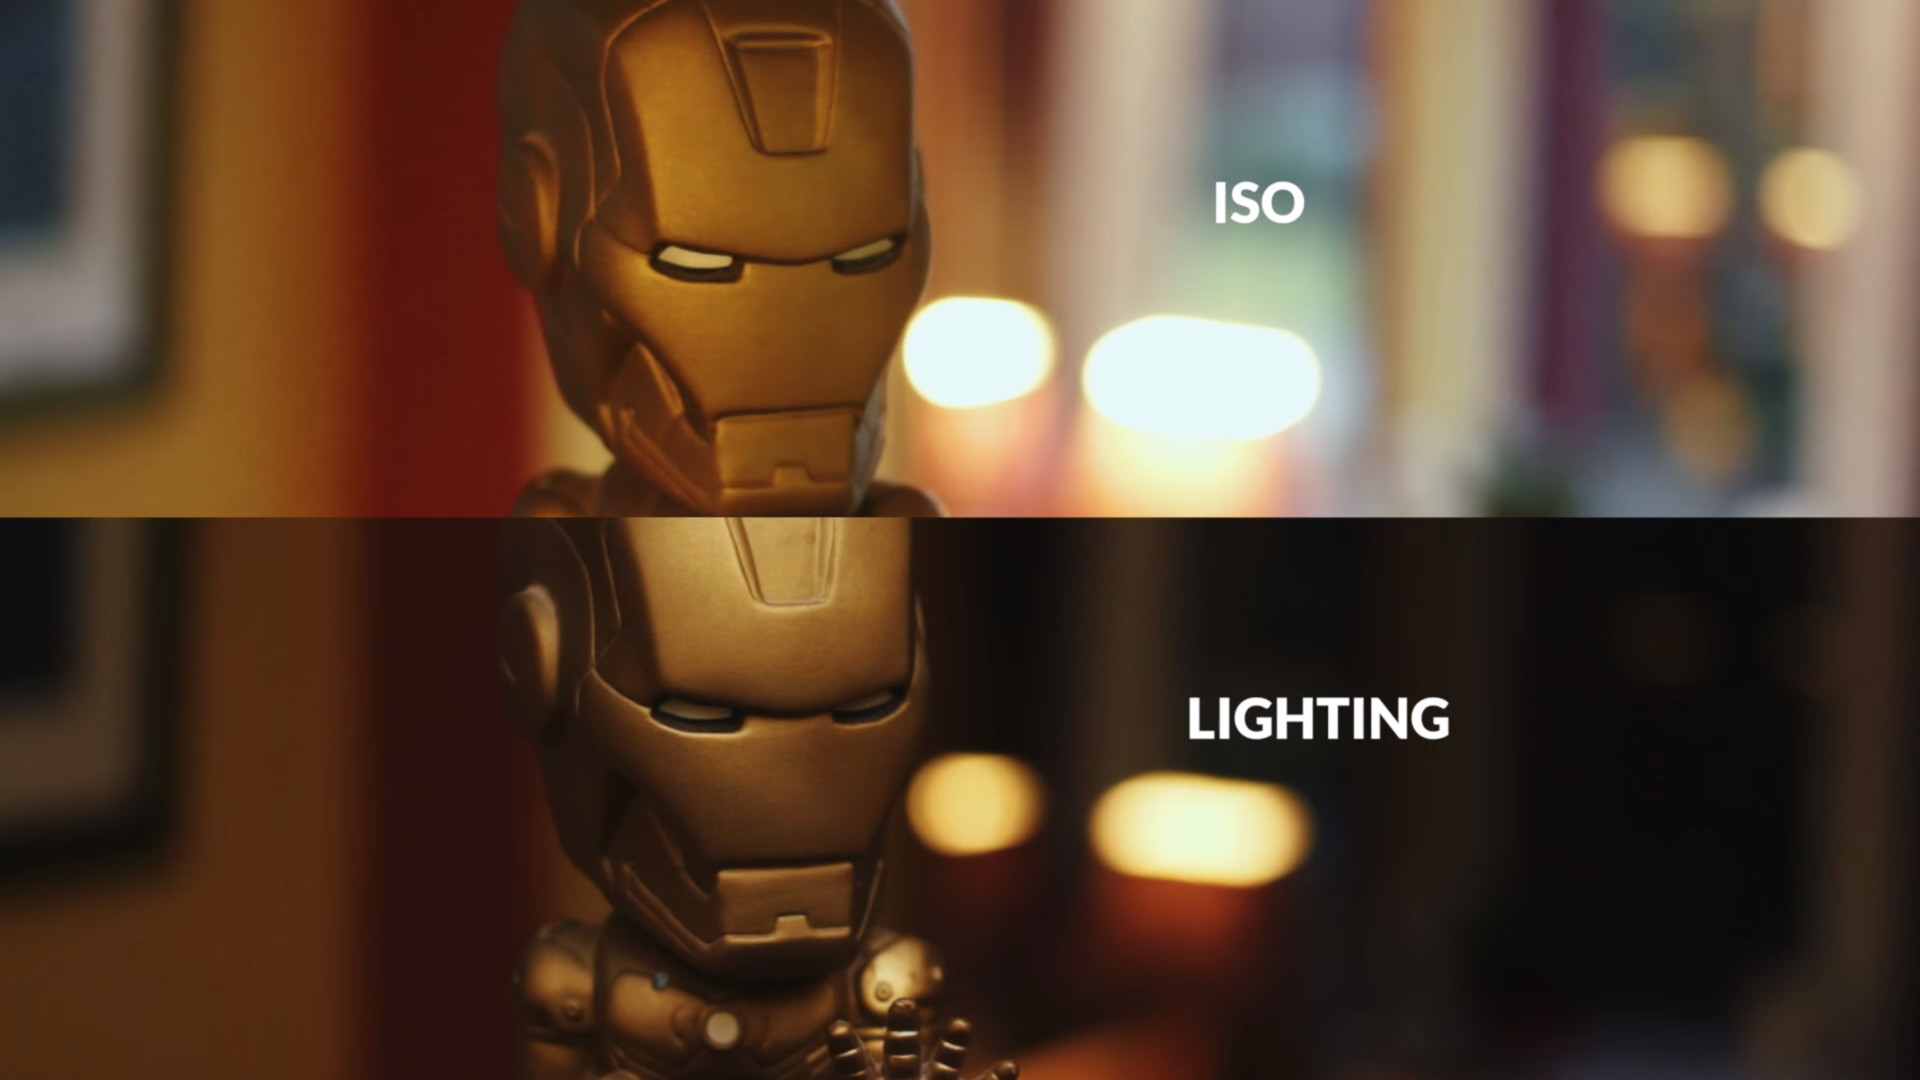
I realized that right now we just brute forcing the scene with our HDRi and it's not sufficient at all. By watching these video on how to light a night scene in a film, I understand that it took several additional lights that's not in the scene originally to create the effects that we want.
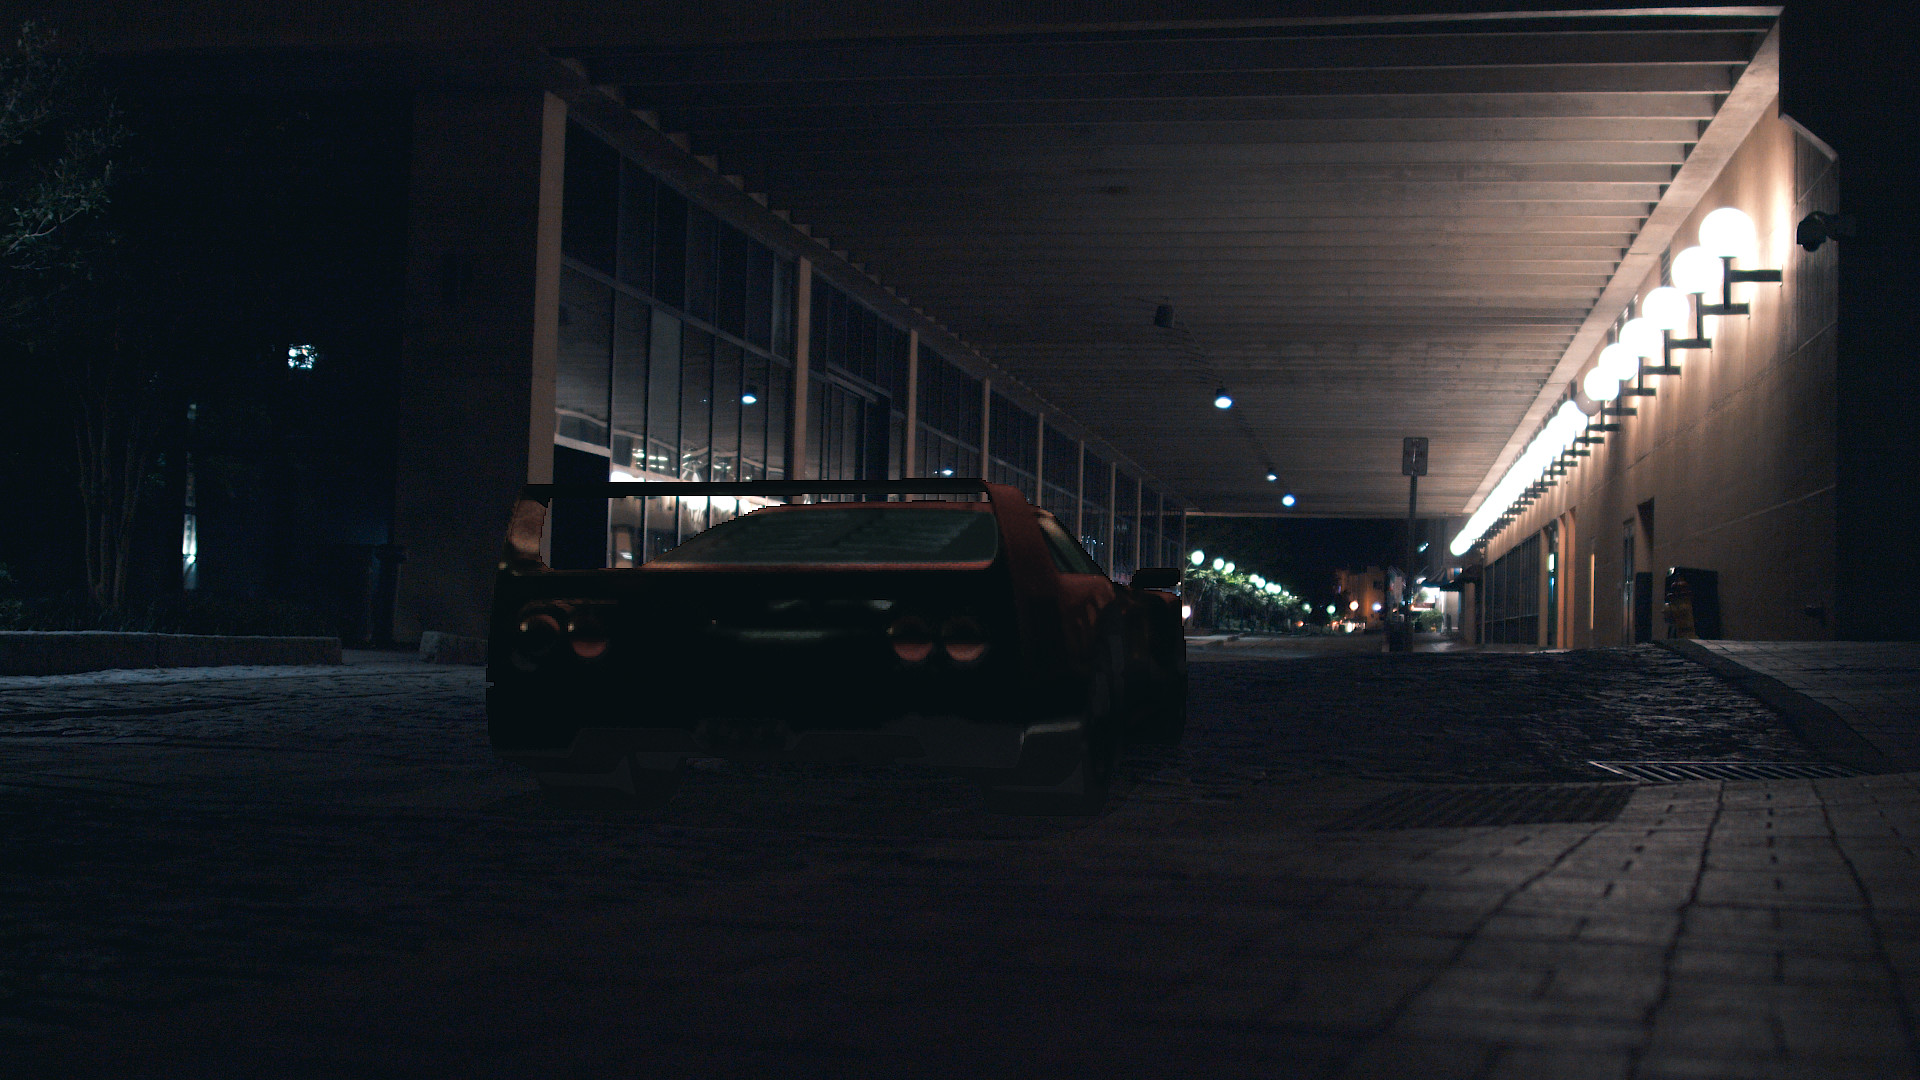
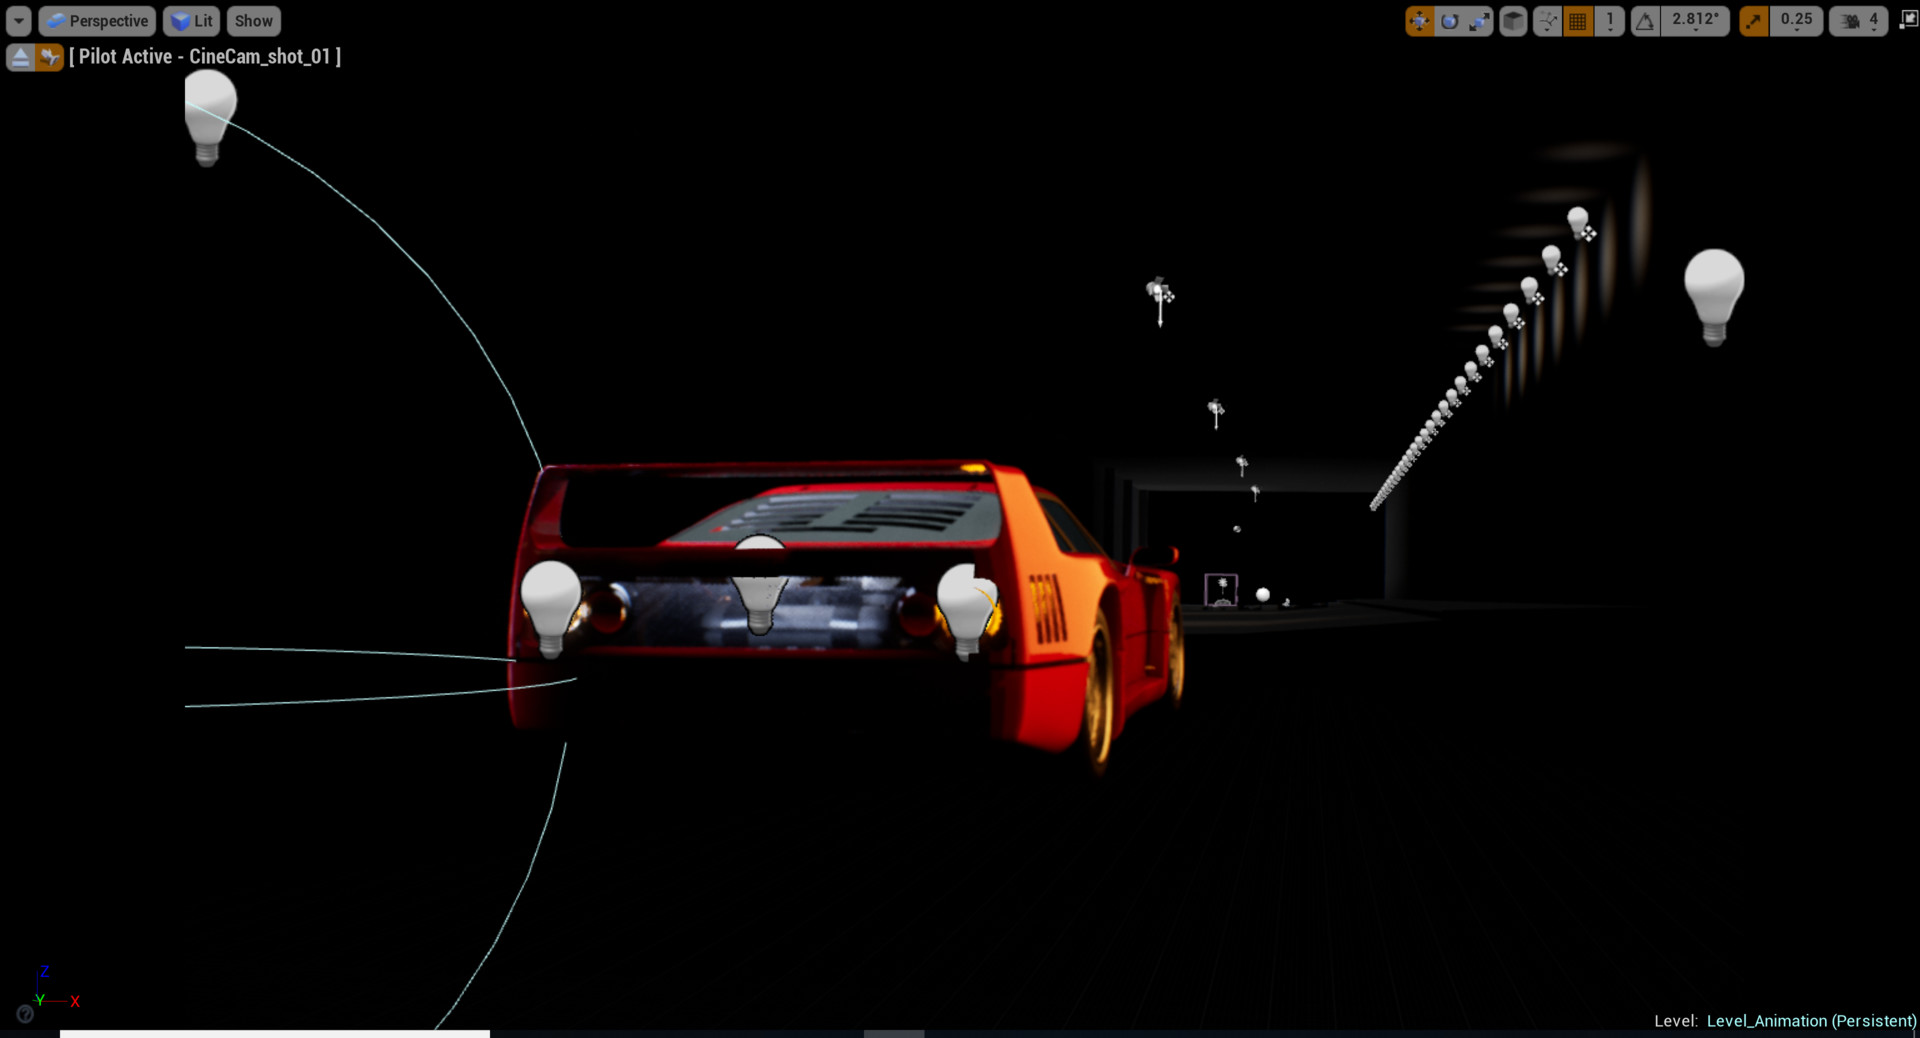
So I tried to add several lights to the scene in UE4 as a quick test. These additional lights help build contrast to the car, and creates another point of interest as the engine in the F40 is uncovered. I will continue build on this light setup and hopefully get it finalized by next week.
This is it for this week's update, see you next week!